Meet QC Makeup Academy graduate:
Elena Franklin
Master Makeup Artistry Graduate
Pro Makeup Workshop Graduate
Skincare Graduate
Special FX Makeup Graduate
Portfolio Development Workshop Graduate
Global Beauty Workshop Student
Winnipeg, Manitoba
Meet QC Makeup Academy graduate, Elena Franklin! Tell us a little bit about yourself, Elena!
I am 21 years old, and was born and raised in Winnipeg, Manitoba with my parents and two older sisters. Here are some random facts about me:
- I love my dog, being outside in my hammock, and will be happy any time of day at a cute coffee shop!
- My favorite color is pink, I am a gold jewelry kind of gal, and I keep badminton rackets in my car so that I’m never without them (in case an opportunity for a rally comes up).
- You will often find me listening to Hozier while wearing several different shades of brown.
- I have a deep love for the ocean, despite not living anywhere near it.
- If you had asked me when I was young what I wanted to be when I grew up, the answer would’ve been “a mom”. Yes, this is still true – but my point is, becoming a makeup artist was never on my mind as a kid.
I’m happy to be here and hope you can continue to get to know me a little more as you read on!
When (and why) did you realize you wanted to pursue a career in the makeup and beauty industry?
I decided to pursue makeup the year after I graduated high school, while attending Briercrest College in Saskatchewan. My original plan was to take theater and education in Winnipeg. However, I quickly realized that I am much more of a hands-on learner and was really bad at writing papers.
Makeup had always been a hobby throughout high school and so I thought it would be a good fit for me. But if I’m being completely transparent, I didn’t think much about what my goal with a makeup career was at the time… That said, I haven’t looked back since – and I am very happy to be on this path!
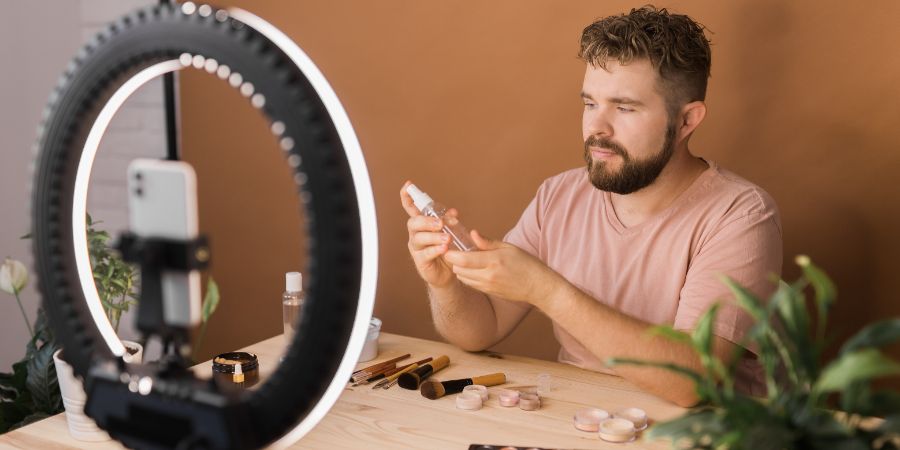
Thinking of pursuing a career in makeup artistry? Discover what a realistic day in the life of a professional makeup artist actually looks like!
Why did you decide to pursue your certification training online (rather than in-person) – and how did you both hear of QC Makeup Academy?
At the time, when I had decided to switch schools, we were all in the middle of the pandemic. As such, there weren’t any options for in-person training. So, online school it was!
Turns out, working online ended up being much better suited for me and my lifestyle! I found QC Makeup Academy through researching the different options for schooling.
Why did you choose to enroll with QC Makeup Academy? (E.g., What was it about our school that won you over, compared to other online makeup schools out there?)
I liked the idea of working at my own pace and really perfecting techniques before having to move on to the next assignment. Based on the reviews and student testimonies, it seemed like a very encouraging community; one that wants you to succeed. I have come to learn that it is indeed both of those things!
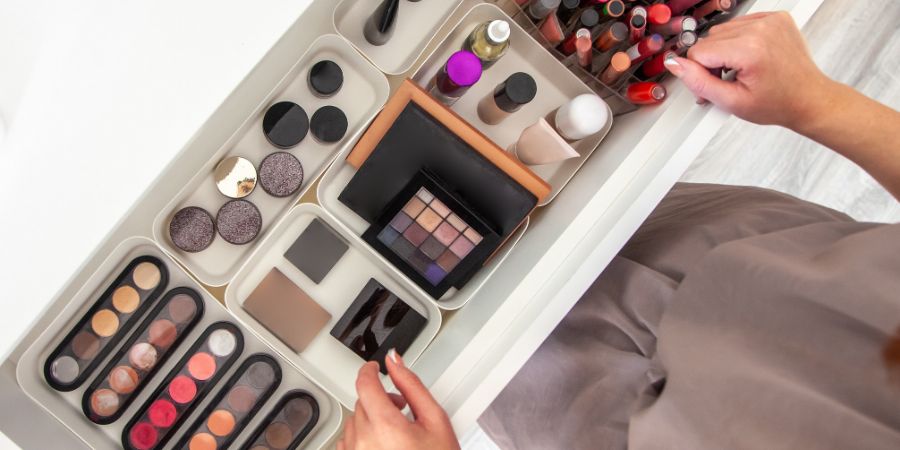
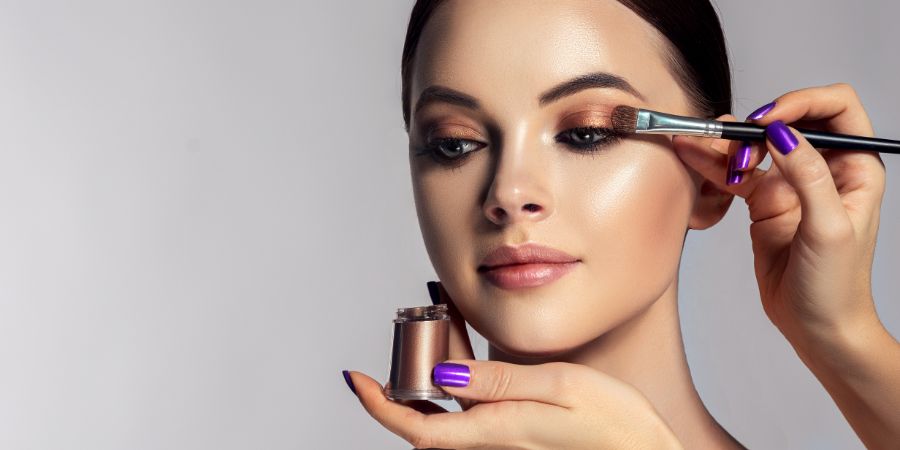
You’re a multiple QC Makeup Academy graduate – but your journey started with our self-paced, online Master Makeup Artistry Course. Tell us about your experience with this program! What was the most challenging aspect of this course for you? How about the most rewarding? Also, what was your favorite hands-on assignment and why?
I really enjoyed this course! The most challenging part was the very beginning. I came into this thinking I knew everything there is to know about makeup, but I was humbled very quickly by my tutor.
Once I opened up my mind, I realized there was so much to learn… And I’m still learning every day with each client I work with. I am so glad Nathan Johnson (my tutor) kicked me off my high horse. I’m a much better artist because of it!
The most rewarding thing about this course was being able to see my progress throughout, as well as seeing the change in my artistry. Every assignment is documented by pictures, and it’s so fun to look back and see how far I’ve come.
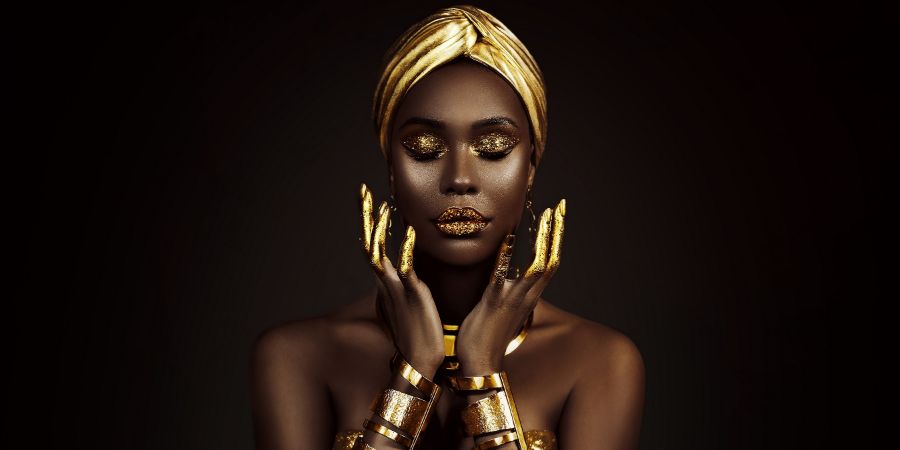
As for my favorite practical assignment, I really enjoyed the fantasy makeup assignment in Unit E! It was so fun to get out of my comfort zone and try and dream up something new; something never seen before.
Want to learn more about QC’s wildly popular Master Makeup Artistry Course? Then make sure to check out the full course curriculum to see exactly what you’ll be learning!

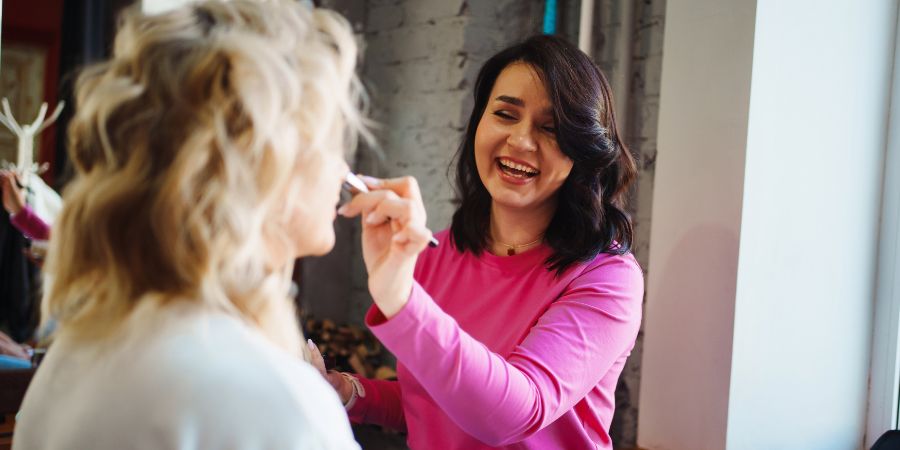
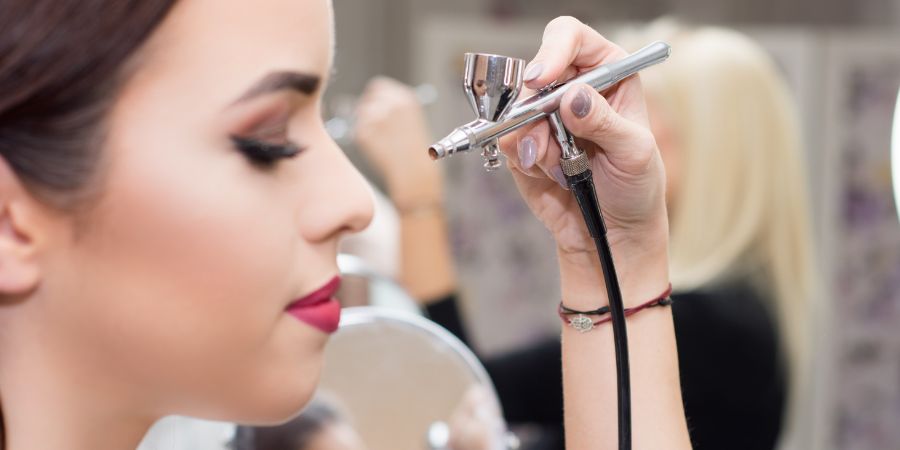
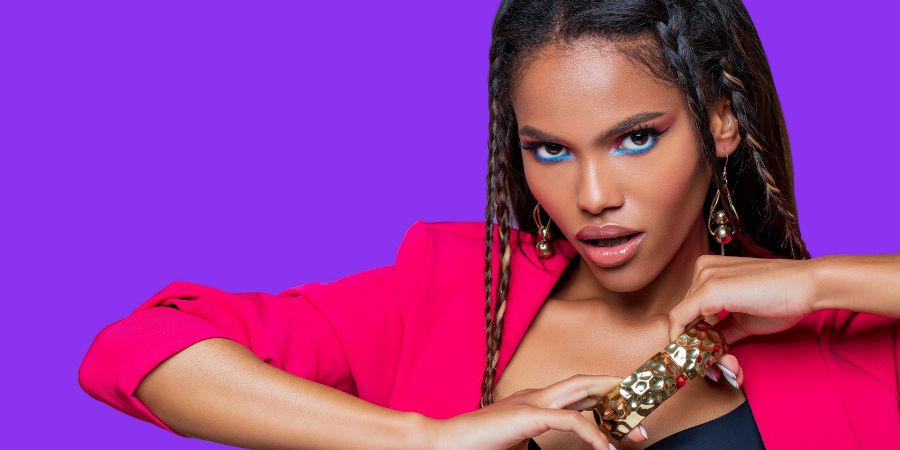
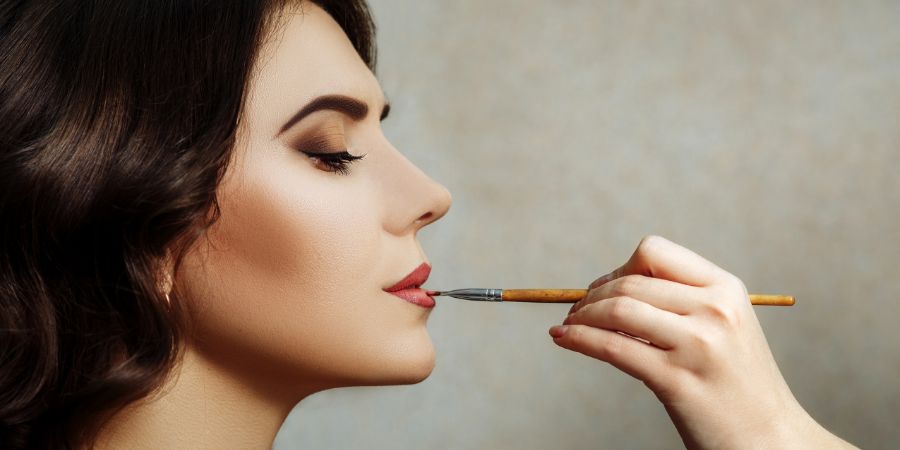
Photography by Tamara Boden.
What would you say is the #1 biggest and best lesson you learned in QC Makeup Academy’s Master Makeup Artistry Course?
I would have to say, it was opening up my mind to learn new techniques and not think that I know everything about makeup artistry. There’s so much to learn and so much room to grow as an artist, if you allow it!
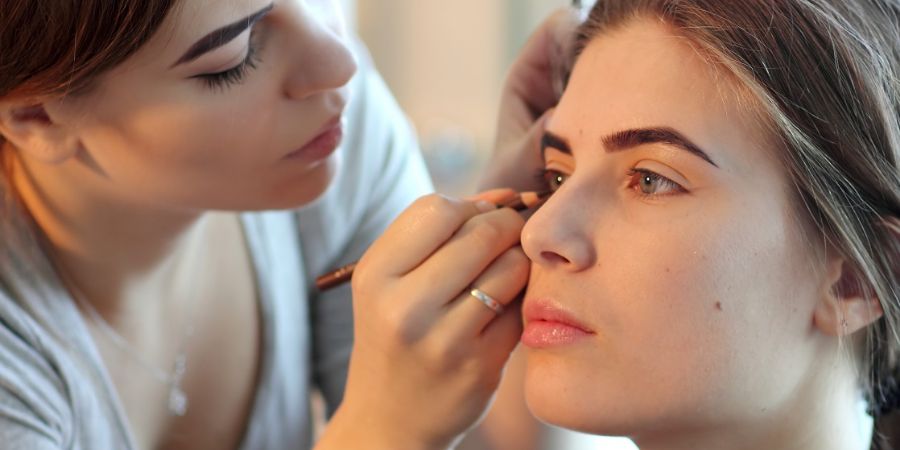
After receiving your Master International Makeup Professional (MIMP) certification, you then went on to complete our Pro Makeup Workshop. How did this program build upon everything you learned in the MMA Course and take your skill-set to the next level? Moreover, would you recommend the Pro Makeup Workshop to MMA students/grads (and why or why not)?
I would totally recommend QC’s Pro Makeup Workshop to anyone looking to build off of their skills! This course forces you to use all the techniques learned in the MMA program – but you must be able to slightly change and/or adapt them in order to complete the assignments.
QC’s MMA Course gives you a solid tool box to work out of, while the Pro Makeup Workshop gives you all the fancy gadgets that’ll level up your work overall. Plus, it also gives you more opportunities to practice and really perfect your craft!
Check out how QC Makeup Academy’s Pro Makeup Workshop also helped accelerate fellow graduate Nadia Calabro’s makeup career!
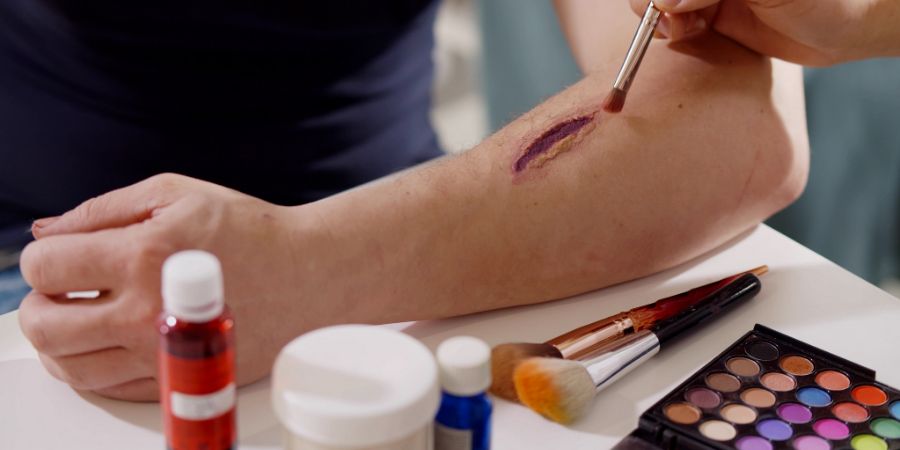
You’ve also earned QC’s International Special FX Makeup Professional (ISMP) certification by completing our Special FX Makeup Course, too. How did this specialization training add to your overall skill-set? Also, in what ways has it benefitted your career as an MUA thus far?
This course was crazy (in the best possible way)! Before taking Special FX, I was strictly all about beauty makeup. I found it so wild that Special FX is basically the complete opposite of beauty makeup. It was allowed to be messy and asymmetrical – encouraged, actually!
It was definitely a big adjustment of mindset and skill-set, which has helped me think more creatively overall. I enjoy being well-trained in both ends of the makeup spectrum! I just completed QC’s Special FX Makeup Course at the beginning of May, 2023, so I’m actively seeking opportunities to use these skills!
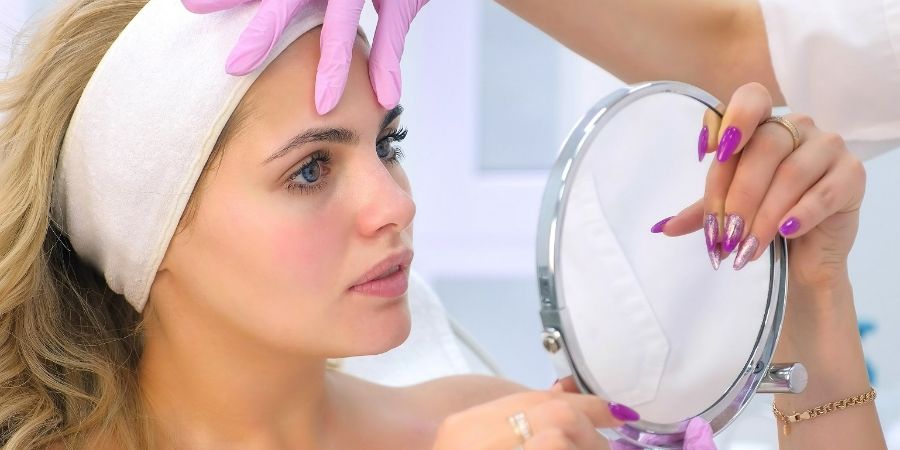
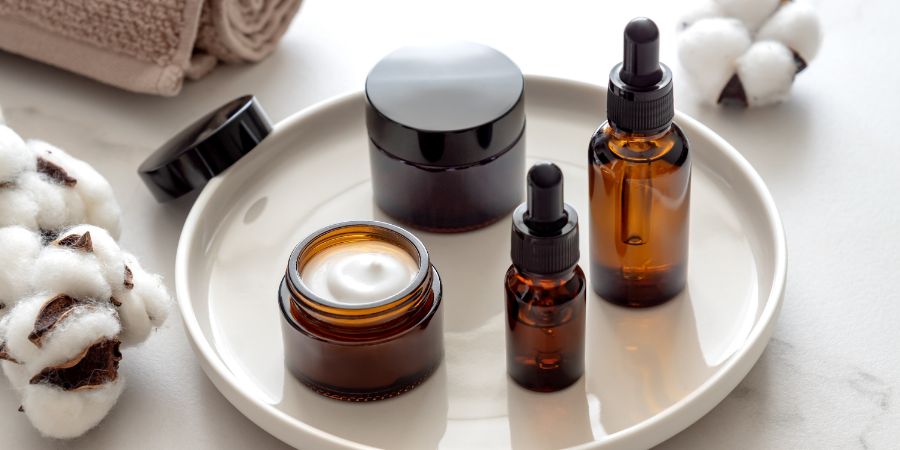
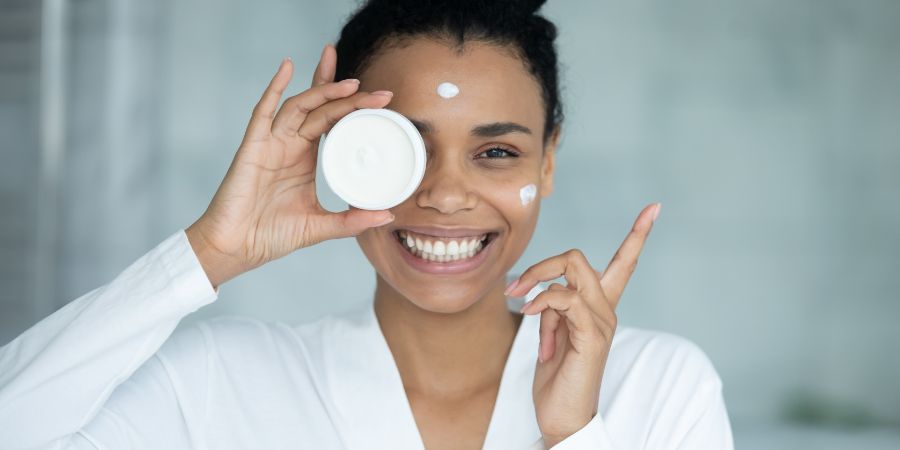
As a graduate of QC Makeup Academy’s Skincare Course (and as a certified International Skincare Consulting Professional (ISCP)), tell us: why do you feel skin knowledge makes one a stronger, even more qualified makeup artist?
Knowing skin makes ALL the difference! If you know skin, you’ll be able to create a makeup application that’ll last all day – for any skin type. You will also be able to recommend products to your clients, which can be very beneficial to them and your business.
Clients want to work with professionals who know their stuff! You must know your canvas to be able to create beautiful art.
In what ways did QC’s Portfolio Development Workshop benefit you? Why would you recommend it to other makeup artists – especially ones who haven’t yet developed their professional portfolio?
I liked QC’s Portfolio Development Workshop because I had to seek out other professionals who I wanted to work with. It created connections for me and gave me the courage to reach out to those in the industry. And at the same time, it builds your own portfolio! I would definitely recommend taking this course after completing other makeup courses.
Learn how to build YOUR professional makeup portfolio from scratch!
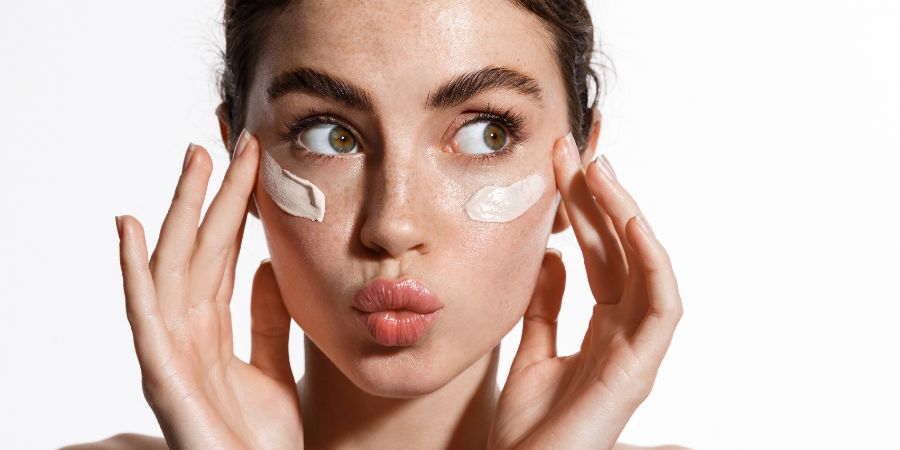
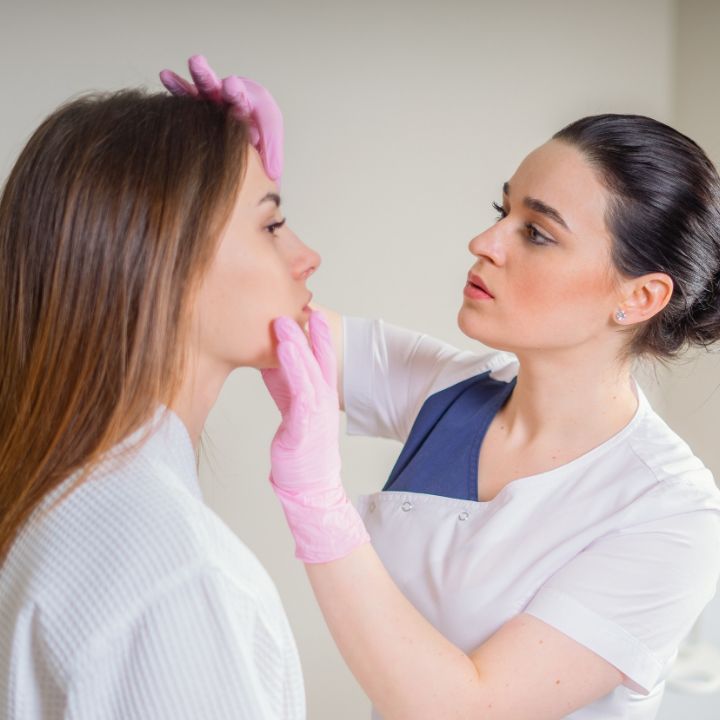
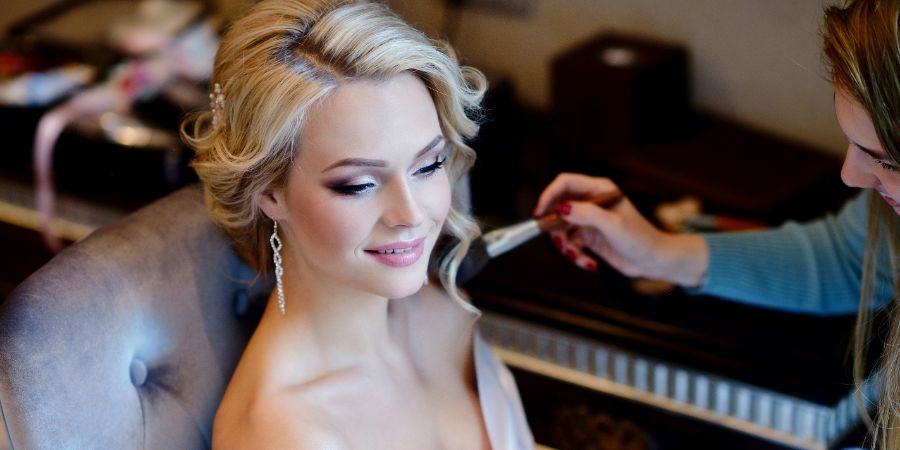
Photography by Kelsey Edel.
Speaking as a QC Makeup Academy graduate, do you believe that all professional makeup artists should be properly trained and certified? Why or why not?
Yes, this is SO important! As a makeup artist, you are working with people on some of the biggest, most important days of their lives. It’s so helpful to be able to lean on all your training when faced with a challenging look or difficult client. As previously mentioned, people want to work with professionals who know their stuff!
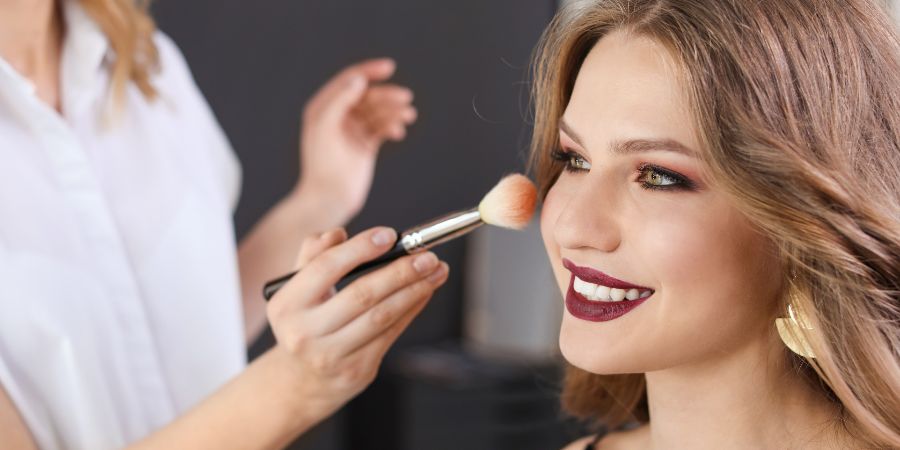
How would you describe your style as an MUA?
My style is very light and natural. My main goal is to always enhance the pre-existing beauty and help clients feel like their most beautiful selves. I always start with lots of skin prep, and will often reach for very light coverage or buildable skin products in order to create an effortless filter on the skin.
Furthermore, I tend to lean more into my brown/neutral color pallets for the eyes. I occasionally dabble in full glam makeup, but a majority of my clientele comes to me for very natural makeup looks.
What made you decide to open your own makeup business, Makeup by Len?
When I started my Instagram account, I was mostly posting photos of myself when I would try out fun, new makeup looks. It was a way to share my art with my close friends and family. But then I was shocked when the account took off in a short amount of time!
So, I quickly it changed it from only posting selfies to sharing my beautiful clients. Through Instagram doing its thing, the constant support from friends and family, and Nathan [Johnson] seeing my potential and pushing me towards greatness, I decided to just jump with both feet in and see where it could take me.
I LOVE running my own business!
Here’s how YOU can start your very own makeup business, too (even if you’ve never been a businessowner before)!
What would you say have been the biggest challenges about launching/running your own makeup business? Furthermore, what would you say have been the greatest rewards?
The greatest challenge was right at the beginning. I had lots of motivation, goals, and makeup… But no clients!
Anytime I heard of someone getting married, a photoshoot, or an event taking place, my immediate response was (and still is), “Do they need a makeup artist?” Business was very slow to start. In fact, this time last year, I had zero bookings and was extremely discouraged.
But through my friends and family spreading my name, posting as much as I could on Instagram, and another local makeup artist recruiting me to be a part of her team (Perry & Co), the bookings started rolling in! This summer, I am almost completely booked up and am loving every minute of it!
The most rewarding part of the job is seeing people’s reactions when they first look in the mirror. I think it’s so special that I’m able to help people feel their absolute best! I love getting to know all sorts of people through this job and experiencing the deep trust that comes with that.
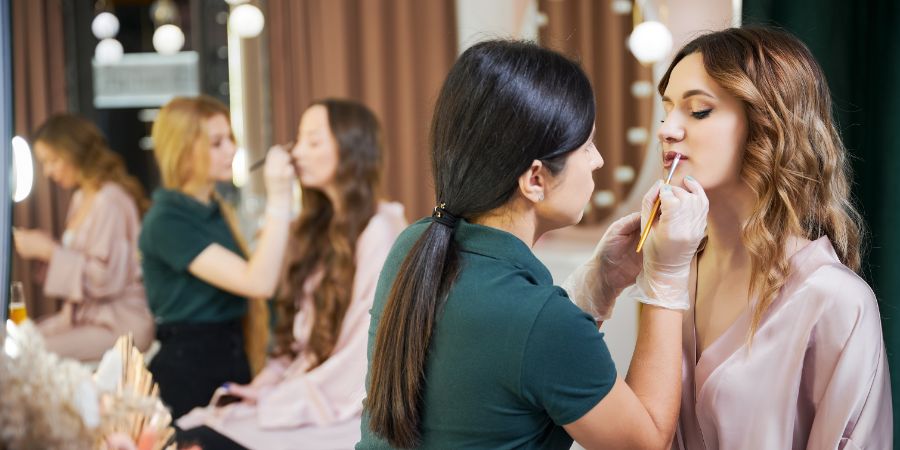
What services do you currently offer clients? Tell us about them!
I am currently offering:
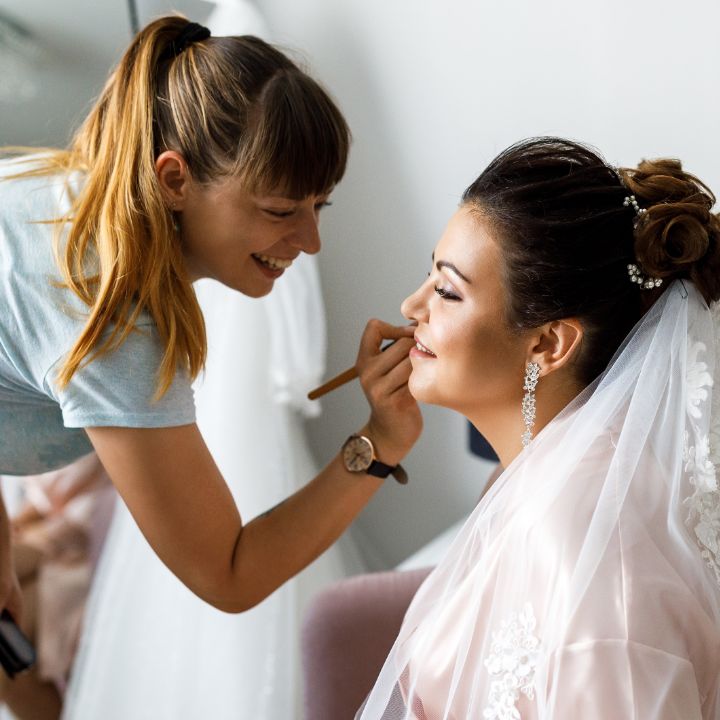
- Bridal, event, and editorial makeup services;
- Classic lash extensions;
- One-on-one makeup lessons;
- And skincare consultations.
Additionally, I hope to add lash lift and tints to the list in the winter!

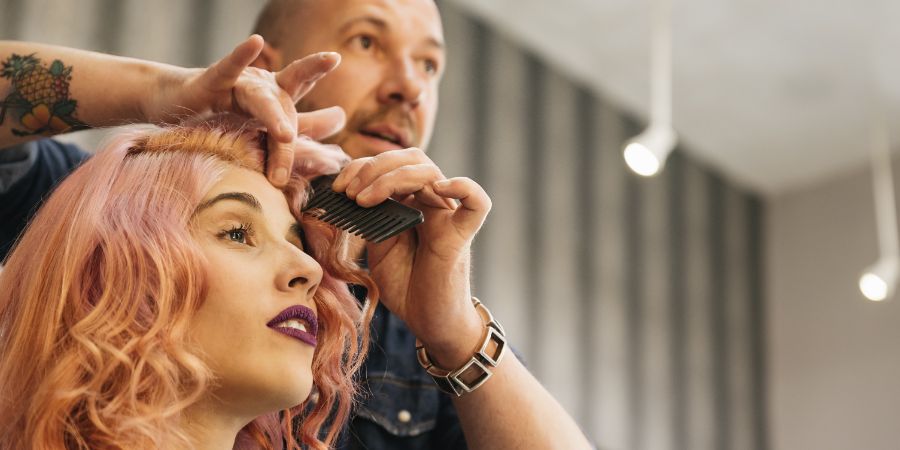
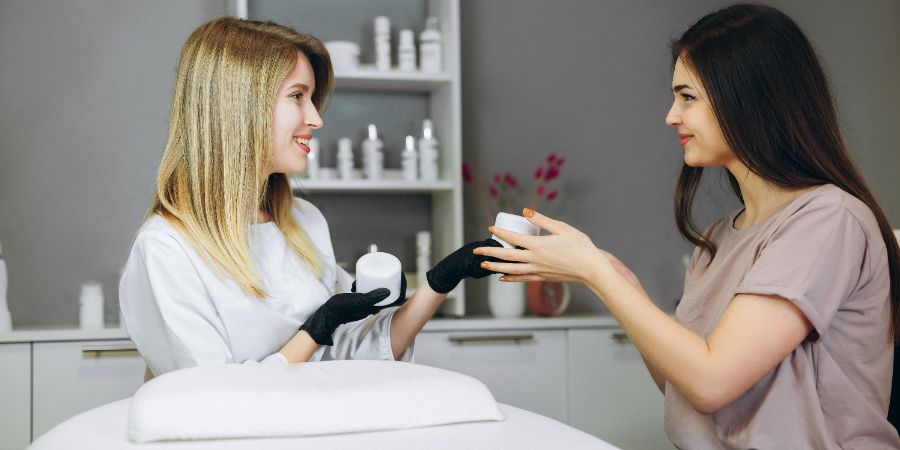
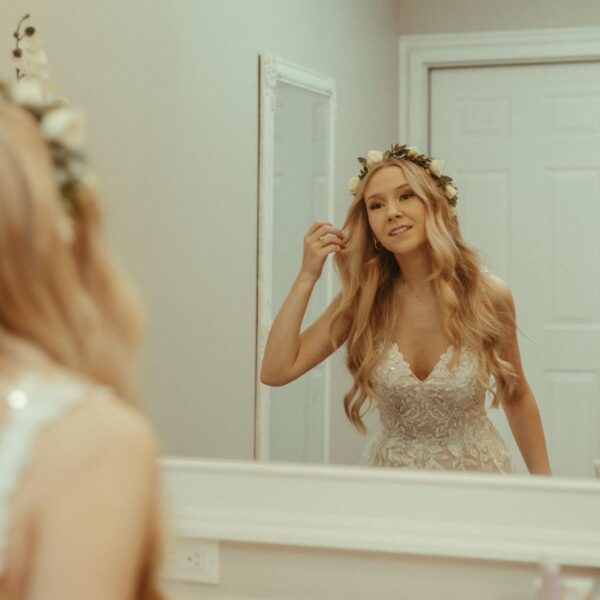
Photography by Felicity Siemens.
Of all these services, which is your personal TOP favorite to provide and why?
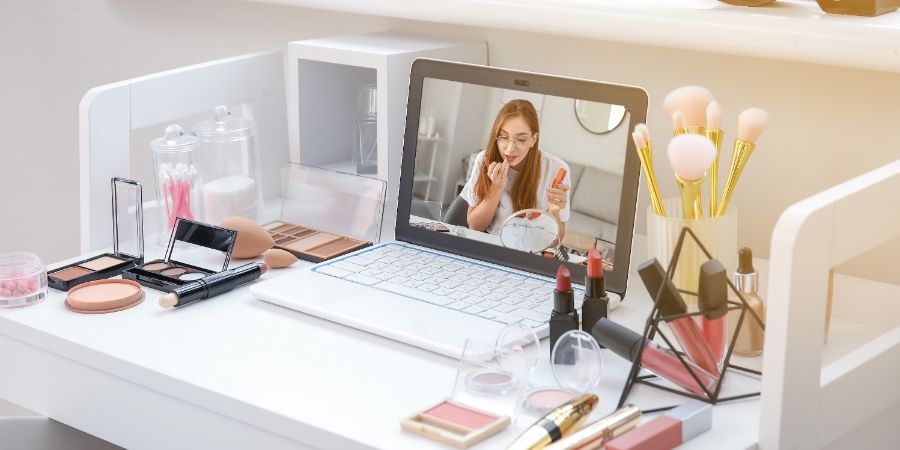
My favorite service lately has been one-on-one lessons! They are the perfect option if you’re a DIY bride or you’re just looking to amp up your everyday makeup routine. Teaching is so fun and so fulfilling!
Tell us a little about your business strategies with regards to: marketing yourself, networking, attracting/booking clients, building your portfolio, etc.!
I try to:
- Maintain a consistent presence on social media;
- Always have a business card on me;
- And bring up what I do in group settings or when meeting new people so I can get my name out there.
I’m by no means a social media influencer, but I do find it very fun to think of new ideas to post or looks to create. I strive for a balance of sharing my work, giving tips and tricks, and letting my followers get to know me a little better. Moreover, I seek out opportunities to expand my portfolio – which can often look like offering my services to photographers for styled shoots, or just planning something small with a friend to build new skills.
Seeking out those kinds of opportunities and making connections are going to be a HUGE game-changer if you’re just starting out as a makeup artist!
Behold – our Ultimate List of DO’S and DON’TS for ANY and EVERY professional makeup job!
What is “The Planet Policy”?
The Planet Policy is a new policy I am beginning to implement in my business. I’m in love with this earth and all the beauty that it holds. So, I try my best to be kind to it.
I’ve begun asking my clients to bring their own makeup sponges, mascara, and/or lip products (if they have). I ask this so that I can limit the amount of disposables used during each application. Since I can only use a sponge and mascara wand once, in order to keep things safe and sanitary for my clients, it ends up creating a lot of garbage.
But this way, the garbage stays empty and the clients stay safe from infection! Of course, I still carry all the necessary products and disposables, in case someone doesn’t have these items or forgets them. It’s simply an effort to reduce waste and keep this beautiful planet of ours safe!
Which makeup technique do you feel you are strongest at? On the flip side, are there any techniques you’re currently working on improving?
I feel that my strongest technique is a smooth, crisp eyeliner (in the natural liner style) or wedge. I’d like to work more on creating the flawless wing. It’s not typically a look I go for myself or will apply on my clients – so, I’d like to see that to be a very flawless technique of mine in the future!
You live in Winnipeg, Manitoba – a major Canadian city with a population of approximately 841,000. With so many competitors in and around your area, how does Makeup by Len stand out from the rest? What makes you and your business unique?
I try to be very welcoming, inclusive, and warm towards my clients. I strive to make everyone feel loved and listened to, while also creating beautiful makeup applications. Some ways I achieve this is by:
- Really getting to know my clients;
- Asking what makes them feel beautiful;
- Making cards for my brides to thank them for trusting me, as well as to congratulate them on their big day, etc.
It’s little things like this that can really make someone stand out from the rest. I want my clients to not only remember how they looked after working with me, but also how they felt. I truly adore all my clients!
Do you have any advice for other aspiring MUAs and QC Makeup Academy graduates who dream of running their own business?
Get your name out there as much as you can. Offer your services for any type of styled shoot with a local photographer, and always be willing to learn from other makeup artists.
Also, tell everyone you meet that you are a makeup artist and people will remember that! It’s not every day that you meet a makeup artist. We are very cool… So, own it!
In your opinion, what are the most rewarding aspects of being a makeup artist?
It’s that moment when you’ve finished a makeup application, your client looks in the mirror for the first time, and their face just lights up! It is feeling so tired after a long day of clients, but knowing that you helped people feel confident and beautiful. I’m so grateful to be in such a unique industry that holds so many special moments!
In your own words, can you tell us why you believe hiring a professional makeup artist is worth the cost?
When you hire a professional makeup artist, you know you’re getting quality work. Not to mention, your application will be clean and safe for you. I’ve seen many makeup artists not have proper sanitation in their kits, as well as not sanitize in-between clients, and it is quite scary!
Not all clients will know what to look for, in terms of proper makeup sanitation. So, when hiring a professional, you can be rest assured that the MUA you’ve hired knows what they’re doing and will keep you safe from infection.
Not sure how to price your makeup services? This video has the answer!
Do you remember your very first professional makeup job? Tell us about it! What did you learn from it, what went well, what didn’t go as planned, etc.?
What I lacked most in my first ever makeup job was confidence. I wasn’t confident in my work and didn’t charge nearly enough for the services provided. I let people take advantage of me throughout my first couple months of offering wedding makeup. It was frustrating and discouraging!
I also didn’t have a makeup bag; just a utility cart full of products, which made traveling nearly impossible. Very quickly, I learned that that was not going to suffice. So, I bought an actual kit early on in my career.
What’s your favorite makeup style and why?
I would categorize my favorite style as “angelic makeup”. It’s very glowy, light, and natural. Plus, it looks good on everyone! It’s always highly requested and is guaranteed to make the client feel beautiful (while still feeling like themselves).
Who are some of your makeup gurus/inspirations?
When I was in high school, I watched a lot of Tati Westbrook and James Charles on YouTube. However, I wouldn’t say they are my inspirations now.
Lately, I’ve been following Barrie Gower closely. He’s a Special FX artist and incredibly talented! I found him through his work on Stranger Things. I can only dream of being that amazing at Special FX makeup!
Discover the 5 BEST ways to start learning Special FX makeup as a newbie!
What words of wisdom would you give to other makeup lovers out there who dream of a career in the beauty industry, but are hesitant to take the leap?
The pros of being a makeup artist far outweigh any cons. If you’re willing to put in the work, make connections, and perfect techniques, that’s a great place to start. Also, find mentors and ALWAYS be willing to learn!
Overall, as a QC Makeup Academy graduate, why would you recommend QC’s certification training?
The ability of going at your own pace in the makeup courses is a huge reason why I, as a QC Makeup Academy graduate, would recommended QC over any other school.
You still have to work very hard, but you can also really perfect a technique before moving onto the next. There’s no stress in keeping up with classmates or missing deadlines. Also, you also get personalized feedback that will help you develop your skills – as well as help you recognize in which areas you need to put in a little more work.
Want to hear a real-life example of the kind of feedback you could get from QC Makeup Academy’s tutors? Watch as QC student, Jordan Garcia, REACTS to his Unit B feedback from executive instructor (and celebrity MUA), Nathan Johnson!
To date, what do you consider to be the proudest moment of your career so far?
I can’t pinpoint a certain moment in time… But I know there have been several times over the past year where I was driving to a makeup job, had just booked a good gig, or gotten really good feedback, and I got a little emotional thinking to myself, I am actually doing this.
Not only am I living out my dream; it’s going really well! If I think about these awesome moments for too long, I will get lost in some happy tears. I am so grateful for a career that is so fulfilling!
What’s in store for you and Makeup by Len this year and beyond?
This year, I hope to expand my lash services in order to grow my clientele. I want to be EVERYTHING my brides need me to be during the week of their wedding! I like to learn new skills slowly, so that I can really perfect them before learning something new.
So, that is the goal for now! I would also like to keep practicing my Special FX makeup and start advertising that more to the public, too!
Imagine: You’re trapped on a deserted island and can only have THREE makeup products and/or tools with you. Which do you choose and why?
Always, always, always SPF! I never leave home without it – especially not to a deserted island! Then I’m bringing my Rare Beauty Lip Gloss in the shade nearly neutral (she’s so beautiful!).
And, of course, I’ll have my Maybelline Colossal Mascara. This is pretty much all I wear on a day-to-day basis! I’m a simple gal when it comes to makeup for myself!