Gabrielle Rivera is a QC Makeup Academy graduate and professional makeup artist. To see more of her work, visit her Instagram here. Today, Gabrielle reveals 4 mistakes you should never make with special effects makeup!
Special effects makeup is a great opportunity to step outside of your comfort zone, try new techniques, and tap into your creativity. Although special effects makeup can involve creating a look that isn’t perfectly blended or traditionally “pretty”, there are still some makeup sins you DON’T want to commit!
4 Special Effects Makeup Sins You Shouldn’t Commit

1. Don’t Overuse Special Effects Makeup Looks
Personally, I enjoy creating over-the-top special effects makeup looks as much as the next artist. However, something I learned early on in my career is the importance of researching realistic images, in order to help me bring my vision to life.
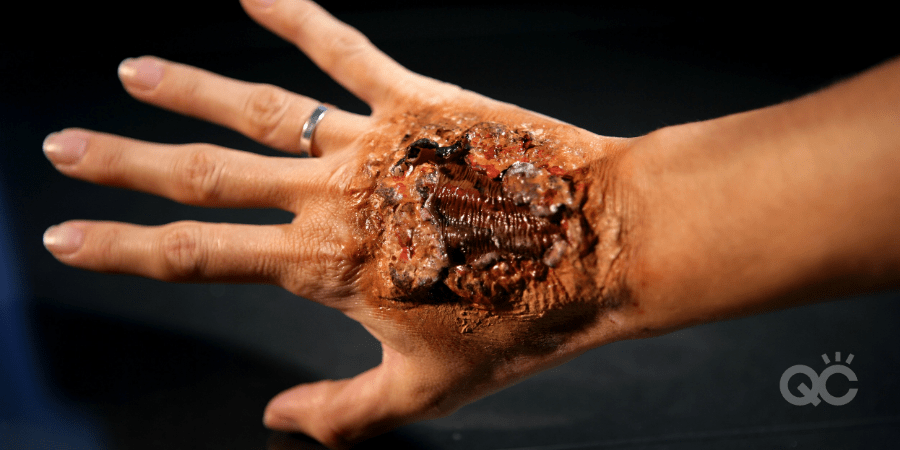
While you might think that SFX looks need to be unrealistic or exaggerated, there are still guidelines you should consider when creating these looks. The best thing you can do as an artist is to research photos of real bruises, cuts, scrapes, and any type of wound you wish to create.
Looking at realistic photos will help you to better design and color your special effects looks.
2. Don’t Overuse (and Misuse) Fake Blood
Another sin I frequently see with special effects makeup is the overuse and misuse of fake blood. Although fake blood can tie an SFX look together and bring it to life, it can also take away from the look if not used properly.
Overusing fake blood is one mistake that I find extremely common. Sometimes, even when it comes to gore-inspired looks, less is more. Time and time again, I’ve seen content where an artist spends a lot of effort adding details to their looks – only for it to be covered up with blood.
Remember: adding blood should accent your design, not overpower it!

Likewise, misusing fake blood can also quickly make a realistic design appear overtly fake. When designing a look, consider the optimal color and thickness of any fake blood you intend to use. It should closely resemble the wound or effect you are trying to create.
Pro Tip: To make a special effects makeup look more realistic, consider the direction that blood would flow from a wound, or how the blood would splatter. Don’t simply spray blood in every direction. In real life, this doesn’t happen NEARLY as much as you’d think.
3. Don’t Use Sharp or Dangerous Items
In this modern age of social media, artists do not always take the proper care when creating special effects makeup looks. Sometimes, the desire to create a look that will stand out above the rest overshadows the very real need to put your safety above all else.
This is a major mistake that can prove costly, should anything go wrong. Although creativity is always welcomed, it can be dangerous to improperly use materials when creating an SFX look!
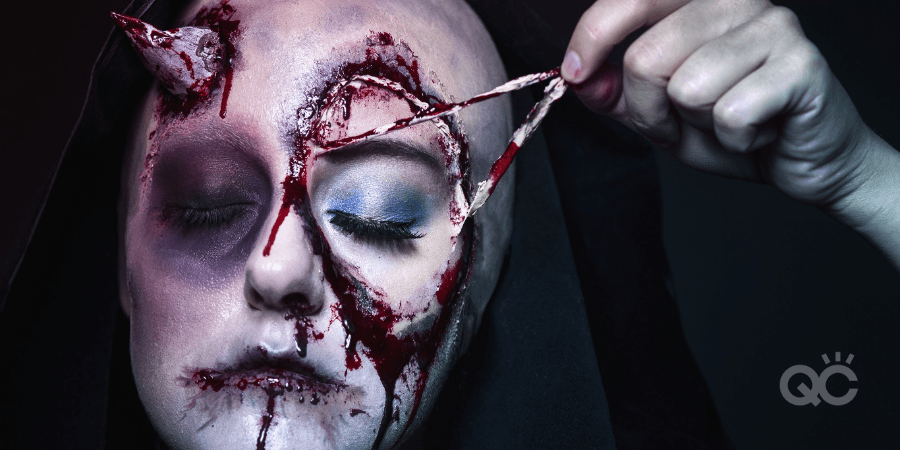
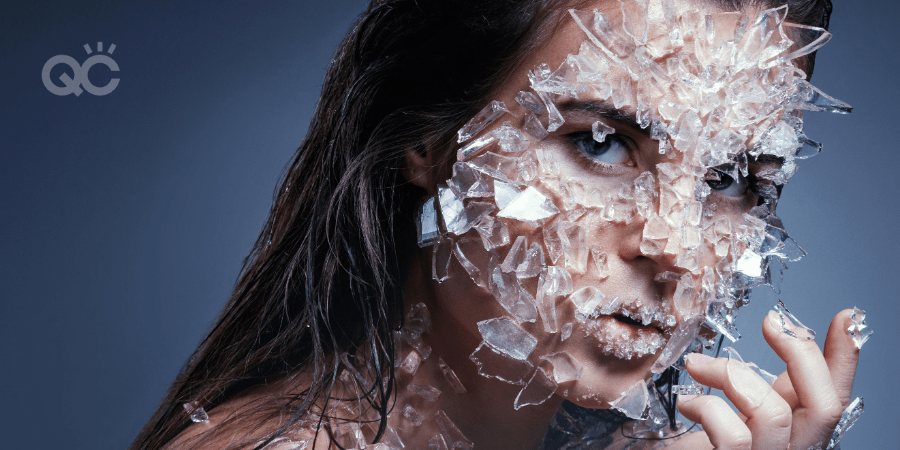
For example, artists should not use real glass, nails, or other sharp objects to bring a design to life. If creating a look that contains normally sharp objects, you should file the tips of down and ensure they are properly covered. Likewise, artists should never use real glass or metal – especially near their eyes, nose, or mouth. Instead, use items made out of plastic or other pliable materials.
This is an important step that’s often overlooked. Yes, it can be more time-consuming to create objects safely, but it’s a critical step of the process. When special effects looks are created with dangerous objects, it can be unsafe for both you and the model. So, please remember that safety always comes first!

4. Don’t Forget to Blend Your Edges
Lastly, a small detail that can take your special effects makeup to the next level and help make it as realistic as possible is to blend your edges! It doesn’t matter if you’re using a premade prosthetic, scar wax, cotton and latex, or other compounds. Unblended edges can quickly diminish the effect of your design.
Blending the edges of your special effects makeup is such an important step in creating a realistic look! It provides a cohesive look from top to bottom. There are a few ways to help blend edges, depending on what product you’re using. Let’s take a look at a few of them…
Cotton and Latex
If you’re creating your own cotton and latex build-up, the easiest way to blend your edges into the rest of your look is to heavily saturate the cotton with latex. Once the cotton is heavily saturated, it changes the consistency. Thus, it’ll be easier to smooth and blend out.

Prosthetics
Pre-made prosthetics will usually have thin edges. These are meant to help artists easily blend the prosthetic into the skin. However, depending on the quality of the prosthetics, this may not always be the case.
To avoid bulging edges, you can apply latex and cotton to the edges. This will help blend the prosthetic. Another option would be to use Pros-Aide cream, which is specifically designed to help fill in gaps or seams.
Scar Wax and Other Modeling Components
When using scar wax and or other modeling components, an easy way to blend the edges properly and seamlessly is to use any of the following products:
- Vaseline
- Lotion
- An oil that helps “melt” the product into the skin
The best way to apply any of the above products would be to rub it onto the tips of your fingers and then carefully rub along the edges of your design.
