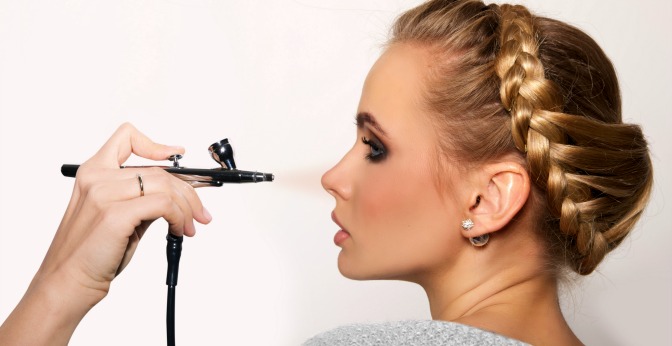
So you’ve decided to get into airbrush makeup. The world is looking bright: new techniques, new services, new clients… new kit?
Airbrush makeup comes with its own challenges. You’ll have to master a totally new method of makeup application—but that’s not all you’ll need. Because airbrush makeup is applied using a special compressor and gun, it requires specially formulated products. And you know what that means—if you want to offer airbrush makeup to your clients, your kit will have to grow!
If you’re a makeup artist who’s strict about building her kit on a budget, the thought of building an airbrush kit alongside your traditional kit might have you (and your bank account) cringing. But, like a traditional kit, an airbrush makeup kit doesn’t have to be outrageously expensive. Read our tips to figure out where you do (and don’t!) need to spend.
1. Figure out your focus
If you read our post on airbrush makeup tricks, you’ll know that you can use your airbrush for way more than just foundation. But don’t get carried away. Just because you can airbrush eyes, lips, or hair doesn’t mean you will.
Be realistic about what you’ll use your airbrush for. If you know you’ll be creating elaborate fantasy designs with your airbrush, you’ll probably need a pretty big kit. In addition to the basics, you’ll need a whole range of highly pigmented, long-lasting colors. You’ll also need an airbrush machine that’s designed for going beyond the face for partial or full body applications.
On the other hand, if you know most of the demand for your airbrush services will come from brides, you can scale things way back. Most brides will be happy with a basic concealer, foundation, and setting spray application. You can keep your kit to a few colors, which you can easily blend to match any skin tone, and then stick with traditional products for eye and lip application.

Pro Tip: Building your airbrush makeup kit is just like building a traditional kit. If you don’t need it, don’t buy it!
Not quite sure who your target client should be? Take this quiz to find out!
2. Get the equipment
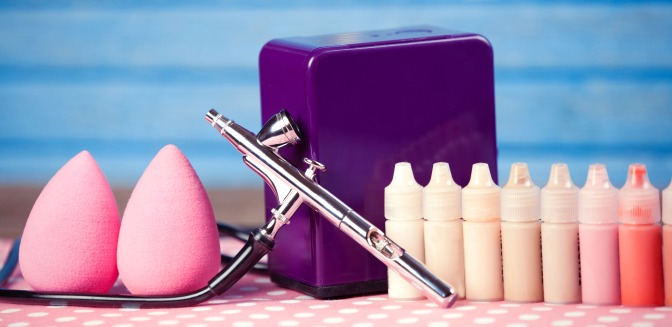
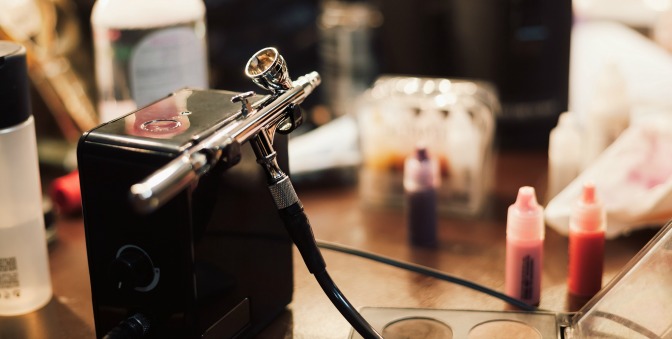
Before you start stocking up on different products and shades, you need to get the basics. Airbrush makeup won’t do you much good without an airbrush to use it!
An airbrush has two main components: a compressor and an airbrush gun. You can find various starter kits that include both a compressor and a gun, or you can buy the two pieces separately. If you’re thinking of signing up for QC’s airbrush makeup workshop, you’re all set—the course includes QC’s own airbrush compressor and gun!
Otherwise, you’ll need to shop around for your own. Here are a few things to keep in mind when you’re shopping for a compressor:
- A diaphragm compressor is cheaper and less powerful than an industrial compressor—ideal for makeup.
- 30—40 pounds per square inch (PSI) is the power you’ll need for a standard makeup application, but body art can require a higher PSI.
- If you’ll be carrying it around on-the-go, look out for one that’s small and not too heavy!
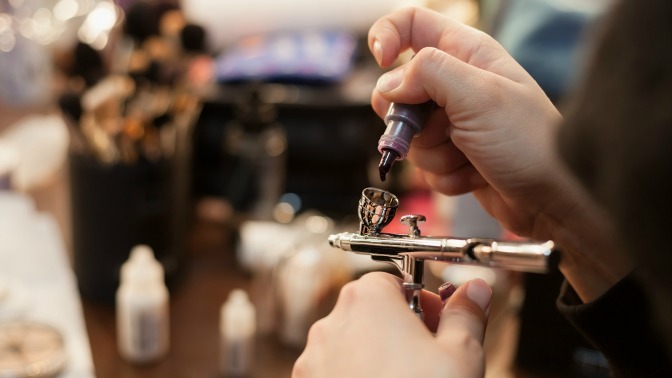
And for your airbrush gun, decide if you want a single-action trigger (simply push down to spray) or a double-action trigger (control intensity and flow of pigment with the trigger).
3. Know your foundation formulas
Airbrush foundations come in three different formulas, each with their own pros and cons. It’ll probably take some hands-on practice for you to figure out what you prefer, but knowing a little about all three can help you get your airbrush makeup kit started.
- Alcohol-based foundations have incredible staying power, but they can be drying on the skin.
- Water-based foundations give a matte appearance and easily build to full coverage—perfect for working under bright lights where shine is a major no-no. But tears, sweat, rain, or any other kind of water can easily smudge it. Water-based foundations can also dry a few shades darker than anticipated, and require you to airbrush the entire area to avoid a clear “drying line”.
- Silicone-based foundations are awesome at matching the look and texture of real skin. It’s also way more forgiving—you don’t have to airbrush a full face like you do with a water-based formula. However, some (like OCC at the bottom of their FAQ) worry about the health effects of inhaling silicone, which can be unavoidable when you’re airbrushing. It also tends to dry about half a shade darker than it appears in the bottle.
4. Get a starter kit
Every makeup artist know the struggle of matching foundation. Even if you’ve mastered matching with traditional foundation, airbrush foundations can present a whole new challenge—especially with water- and silicone-based formulas drying darker.
The fact is, it’s tough to know what shades of foundation you’ll need when you’re starting to build your kit airbrush makeup kit. Luckily, many brands offer “starter kits” that come with several basic airbrush shades to cover your foundation needs. As with many palettes or gift packs, a starter kit is also often cheaper than buying a bunch of different shades individually.
5. Know what’s out there
Some artists love their airbrush. Others, not so much. Personal preference and client demand will determine how much use your airbrush kit ends up getting, along with what exactly you’re using it for.
If you’re looking to expand your airbrush services, though, it’s a good idea to know your options. Fantasy makeup and body paint tend to get all the attention, but there are more low-key (and often more practical) ways to grow. For instance, adding Temptu’s S/B Airbrow Set to your airbrush makeup kit gives you everything you need to start airbrushing brows. There’s also a whole bunch of setting and sealing products that you can airbrush over the rest of the face for a locked-in look that just won’t budge.