![Mastering the Smoky Eye Tutorial [video]](https://www.qcmakeupacademy.com/wp-content/uploads/2020/05/Copy-of-Makeup-Header-Image-Black-Overlay-Template-17.png)
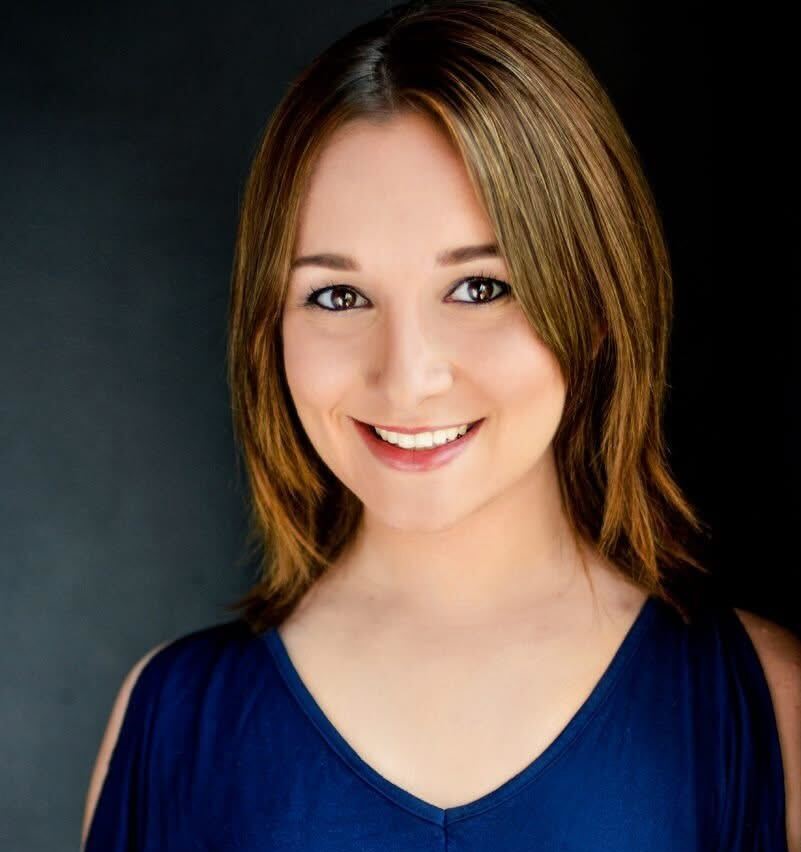
Devyn Gregorio is a QC Makeup Academy Student Ambassador and professional makeup artist. You can find her on her YouTube Channel, DevDevGregs, where she makes beauty videos. Today, Devyn walks us through the step-by-step process of a killer smoky eye look!
Let’s Recap!
As a makeup artist, mastering the smoky eye is sort of like a rite of passage. It’s a skill that every respectable MUA needs to have, since you’ll encounter innumerable clients who will request this look from you. Not to mention, a solid smoky eye is an essential addition to your makeup portfolio!
As a graduate of QC’s Master Makeup Artistry Course, Devyn knows the importance of a good smoky eye better than anyone! Indeed, it’s a staple look she frequently incorporates into her own makeup routine, her YouTube vlog, and her professional makeup career.
”In my opinion … if you’re only going to learn how to do one eyeshadow look, [smoky eye] is the type of look you should learn!
Devyn Gregorio
As Devyn points out, there are a LOT of different ways (and with different techniques) that you can approach the smoky eye. However, her go-to process for achieving this look can be broken down into 4 easy-to-remember steps.
So, let’s take a look at Devyn’s interpretation of the classic 4-step smoky eye!
Before You Begin, Make Sure to Prime!
Devyn begins by introducing the Soft Glam Palette by Anastasia Beverley Hills. This is what she’ll be using to create her eye makeup. While we will be referencing the colors from this specifically palette, you can use whichever eyeshadow products you’d like when recreating this tutorial!
You’ll want to start by priming your eyes, which Devyn has already done, using Urban Decay’s Primer Potion.
She then sets her upper eyelids with the very first shade in the Soft Glam Palette: Tempera. While she pats on this light shade, she urges you to keep in mind that working on your own face is an obviously different experience than applying your skills on a model.
If you wish to learn how to do a successful smoky eye on clients, it’ll be important that you also acquire some real-world experience in working on other people’s faces, too.
Step 1: Your Crease Shade
For her crease, Devyn selects the Burnt Orange shade from the Soft Glam Palette. In terms of brushes, she selects the Morphe M518 brush. Importantly, this brush is fluffy in texture, which will help create a more flawless blend.
Note: When choosing your brush, make sure that it’s not TOO fluffy! You want to maintain control over where the eyeshadow is being spread across the eye. You want the product to be primarily concentrated in your crease.
Devyn then begins to apply the Burnt Orange shade along her crease. Notice the way she swivels the brush head into tiny, circular strokes! This is a key technique she uses when blending eyeshadow.
Devyn also notes how, since she’s working on herself, she’s raising her eyebrow a bit. This helps her to get better access to the crease. If working on a client, you can urge them to keep their eyebrows neutral. Then, use your fingers to lightly lift the skin, just enough for you to properly work on their crease.
The goal of this step is to get an even blend!
Remember: Don’t try to start by doing too much, too quickly! During this step, try to keep things tight along your crease. It’s alright to create a small blending effect, but try not to spread it out too far or too high. Pay attention to where the brow bone sits, and how much crease and lid space it gives you to work with. Work with it, not against it!
Step 2: Your Outer Corner Shade
Next, Devyn selects a darker shade from the palette: Cypress Umber. If you’re using a different palette, choose a rich, medium brown hue. She switches brushes for this step, now opting for a much smaller blending brush.
Add the product to your brush, and begin applying it to the outer half of your lid. Apply the product on a diagonal, moving upwards towards your crease. Again, start small and gradually build! Don’t go into it with a heavy amount of product.
As with any type of makeup application, you’ll achieve way better results if you apply your product in sheen layers. If you have a heavy hand, be mindful to go in with lighter pressure. When it comes to a smoky eye, it’s all about the blend!
Once you’ve built it up to the corner, you can then begin inviting it up into the crease. Don’t blend this darker shade over the entire crease, though. Try to only incorporate the eyeshadow to about half way through.
Note: Once you’ve laid down the foundation with these two steps, you can now go back in and intensify the look (if desired). Now’s the time to embolden the color, fan out the blend a bit more, or even just to smooth out the blending so that every color transitions into each other seamlessly!
Step 3: Your Lid Shade
For her eyelids, Devyn picks a bright, glittery Bronze shade. Instead of using a brush, Devyn opts to tap the products directly onto her finger. So long as your hands are clean, this is absolutely a useful method for applying eyeshadow, since your body temperature will help warm up the product!
Should you not wish to use your finger, you can use a flat eyeshadow brush for this step.
She then stipples the eyeshadow onto the center of her lid, working it out so that it meets the outer corner and upper crease. Go back in with a second layer, to help build coverage. Use your finger to blend this brighter shade with the darker, contrasting shades already applied your outer corner and crease.
Afterwards, if you want to intensify the lid even more, now’s the time to go back in with your flat brush for a third layer of product! For an added POP, wet your brush with a setting spray after you’ve gathered the product (and before you apply it to your eyelid).
Step 4: Your Brow Bone + Inner Corner Highlight Shade
You’ll notice that Devyn takes a quick break off-camera before this final step, to apply the rest of her makeup and add some false eyelashes. You can also choose to do the same, or simply wait until you’ve completed your smoky eye.
Devyn then delves into the last part of this 4-step tutorial, which is to highlight the brow bone and inner corner of the eye. Using a flat eyeshadow brush, she gathers some of the shade, Glistening. For those not using the Soft Glam Palette, this is a glittery, peachy-gold color.
She then taps it onto the inner corner of her eye. It’s not a terribly dramatic result; more so a subtle pop that brings extra dimension to the overall look (especially from the right angles). Afterwards, she swipes her brush along the outer, lower half of her eyebrow. Because Devyn has a good amount of brow bone space, she lightly works this color out to cover more of that empty space.
Bonus Step: The Bottom Lid
This step is optional. However, to get a well-rounded smoky look, it’s definitely a great inclusion to add to the process!
Using the same color that you used on the outer corner of your eye, as well as a light hand, apply this hue along your lower lash-line. Blend it out so that it doesn’t look like a chunky, harsh line. Again, remember to approach this step by layering your product. If you want a darker result, add more layers.
Finish off the look with a little mascara on your lower lashes… and voila! You’ve achieved a sexy, perfect smoky eye!
Devyn’s Food for Thought
When it comes to the art of makeup, the key is to learn the basics first. Once you’re confident in your ability to get the basics of a given look down, you can then go back in and get more creative.
In terms of a smoky eye, this same notion applies. While the 4 steps outlined in Devyn’s tutorial help to teach you how to create a standard smoky eye, there’s still plenty of room to build off of it and add more dimension!
Play around with different colors; experiment with the depth, intensity, and blend. Makeup allows you to truly express yourself, so don’t hesitate to try new things!
It’s only by trying that you’ll learn how to truly grow!