Key Points
- Bold makeup returns in 2026, bringing expressive eyes, statement lips, and creative color back into the spotlight.
- Balance and intention define 2026 makeup trends, with one focal feature paired with softer skin and blended finishes.
- Soft sculpting replaces harsh contour, using diffused blush, bronzer, and highlight for natural dimension.
- Eye makeup trends lead in 2026, including graphic eyeliner, monochrome eyes, metallic finishes, and statement lashes.
- Lip trends focus on bold color and texture, featuring reds, berries, browns, gloss, and blurred edges.
- Complexion makeup stays lightweight and breathable, supporting bold features with controlled glow and seamless blending.
- Seasonal makeup trends shift color palettes, while core techniques remain consistent throughout the year.

Introduction
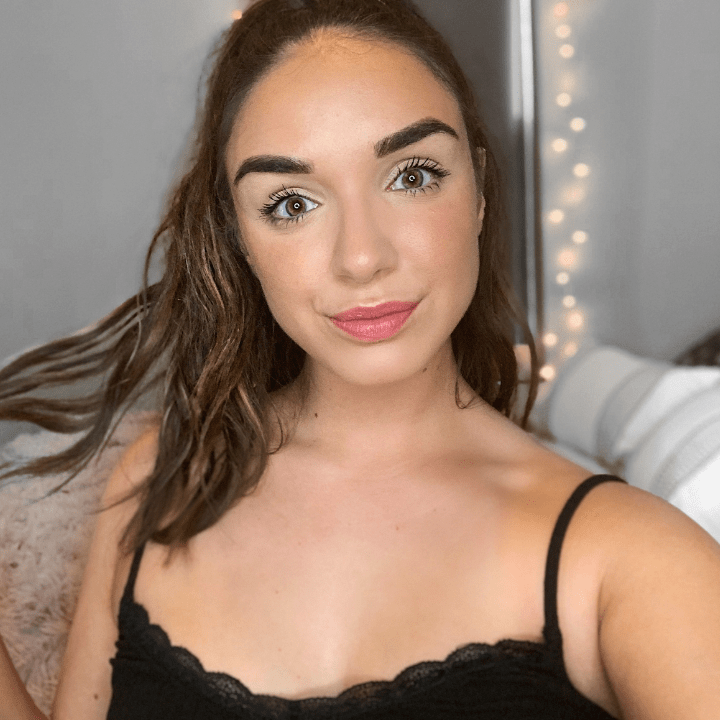
After years of ultra-minimal and “clean” beauty dominating trends, bold makeup is making a comeback in 2026. Color, creativity, and expressive looks are shaping how makeup is worn this year. Below, we break down the biggest makeup trends of 2026—starting with the core rules shaping bold makeup this year
Keep reading to see the looks defining 2026.
5 Rules Defining Makeup Trends in 2026
Before diving into individual makeup categories, it helps to step back and look at the bigger picture. In 2026, bold makeup isn’t about doing more everywhere—it’s about intention, balance, and visual impact.
These five rules define the makeup trends shaping 2026 and set the foundation for the looks that follow.
1. Soft Sculpting Over Sharp Contour
Sharp contour takes a backseat in 2026. Instead, sculpting is softer and more blended, enhancing the natural shape of the face rather than dramatically reshaping it.
Blush, bronzer, and highlight flow seamlessly together, creating dimension that feels fuller, warmer, and intentionally understated—while still supporting bold makeup elsewhere.
2. Dewy Skin, Applied With Intention
Dewy skin remains a key makeup trend in 2026, but the execution is more controlled. Rather than covering the entire face in shine, glow is placed strategically to add dimension and structure.
This approach keeps skin looking fresh and polished, making it easier to pair with statement eyes, lips, or cheeks.
3. One Statement Feature at a Time
Bold makeup in 2026 is defined by focus. Instead of emphasizing every feature at once, looks are built around a single focal point—either the eyes or the lips.
This rule keeps bold makeup cohesive, wearable, and adaptable across different styles and occasions.
4. Soft Drama Over Hard Definition
Drama still plays an important role in makeup trends, but it’s delivered with a lighter hand. Smoky eyes, liner, and definition lean toward blended edges and soft diffusion rather than rigid lines or heavy contrast.
The result is makeup that feels impactful yet modern, flexible, and easy to wear.
5. Balance Is Key
Across all makeup trends in 2026, balance is the guiding principle. Strong features are paired with softer finishes, and expressive looks are grounded with thoughtful restraint.
This balance is what keeps bold makeup looking current—and it’s a rule that carries through every category that follows.
Want to go beyond trends?
Master any look by learning the foundations behind it with QC Makeup Academy’s Master Makeup Artistry course
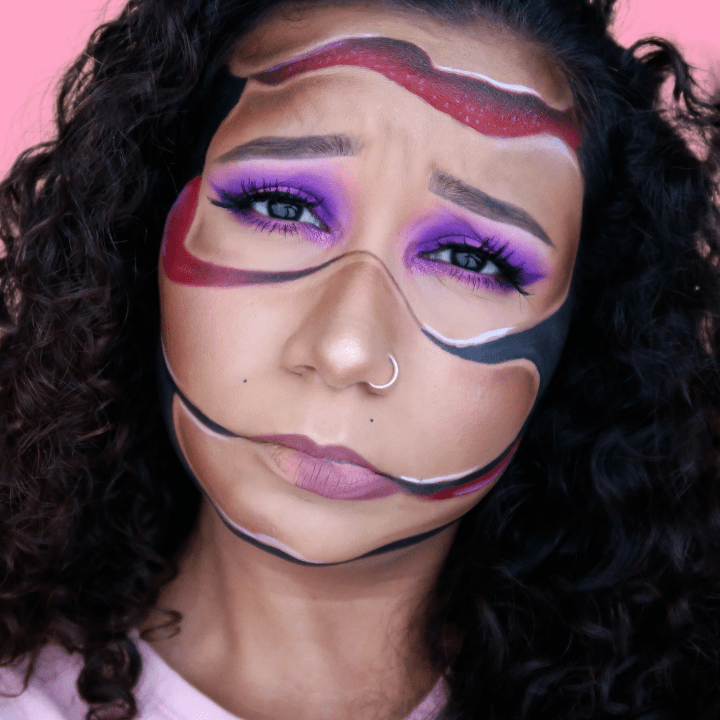
Eye Makeup Trends for 2026
Eye makeup is where bold beauty shows up most clearly in 2026. This year’s eye trends focus on shape, color, and texture, with looks that feel expressive without being overdone. Many of these styles have been building momentum for a while and are now appearing in more refined, wearable ways.
Here are the eye makeup trends defining 2026.
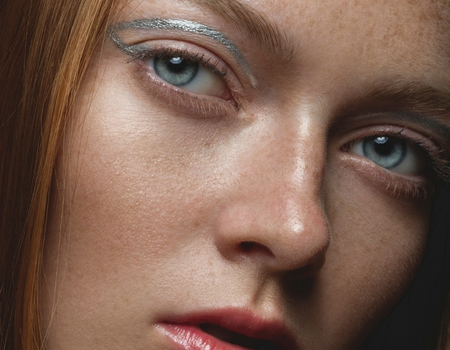
Graphic Eyeliner
In 2026, graphic eyeliner goes beyond the classic cat eye. Instead of a single wing, artists are experimenting with floating liner above the crease, double-winged liner, extended outer corners, and negative-space designs.
This look has gained popularity over the past few years, particularly in editorial and runway makeup. In 2026, there’s an emphasis on clean lines and thoughtful placement rather than overly complicated designs.
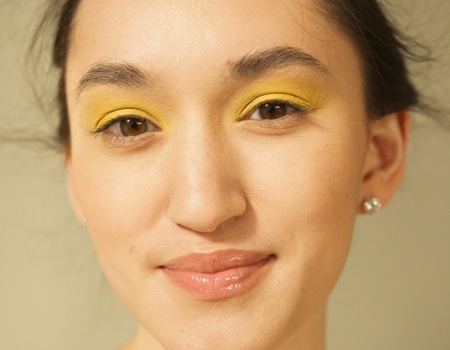
Monochrome Eye Makeup
Monochrome eye makeup uses a single shade across the entire eye for a strong, cohesive look. Instead of blending multiple colors, the focus is on placement, finish, and intensity.
This style has cycled in and out of popularity since the 1990s, and in 2026, it’s back with a more modern feel. It works just as well with neutral tones as it does with bolder colors, making it easy to adapt for different looks.
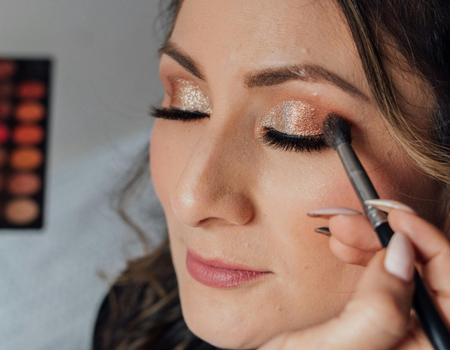
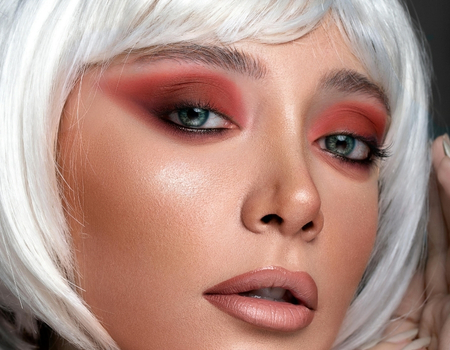
Metallic & High-Shine Eyes
Metallic eye makeup is making a noticeable return in 2026. Shimmery, chrome, and high-shine finishes add immediate impact without heavy layering or complex techniques.
While metallics were especially prominent in late-90s and early-2000s makeup, today’s versions feel smoother and more polished, creating bold looks that still feel balanced.
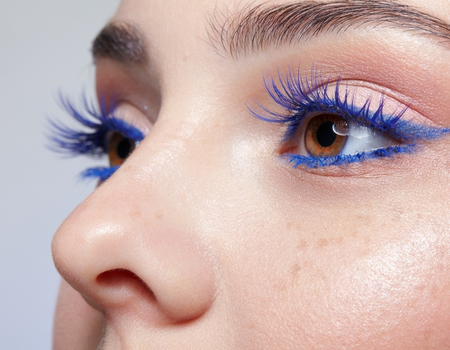
Statement Lashes & Mascara
In 2026, lashes often take center stage. Dramatic false lashes, layered mascara, or even subtle color through mascara can become the focal point of the look.
This trend reflects a shift toward feature-focused makeup, where one element stands out while the rest of the makeup stays restrained.

Soft, Smudged Eye Makeup
Soft, smudged eye makeup continues to be popular in 2026, offering a more relaxed take on classic smoky eyes. Instead of sharp lines, the emphasis is on blending, diffusion, and a slightly undone finish.
Inspired by late-90s and early-2000s makeup, this look brings back depth and mood while feeling updated and wearable for today.
Want to learn how to apply the perfect eye shadow? Check out our article on applying eye shadow step-by-step here.
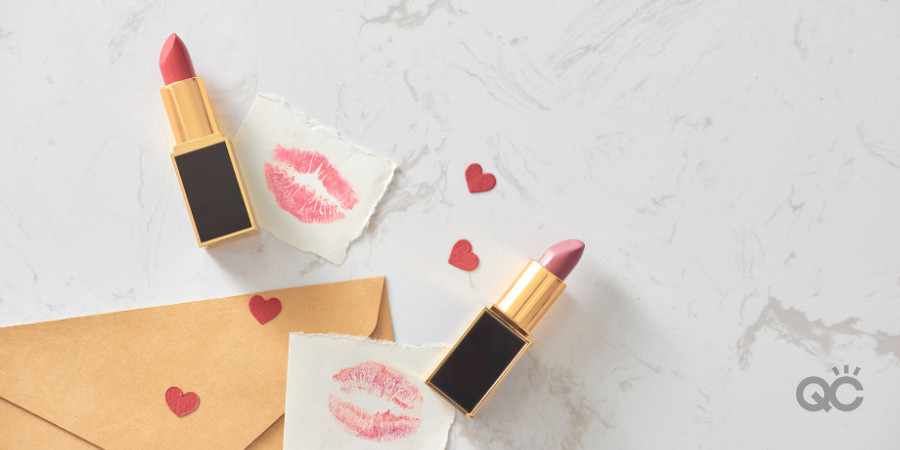
Lip Makeup Trends for 2026
Lip makeup in 2026 is bold, intentional, and expressive. Instead of one dominant finish or shape, this year’s lip trends focus on color, texture, and placement to create clear focal points.
Here are the lip makeup trends defining 2026.

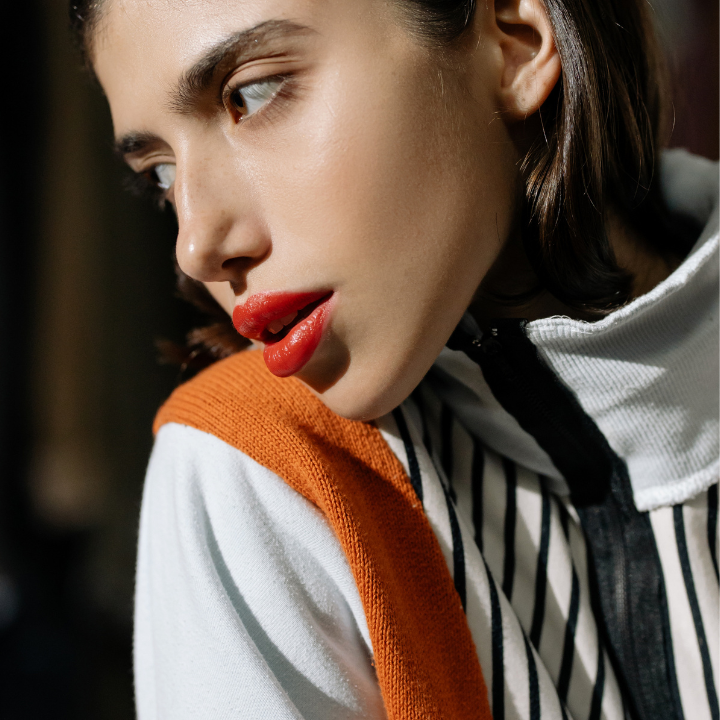
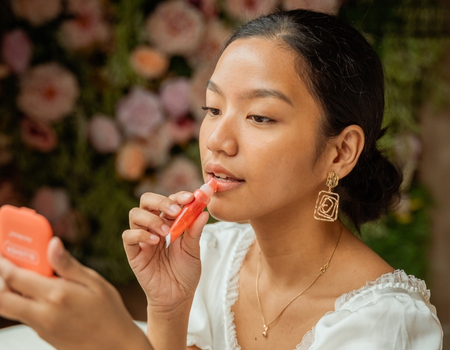
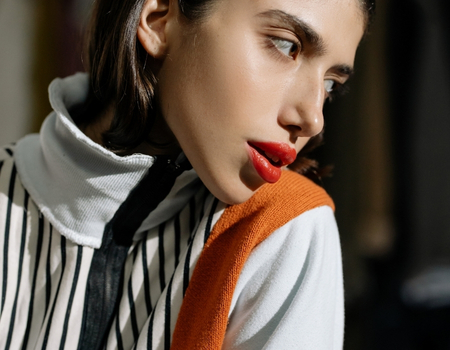
Statement Lip Color
Bold lip color is a major focus in 2026. Saturated shades like reds, berries, browns, and deeper neutrals are being used as the focal point of the look rather than as an accent.
This trend feels like a natural shift after years of neutral and understated lips, bringing attention back to classic, confident lip statements.
Gloss Is Back (But Refined)
Perfectly sharp lip lines aren’t always the goal in 2026. Blurred and diffused lips create a softer, more relaxed look that still feels intentional.
This style has roots in earlier makeup trends from the 2010s and continues to evolve as a subtle alternative to crisp, defined lips.
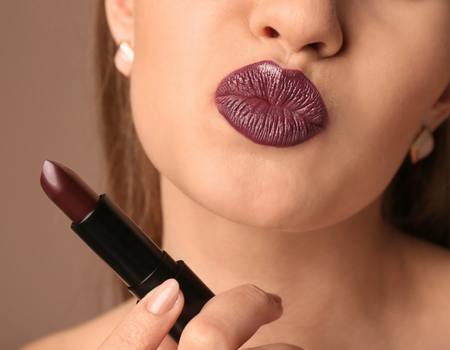
Unexpected Lip Shades
In 2026, lip color experimentation goes beyond traditional reds and pinks. Browns, muted plums, brick tones, and warm terracottas are becoming more common in both everyday and bold looks.
These shades feel modern and expressive without being overly dramatic.
Lips as the Focal Point
One of the defining lip trends of 2026 is letting the lips do the work. Instead of competing with bold eyes or heavy contour, lip-focused looks are paired with minimal makeup elsewhere.
This aligns with the broader trend of feature-first makeup, keeping looks balanced and intentional.
”The highlight of this experience so far has been the doors it’s opened for me. It’s helped me envision a future in makeup artistry, and I truly feel empowered to pursue it with passion and purpose.
Sarah RobertsonQC Makeup Academy Graduate
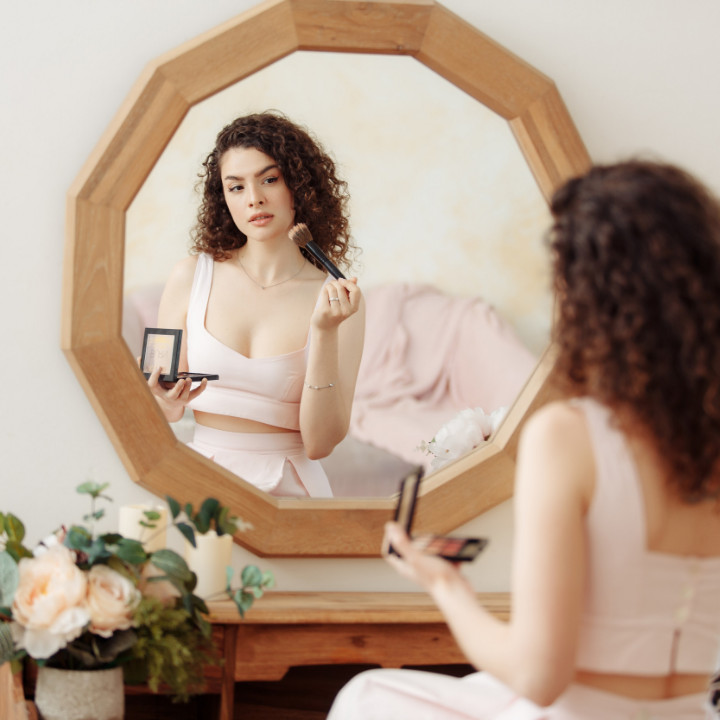
Skin, Blush & Finish Trends for 2026
In 2026, complexion makeup plays a supporting—but essential—role. Skin, blush, and finish work together to anchor bold eyes and lips, creating looks that feel intentional rather than overpowering.
Instead of heavy coverage or sharp definition, this year’s trends focus on softness, placement, and balance.
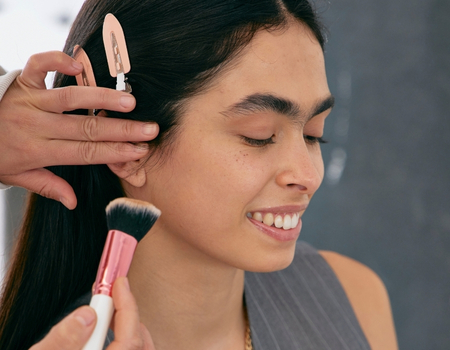
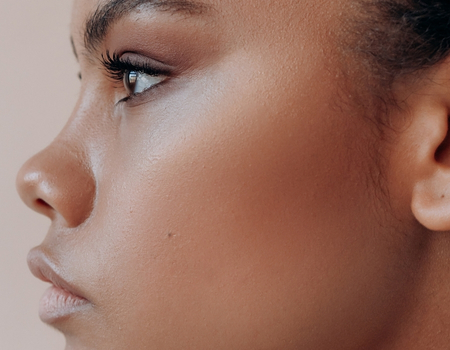
Skin as the Foundation
Skin makeup in 2026 is less about perfection and more about presence. Bases are lighter and more flexible, allowing natural texture to show through while still evening out the complexion.
The goal isn’t flat or flawless skin, but a finish that looks dimensional and intentional—setting the stage for bolder features elsewhere.
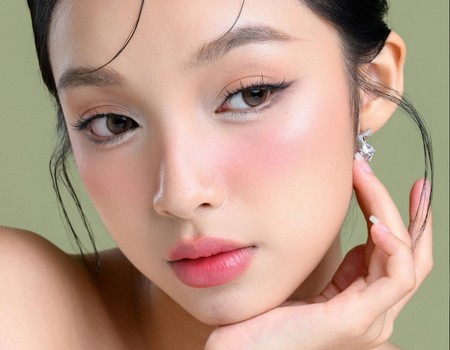
Blush Takes the Lead
Blush continues to play a central role in 2026, often replacing contour as the primary way to add shape and warmth to the face. Rather than being tightly placed, blush is diffused outward for a softer, fuller effect.
This approach ties directly into the “big, soft face” trend, creating structure without harsh lines.
Blending Over Definition
Sharp lines and rigid placement are fading in favor of blended transitions. Blush, bronzer, and highlight are often layered together, creating dimension through softness rather than contrast.
This technique keeps the complexion looking cohesive and modern, even when paired with bold makeup elsewhere.
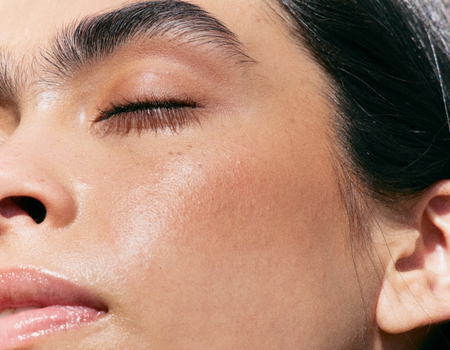
Finish Sets the Tone
Finish is one of the most important complexion decisions in 2026. Instead of extreme matte or high-shine looks, makeup leans toward balanced finishes that feel natural and adaptable.
A controlled glow or soft-focus finish helps support statement eyes or lips without competing for attention.
How to Style 2026 Makeup Trends
With bold makeup back in focus, styling becomes just as important as the trends themselves. In 2026, it’s not about following every trend at once—it’s about knowing how to combine elements in a way that feels intentional and balanced.
This is where makeup trends turn into cohesive looks.
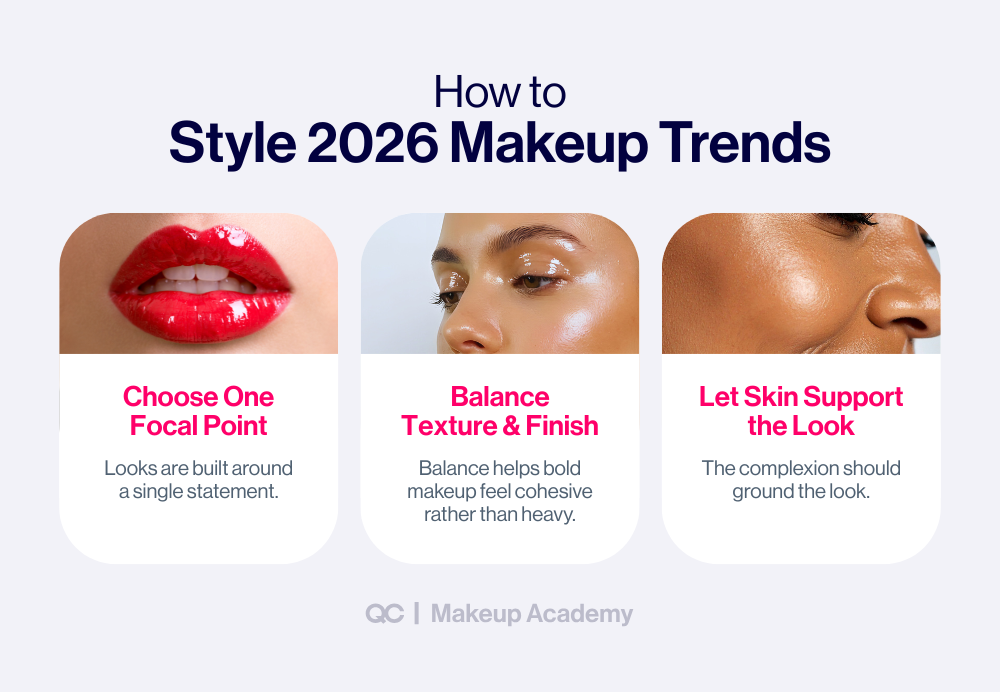
Choose One Focal Point
One of the most important styling principles in 2026 is deciding where the focus of the look should be. Rather than emphasizing every feature, makeup looks are built around a single statement—most often the eyes or the lips.
Bold eyes are paired with softer skin and minimal lips, while statement lips are balanced with understated eye makeup. This keeps bold looks polished rather than overwhelming.
Balance Texture and Finish
Styling makeup in 2026 relies heavily on contrast. When one element of the look is bold or high-impact, other elements are softened through finish and texture.
For example, glossy lips feel more modern when paired with natural skin, while metallic or graphic eyes stand out best against softer, more understated finishes. This balance helps bold makeup feel cohesive rather than heavy.
Let Skin Support the Look
Skin, blush, and finish work best when they support the overall makeup direction rather than compete with it. Whether the focus is on eyes or lips, the complexion should ground the look.
This approach keeps bold makeup feeling intentional and visually balanced, allowing statement features to stand out clearly.
Bridal makeup in 2026 looks different too. From soft glam to statement features, see how 2026 makeup trends show up in bridal looks with our guide to 13 bride makeup looks for 2026.
Seasonal Makeup Trends for 2026
While the core makeup trends of 2026 stay consistent, color choices and focal points shift throughout the year. Here’s how bold makeup shows up season by season.
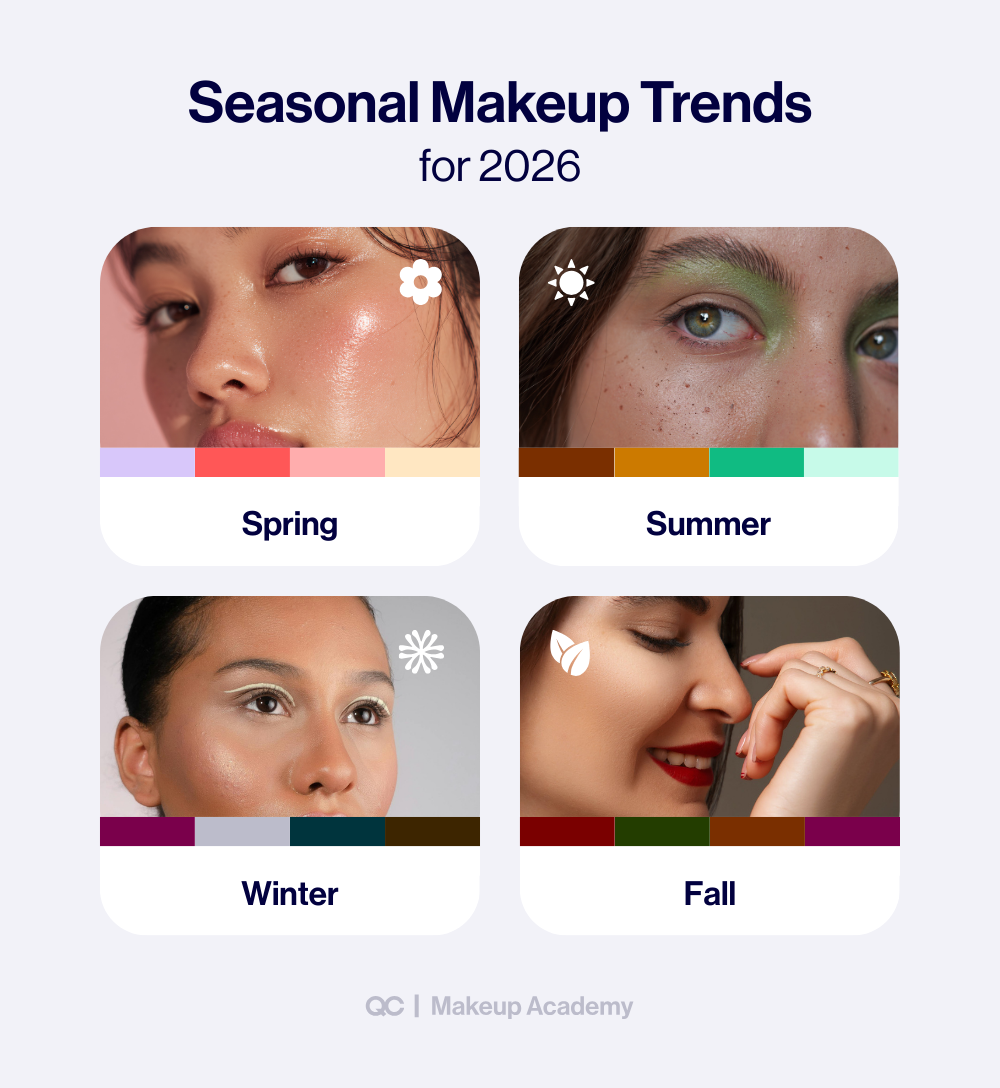
Winter 2026 Makeup Trends
Color palette: jewel tones, deep browns, berry shades, metallics
Focal point: eyes or lips
Winter makeup leans richer and more polished. Metallic eyes, deep smoky shades, and bold liner are especially prominent, as are statement lips in reds, berries, and browns. Skin stays soft and balanced to support deeper color and contrast.
Spring 2026 Makeup Trends
Color palette: soft brights, pastels, warm pinks, fresh neutrals
Focal point: eyes or cheeks
In spring, bold makeup feels lighter and more playful. Monochrome eye looks, colorful liner, and blush-forward makeup take center stage. Finishes are softer, and color placement feels more open and fresh.
Summer 2026 Makeup Trends
Color palette: warm neutrals, bronzed tones, sheer brights, glossy finishes
Focal point: lashes or lips
Summer makeup relies on impact with restraint. Statement lashes, glossy lips, or a single pop of color do the work, while the rest of the makeup stays minimal. Skin finishes are breathable and natural, keeping looks bold but uncomplicated.
Fall 2026 Makeup Trends
Color palette: earthy tones, warm browns, rusts, plums, muted reds
Focal point: eyes or lips
Fall brings depth back into makeup looks. Softly smoked eyes, richer lip shades, and warm blush tones return, paired with balanced finishes that avoid heaviness. The focus shifts toward warmth and dimension rather than brightness.
Staying Ahead of Makeup Trends in 2026
Makeup trends will always evolve, but strong fundamentals make it easier to adapt. When you understand balance, placement, and technique, bold looks become wearable and trends become easier to interpret—no matter the season.
Become a Professional Makeup Artist with QC Makeup Academy
QC Makeup Academy’s Master Makeup Artistry course teaches the core skills behind every makeup look, from bold trends to timeless techniques. Learn how to apply, adapt, and refine makeup with confidence—so you’re always ready for what’s next.
FAQs About Makeup Trends in 2026
What are the biggest makeup trends for 2026?
Bold makeup, statement features, softer sculpting, controlled glow, and expressive eyes and lips define 2026 makeup trends.
Is bold makeup replacing natural makeup in 2026?
Not entirely. Natural makeup is evolving, but bold, expressive looks are becoming more prominent again.
What eye makeup is trending in 2026?
Graphic eyeliner, monochrome eyes, metallic finishes, statement lashes, and soft, smudged eye makeup are all trending.
What lip colors are popular in 2026?
Reds, berries, browns, plums, terracotta tones, and refined glossy finishes are especially popular.
Where do makeup trends for 2026 come from?
Makeup trends for 2026 are influenced by a mix of runway shows, editorial beauty coverage, and evolving consumer preferences. Fashion publications like Vogue often highlight early makeup trends seen on runways and in editorial shoots, which later shape mainstream beauty looks.
How do makeup trends change by season?
Seasonal trends shift through color palettes and focal points, while core techniques stay the same throughout the year.