Online Hair Styling Course Sample: Curling Techniques - QC Makeup Academy

Makeup and hair go hand-in-hand. One rarely does just their makeup, or just their hair. For almost every occasion that requires a makeup artist, a hairstylist is also required – weddings, proms, fashion shoots, movies, the list goes on and on. You would be hard-pressed to name an occasion that requires only one of these essential services.

Why Learn Hairstyling?

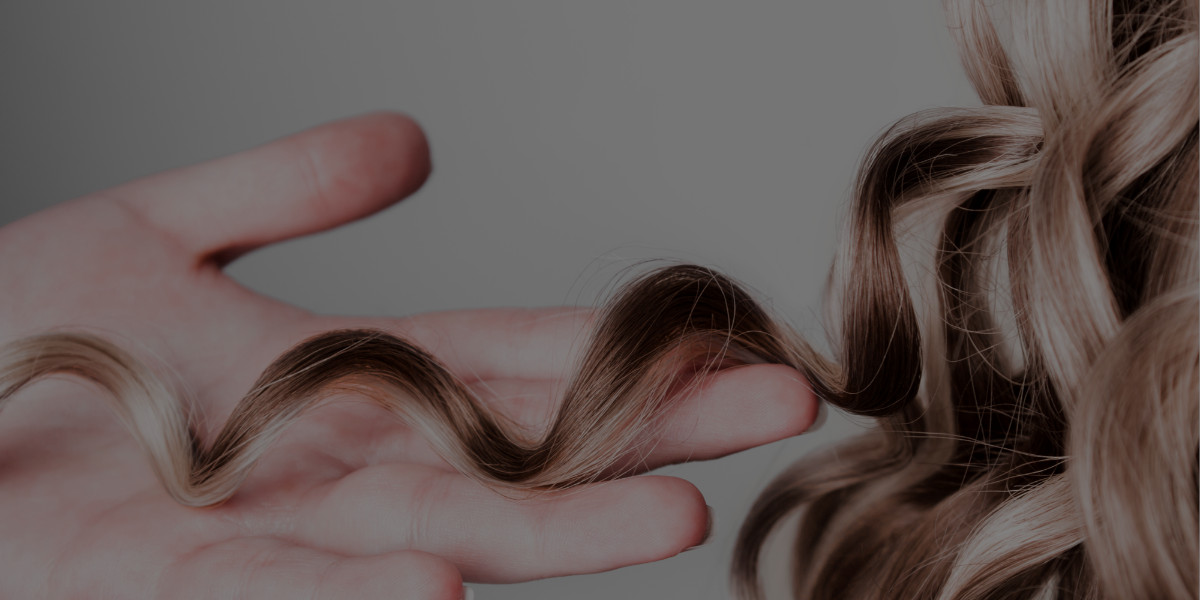
As a makeup artist you can grow your business by expanding your skill base and offering more services. Market yourself as a one-stop shop! Clients will love that they can save time searching for multiple beauty experts. They’ll be pleased with the added convenience, but will also benefit from a better experience.

Clients won’t spend time describing their desired look multiple times; won’t need to worry about makeup or hair being much worse than the other; and won’t need to continually readjust to the awkwardness of having multiple strangers touch them. By offering clients both makeup and hair, you provide a more enjoyable experience and cohesive look. What could be better for your career? In the makeup industry, client satisfaction is everything!

Having multiple certifications also makes you an attractive artist to large employers. It shows that you are a well rounded and highly knowledgeable beauty expert with experience working for a wide range of clients. Believe it or not, learning hair can also help improve your makeup skills. Coordination and dexterity are transferable skills key for working in the beauty industry. Both specializations require you to use multiple tools and products while working under pressure.

Check out this sample from QC’s Hair Styling Essentials course and learn how to create a straight back lay using stand-up curls and the professional Marcel curling iron.

Let’s Recap:

  1. Apply shine serum and gel to the hair
  2. Part the hair from the temples straight back towards the back of the head to create arcs along both sides of the head
  3. Section the hair so the base is the same width as the curling iron
  4. Over direct the hair forward and comb away from the head for increased volume
  5. Start from the ends of the hair and curl the hair back towards the scalp so it sits directly centered over the base of the parted section
  6. Remove the iron slowly while jiggling the clamp
  7. Pin the curl at the base so it stands straight up
  8. Repeat this process until eventually all the hair is curled and pinned in place
  9. Set with spray and let the hair cool
  10. Once the hair is cool, remove the pins and finish the look by hand combing and teasing top sections of the hair to frame the face

Pro Tips:

Create more volume

Add volume near the back of the head by holding the iron slightly longer to apply more heat and to create a tighter curl. Use tension and keep a tight hold to invite the hair to curl.

For more volume and less curl, section the pieces of hair to be larger than the width of the curling iron. For a finished look like the one in the video, use this method on the sides of the head. Do this by sectioning the pieces of hair to be longer than those down the centre of the head.

If curls fall out before you pin them

As long as the curl is still hot you can save it without hurting or damaging the set. Simply mimic what was just done by re-curling the hair around your fingers and clipping it into place!

For hair with layers

Start by clamping the end of the shortest layer with the Marcel iron and curl the hair up towards the scalp as usual. Then, while jiggling the clamp to loosen the hold on the hair, turn the iron in a circular motion to pull the longer ends that weren’t originally curled around the iron. This will help the layers to tuck underneath and curl as well.

If needed, drop the iron down away from the head to further loosen the hold on the hair. Repeat the same circular motion while moving the clamp. Make sure all the ends curl around the wand before bringing the iron back toward the head.

The Marcel Curling Iron

Remember: This technique will not work with a regular curling iron! The Marcel iron has a unique spring-free clamp that allows hair stylists to start closer to the root and loosen the hold. This allows the stylist to manipulate the hair all the way to the ends without having the entire curl fall out.

Almost all professional stylists have a Marcel in their kit due to its range of abilities, and the increased control it provides. These irons are less likely to crease hair; however, there is a large learning curve when using the tool. Mastering a Marcel and all its capabilities takes practice.

Heat & set time

Avoid burning the client by using a heat resistant comb. You can set it underneath the curling iron to get closer to the scalp. This creates a stronger curl that stands straight up and adds more volume at the root.

Be careful how much heat you use and how long you hold it to the hair! Too much heat for too long can damage the hair and cause breakage. It is more important to allow the hair enough time to cool and set. Usually 15 to 25 minutes will be enough time, but this depends on the hair and the humidity in the room. Use the touch test to see if the hair is cool and has finished setting. The longer the hair sits; the more the style locks in.

Practice, practice, practice!

When building and creating a look, pieces of hair will fall out and change – it’s not the end of the world! Your style is not ruined! Hair is messy and unpredictable by nature, so just keep working with it. Practice is key!

There is no doubt that adding hair styling to your makeup portfolio will impress potential clients and help grow your business. After all, no makeup look is complete without great hair, and no hairstyle is complete without a great makeup look!

Excited to learn more professional hair styling techniques? Check out this course sample on waterfall braids and enroll now for QC’s Hair Styling Essentials!

Author Kate DeCastro

More posts by Kate DeCastro

Leave a Reply