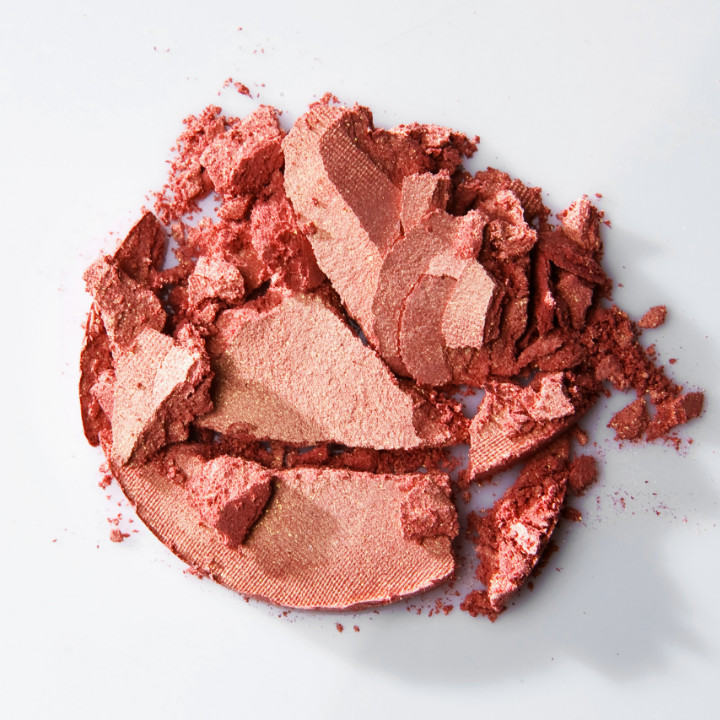
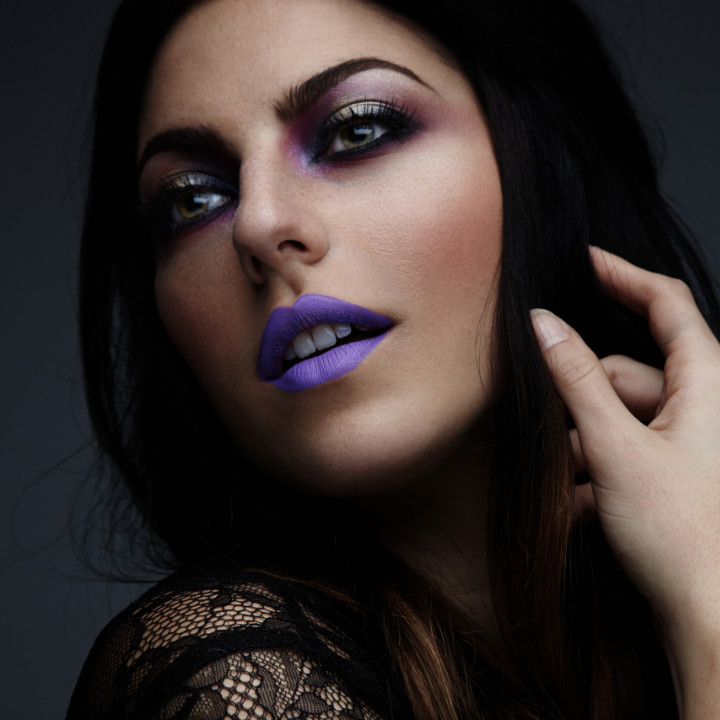
As promised, here’s the second cat-eye look you guys loved from the Facebook page! This look would be perfect for holiday parties, especially New Year’s Eve. It’s super smoky and sultry, but it’s still a cat-eye. What makes it different from yesterday’s look is that it’s not all about definition. It features a smoldering sexy eye and a pale nude lip.


Here is my version of the look in a step by step tutorial. Follow along with me!
Step 1
As always, start with a clean, primed eyelid.
Step 2
Start building your smoky winged look by packing on a black shadow and blending it into a cat-eye shape.
Step 3
Soften the edges of the look with a blending brush and a little bit of light grey shadow.
Step 4
Apply a brow highlight (I used a matte cream-colored shadow). Blend it down into the light grey blending shadow.
Step 5
Apply a liquid liner with a wing matching the same shape as the shadow. This step is not necessary but I find it adds a little definition to the look.
Step 6
Apply a very thick full set of lashes.
Step 7
Apply multiple coats of mascara on the bottom lashes. Don’t be afraid to create a somewhat clumpy look—it works well with this look!
Step 8
Apply a nude lip liner all over the lip to neutralize any natural redness in the lip. Then apply a pale pink lipstick on top. I used Creme Cup by MAC.
There you have it! An easy and quick smoky cat eye, sure to be a show stopper for any night-time event or holiday party. Give it a try yourself!
Recently, the nine looks below were posted on the QC Facebook page. Everyone seemed to absolutely love look #5 so I decided to recreate it for you! As the lower lashes aren’t quite visible in the photo, I decided to create what I think works well with this look.
Here’s my version of the look, step-by-step. Follow along with me!
Step 1
Start with some creamy neutrals as your base. Use cream or white on the lid and brow to highlight, and a soft pink or brown in the crease.
Step 2
Apply a liquid liner across the lid at your desired thickness.
Step 3
Create an extension of your lower lash line into the beginnings of your winged liner.
Step 4
Connect the tip of the wing to the top of the line you have created on your upper lash line.
Step 5
Fill in the gap and apply mascara and false lashes.
Step 6
Apply a white liner on the lower waterline. Be sure to avoid smudging it onto your lashes as we want to apply a clean line along them afterward.
Step 7
Use a flat, thin liner brush to apply a brown eyeshadow along the root of the lower lash line. This will give the illusion of bigger eyes!
Step 8
Apply a light coat of mascara along the lower lashes, keeping it clump-free and clean-looking.
Step 9
Apply a red lip and away you go! This is a great look for this time of year, whether it be for a Christmas party or a night out with the girls!