Devyn Gregorio is a QC Makeup Academy Student Ambassador and professional makeup artist. You can find her on her YouTube Channel, DevDevGregs, where she makes beauty videos. Today, Devyn walks us through the step-by-step process of her “no makeup” makeup look!
As you learn how to do makeup, know that there’s more to being a makeup artist than mastering the smoky eye, or a dramatic nighttime look.
Sometimes, less is more! Being able to create the perfect “no-makeup” demonstrates to your clients that you truly understand the makeup theory behind your work. By using makeup to bring out a person’s natural features, you’ll create a final result that gives the illusion of wearing little to no makeup at all.
This skill is especially useful if you’re looking to start a career in the TV and film industry! So, whether you wish to give YOURSELF a casual no-makeup look this summer, or you want to prepare yourself for future clients, this tutorial is for you.
Let’s get to it!
Watch Devyn’s video below!
Makeup Products Needed:
Luckily, because the entire purpose is to go for subtlety, you won’t require your entire makeup kit to create this look. Below is the list of specific products that Devyn uses throughout her tutorial. Feel free to use your own makeup products in replacement of hers.
Here’s what Devyn used:
1. Primer. Devyn uses e.l.f. Jelly Pop Dew Primer, but you can use whichever primer you most prefer!
2. Foundation. Use the product and shade of your choosing. Devyn selects NYX’s Bare With Me Tinted Skin Veil, and mixes the shade, True Beige Buff, with Cinnamon Mahogany.
3. Concealer.
4. Bronzer. Devyn selects the Wet n’ Wild MegaGlo Contour Makeup Stick, in the shade, Oaks On You. This product offers a creamy texture for her bronzer. In addition, she also uses a powdered bronzer (MAC’s Give Me Sun! bronzer).
5. Highlighter. In this tutorial, Devyn uses the highlighter product from the Alamar Cosmetics Brighten & Bronze Complexion Trio kit (in Medium/Tan). In addition, she also uses Maybelline’s Master Chrome Metallic Highlighter (in Molten Gold).
6. Brushes. In particular, you’ll want:
- A large, fluffy brush for your bronzer
- A contour blender brush
- A powder brush
- A highlighter brush
- A brow brush
7. Loose setting powder. Devyn’s loose setting powder of choice is Juvia’s Place I Am Magic Setting Powder, in the shade, White Sands.
8. Blush. Devyn’s chosen blush is ColourPop’s Fresh n’ Peachy.
9. Brow pencil. Devyn uses NYX’s Micro Brow Pencil in the shade, Brunette.
10. Setting spray. As with the rest of this list of products, feel free to use whichever setting spray you want! Devyn selects Wet n’ Wild’s PhotoFocus 3-in-1 Primer Water.
11. Mascara. In this tutorial, Devyn uses Benefit Cosmetics’ BADgal BANG! Volumizing Mascara.
12. A lip product of your choosing, such as lip balm, a clear gloss, etc. Devyn chooses e.l.f.’s Sheer Slick Lipstick in the tone, Cherry Slush.
Let’s Recap!
Before diving into any of the steps, Devyn first reiterates the most important thing to remember when creating a natural makeup look: use a LIGHT hand!
After all, it’s always easier to build up a look’s intensity. It’s a lot harder to take away from a look if you go in with a heavy hand, right from the get-go. So long as you apply your makeup in thin, sheen layers, you’ll quickly discover that you can still use ALL of your regular products – even for this laid-back “no makeup” look!
Now, let’s move onto the look itself…
Step 1: Prime Your Skin.
Even though the name suggests no makeup, you know that you’re still going to be putting makeup on your face. As such, it’s important to properly prime your skin first. Not only will it make your skin feel its best, it’ll help protect your pores from getting clogged!
Step 2: Apply Foundation.
Next, Devyn applies a lightweight foundation to her skin. Because she currently has a bit of a tan, she chooses to mix two shades together, in order to match as closely as she can with her skin tone. Notice how she first uses her finger to apply the foundation to her skin, before blending it in afterwards with a blending sponge.
Because our hands have a natural tendency to warm up our makeup product, don’t hesitate to do the same when applying your foundation. Just make sure that your hands are cleaned and sanitized with soap first!
As you can see, Devyn’s skin looks a lot more evened out after applying her foundation. However, it’s not full coverage, as the aim of this look is still to appear natural.
Step 3: Apply Concealer.
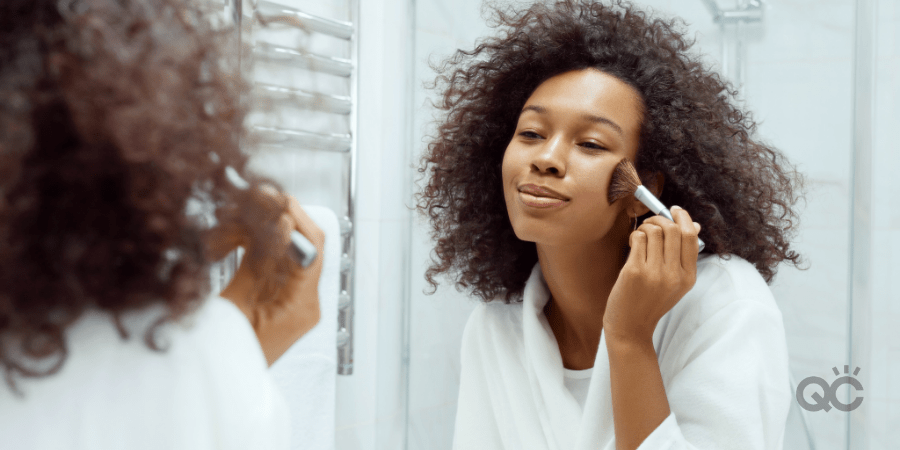
Once again, you’re aiming for the “no makeup” illusion. So, here’s where keeping that light hand in mind is key! Here, Devyn applies a small dot of her concealer below each eye, before using her finger to pat it in and blend it out.
The final result should brighten and cover the skin beneath your eyes, while still looking breathable!
If you wish to take this a step further, you can add some brightness to your forehead and chin by applying the same small amount of concealer to these areas as well. Should any areas of your face require some spot concealing, feel free to tend to that, too.
Step 4: Time to Contour!
Rather than apply the bronzer directly to her face, Devyn instead uses her e.l.f. Precision Airbrush Stipple brush to apply the product. This allows for lighter coverage, in keeping with a more natural, organic look.
She applies her bronzer right onto her brush, before gently tapping it over the typical areas where she would bronze, such as her:
- Cheekbones
- Outer area of her forehead (near the hairline)
- Around the jawline, blended downward into the neck
Next, Devyn moves onto powdered concealer and contour products. Using her Alamar Cosmetics trio palette, she takes a contour blender brush to first gather some of the highlight shade. She then gently presses it onto her under-eye areas.
Step 5: Set with Powder.
Now it’s time to set the rest of your face with some loose powder! Using a fluffy powder brush, press the powder throughout your face. This will help set both the liquid and cream products you’ve previously applied.
At this point, if you wish to go back over your bronzer with a powdered bronzer, you can do so for an added little POP!
Step 6: Additional Highlighting.
If you aren’t a fan of highlighting your skin, feel free to skip this step.
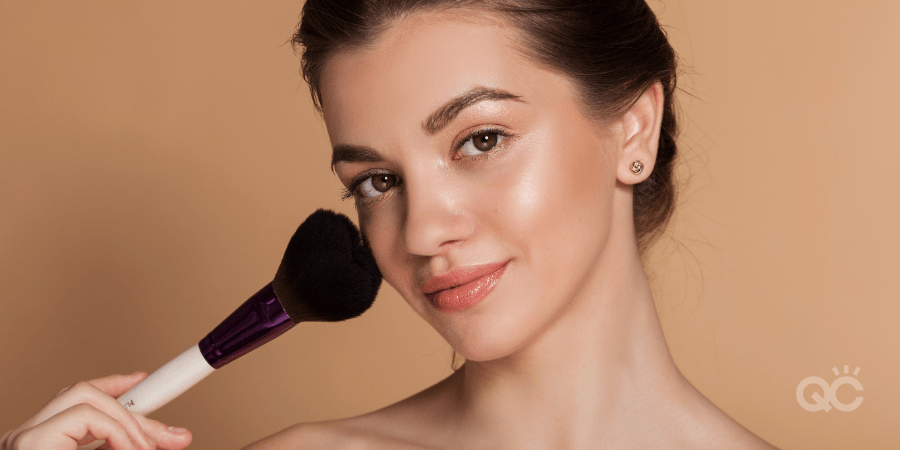
Here, Devyn relies on a highlighter she typically uses in her everyday makeup look. Once again, the secret here is to use a light hand! This can create a whole new affect on your skin.
After tapping a highlighter brush two times against her product, she swipes the brush head along her cheekbones and temples, using a feathery-light pressure. Keeping a loose grip on your brush handle will help you achieve these dainty strokes.
Since you’re trying to make it look as though you’re wearing little to no makeup, the goal with your highlighter is to make it appear as though you’re organically catching the light in certain angles. You DON’T want your highlights to be too obvious!
Step 7: Add Blush.
This is Devyn’s final step to finishing off your complexion. Lightly tap and press your blush into apples of your cheeks. This will bring a bit of a natural redness back to your skin, in the places you want it most!
Step 8: Define Your Eyebrows.
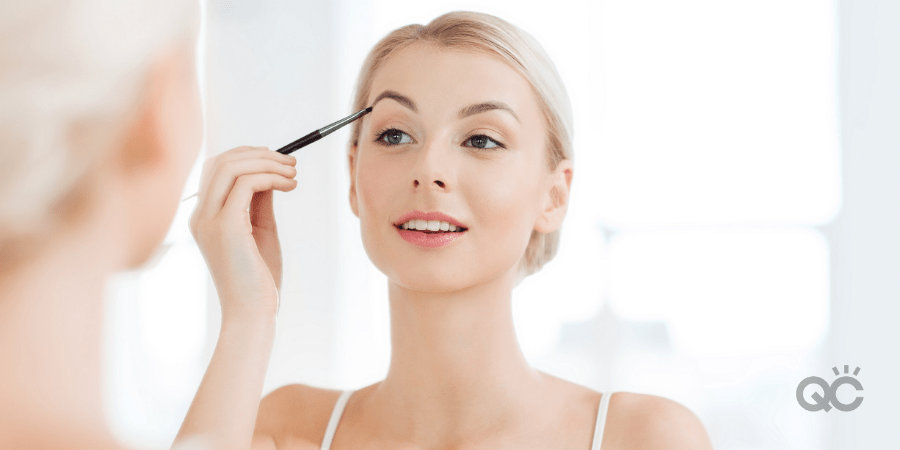
Time to move onto your brows! Taking her micro brow pencil, Devyn aims to perfect her existing brows – rather than completely fill them in or reshape them. Start by combing them up. This will allow you to see where their natural shape is. This is the shape you want to honor in this “no makeup” look!
Then, whenever you see spare areas, fill them in with fine, hair-like strokes. Start at the bottom of your eyebrows, and work your way up. Once finished, use your brow brush again to help blend everything together.
Step 9: Apply Eyeshadow…
…Just kidding! This is a “no makeup” look, after all!
Actual Step 9: Apply Setting Spray!
Devyn’s now ready to move onto her eyes. But before she does that, she prefers to apply her setting spray. Right before the spray is completely dried, Devyn takes a little more of her powdered highlighter and applies it to her eyelids.
Step 10: Put on Mascara.
If you wish to curl your eyelashes first, go ahead! If you don’t feel like doing this, though, that’s okay, too. Using your mascara of choice, apply it to your upper and lower lashes. Depending on how intense you want the final result to be, feel free to go back in and add another coat of mascara.
Step 11: Finish with Your Lips!
The final stage to Devyn’s process is to apply some sort of lip color/product. The beauty of the “no makeup” look is that there are a LOT of options for what you can choose to wear! The most important tip to remember is that dry lips will not complete any look.
Even though you’re going for a natural illusion, even just a thin layer of Chapstick can add a little extra shine to your beautiful pout!
If you’d prefer to add a bit of color, stick to soft, natural shades. Pink and peach colors are awesome choices! If you choose a product with a stronger pigment, gingerly tap it onto your lips so as not to get too bold of an application. You’ll be able to add some nice color and hydration, without overdoing it and ruining the “no makeup” mirage.
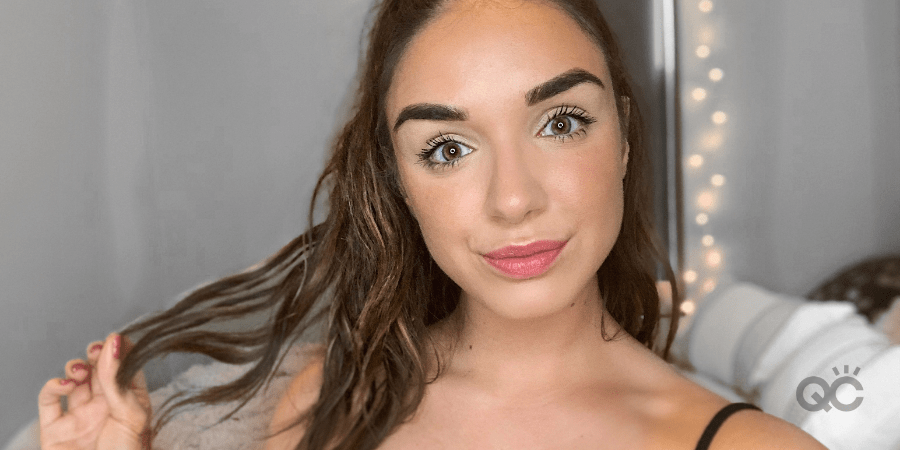
And with that, your “no makeup” look is complete!
Did you follow along with Devyn, and give this look a try? If so, let us know how it turned out in the comments below!
![Perfecting the “No Makeup” Look Tutorial [video]](https://www.qcmakeupacademy.com/wp-content/uploads/2020/06/Copy-of-Makeup-Header-Image-Black-Overlay-Template-33.png)