
If your dream is to be a makeup artist for live theatre and/or stage productions, the best way to work towards this is by getting professional training from a theatrical makeup course. Luckily, you need to look no further than QC’s most popular program of study, the Master Makeup Artistry Course!
In Unit F of this course, you’ll delve into the world of theatrical makeup: what it is, where it comes from, theory and techniques, and plenty of hands-on application! Today, we’re going to show you a sneak peek of what you can expect to learn from Unit F of the Master Makeup Artistry Course!
Importantly, you’ll get the insider’s scoop into what’s expected of you as a makeup student, as well as an example of a practical assignment. Let’s go!
By this stage of the course, you’ll have gained tons of foundational knowledge and practice regarding:
- Makeup theory and practices
- Techniques
- Products and tools
- Real-world applications
Now, it’s time to learn about makeup for the entertainment industry! This is the entire focus of Unit F, but let’s look specifically at theatrical/stage makeup. The world of theatrical makeup is unlike any other. After all, it’s hard to match the thrill that comes with working on a live production!
In order to learn how to do makeup for the theatre, you must first understand what goes into theatrical makeup in-and-of-itself. It’s much different than bridal makeup, editorial looks, or even makeup you’d do for film and television. Theatrical makeup requires you to delve deeper! You’ll need to learn how to create a character, interpret a script, work with the cast and crew, etc.

In addition, the theatrical makeup course incorporated within your Master Makeup Artistry Course will teach you many other, critical things, such as:
- Setting up a workstation
- Adjusting the actors’ makeup suit various lighting conditions
- Breaking down the steps to successful stage makeup application
- Filling out and using a Makeup Worksheet
- Clean up/makeup removal
- Other roles and responsibilities you can expect on the job
- How to conduct yourself professionally
- And so much more!
Preparing for the Assignment
As you’ve learned by now, the best way to approach ANY of your course assignments is by ensuring you’ve first done all the required readings for the unit! For the theatrical makeup portion of Unit F, this means reading the textbook: Theatre, Dance, and Live Stage Performance.
There are also videos included within this section of the unit. We strongly recommend watching them all, too! For example, one of them demonstrates QC Makeup Academy’s executive tutor, Nathan Johnson, creating a “Red Queen” theatrical look on his model. It’s definitely fun to see how he brings this character to life!
Unit F Assignment F3: Case Study Part 2 – A Practical Application
It’s important to note that this assignment can only be done after you’ve already completed Part 1 of the Case Study assignment.
In Part 1, you’ll have used everything you learned from your required readings to create a stage character from scratch. First using the Makeup Worksheet (as provided in the “Handouts” section of your course materials), and then the face template, you’ll design your very own character and their theatrical makeup.
Once you complete that, you’re now ready to move onto Part 2! You can find this assignment on page 95 of your Course Guide. In this portion of the Case Study, it’s time to transfer that makeup design from the face template onto a real model.
Note: In light of COVID-19, we discourage you from using a model under social distancing rules that have been lifted – unless they live in your immediate environment and are willing to participate. Should you be working on this unit of your Master Makeup Artistry Course at the present time, it’s perfectly acceptable to use your own face for this assignment!

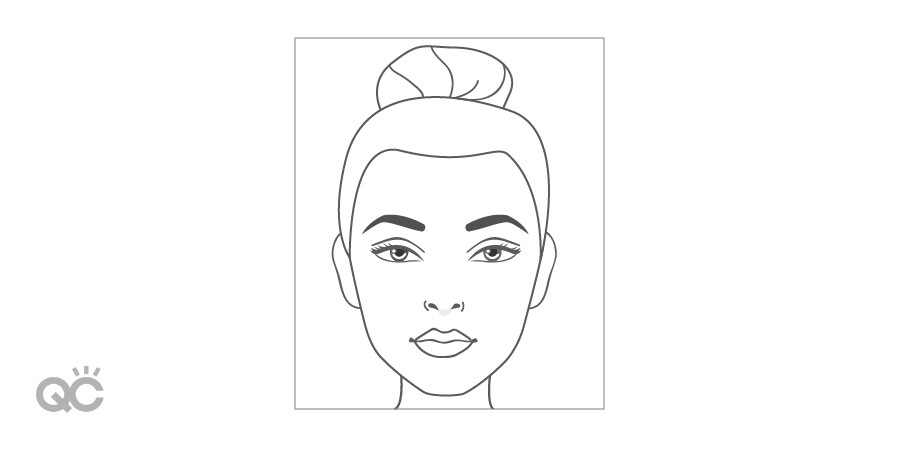
Step 1: Take a “before” photo of your model
As much as possible, try to remove all hair from the model’s face. Make sure their skin is clean, and that their eyes are open in the image. To focus as much on the face as possible, try to only include your model’s head and neck in the photo. The framing style should look like the one in the picture below.
Step 2: Create the theatrical makeup look on your model
The goal of this part of the assignment is to bring to life your illustration from Part 1 of the Case Study. As such, try your best to mirror the look as you’ve already drawn it. Similarly, try to stick as closely as possible to the information you inputted into your Makeup Worksheet.
Having said that, if you get inspired and think of additional features that’ll enhance your character makeup for the better, don’t feel like you can’t add them in. One or two minor additions are fine. Just don’t stray too far from your original design, or you’re defeating the purpose of this assignment!
When doing the makeup itself, feel free to use whatever products and techniques you want. When grading your work, your professional tutor will be looking for things like:
- Originality
- Attention to detail
- How well you brought your character makeup to life
- A proper, accurate demonstration and understanding of the techniques used
- And lastly, your ability to create attractive results
Keep all this in mind when approaching this assignment!
Step 3: Take an “after” photo of your model
Once you’ve completed your theatrical character makeup and you’re happy with the final outcome, it’s time to capture the results! Use the same framing style as you did in Step 1, with only the model’s face and neck in the image. Just as with the “before” photo, make sure your model’s eyes are open.
After that, you’ll need to take 2 more photos of your work. This time, focus specifically on your model’s eyes. In terms of framing, try to only capture the area from just beneath their nose, to above their eyebrows, as seen in the illustrations below.

In the first photo, have them keep their eyes open again. For the second photo, have them close their eyes. Make sure the images are clear and accurately show off the makeup as much as possible. Save them to your computer, where you can then upload and submit them within QC’s Online Student Center.
Remember:
When you enroll in any QC makeup course, you have a full 2 years to complete the program. So, don’t feel rushed to have to complete and submit this (or any) assignment! Because everything is self-paced, there are no deadlines or rigid schedules. You have the freedom – and breathing room – to tackle your studies whenever works best for YOU!
This means that when you are ready to work on your unit assignments, you can put the dedication and effort into them that they require. If you aren’t happy with the results at first, you can keep practicing until you are!
That way, you’ll be able to produce your very best results, each and every time!