Having a makeup artistry portfolio that’s visually appealing and easy to navigate is important, but don’t forget that the content should be the focus.
Having a makeup artistry portfolio that’s visually appealing and easy to navigate is important, but don’t forget that the content should be the focus.

A makeup artistry portfolio is a compilation of your best work. You need to have one, but it can be tough to know where to get started. We’re here to help!
I grew up in Charlotte, NC with two sisters and a brother. I moved to Orlando, Florida my freshman year of high school and lived there until graduation. I moved back to North Carolina soon afterward, I missed the south. I did, however, learn my love for makeup and got my career started while I was living in Orlando.
Growing up, I was always intrigued with the entertainment business and knew that I wanted to be a part of it. I thought I wanted to act but never felt right as I did so. In my junior year of high school, I tried out for a play and didn’t get a part so I decided to do the makeup instead. I ended up falling in love with the art form and never looked back.
I went back and forth between deciding if I would do school or not but I am glad I did. I taught myself most of my skills and picked up many of my techniques by assisting successful makeup artists in the business. I wanted to create my own technique from learning the correct application, which I am getting to do through this program. My tutor Nathan is always very real with how he feels about my work and I learn something new every unit. I feel like I am truly growing from this school.
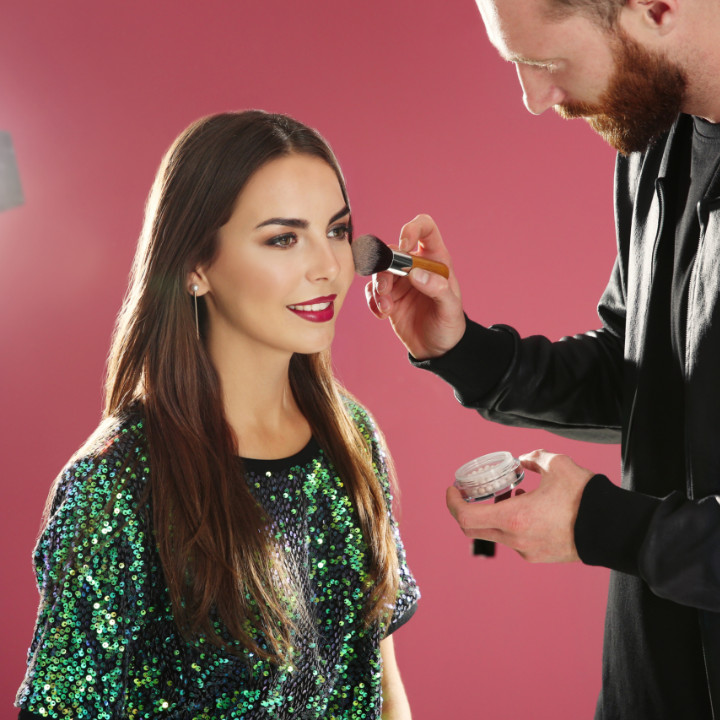
My favorite thing to do is photo shoots. I love every aspect, but I feel in photoshoots I play such a big part in the entire project and am constantly working and involved in the project. On other projects, I usually do my job in the beginning and then I am done for the day, only needing to do subtle touch-ups.
I love doing movies because on each one I am challenged and learn so much. I love the fact that I have to do so many different types of skin. On movie sets, they seem to always want something last minute and you just have to go with it and do the best you can. I learn the most from these situations and they make me grow as an artist.
I am so excited about my move. I know it will change my career in a remarkable way. I have been emailing and reaching out to people in LA for the past two years and have a lot of opportunities waiting for me there. I know moving there will increase my income and allow me to work full-time as a makeup artist. It’s all about doing it. I could sit around and think about how I wish I had moved but be comfortable in a “safe place,” or take a risk and believe in myself and give it my all. Making the move to California is definitely the next step to progress my career since there is so much work there.
My biggest advice to someone starting in the career is to not be scared of denial. Any time I see someone on Instagram, Twitter, or in a magazine that I believe I could learn from or work with, I find a way to email them. I email celebrities that have personal emails and see if they would ever give me a chance as a makeup artist. Last year, Katie Saria, from MTV’s Buckwild emailed me back and said she would love to do a photo shoot. I told her I would fly her down to Orlando and planned a whole weekend for her full of photoshoots. I was only 18 years old, promising her all this, and had no money. I somehow ended up pulling it off by bringing together a bunch of people who wanted to be a part of this, and we all put our money together. Now I am actually really close with Katie until this day!
You never know where something could lead. Talk to people, post about your work spread your name, and believe in yourself. A lot of people told me I was crazy for wanting this when I first started, those are the people who now are the proudest and tell everyone about my success.
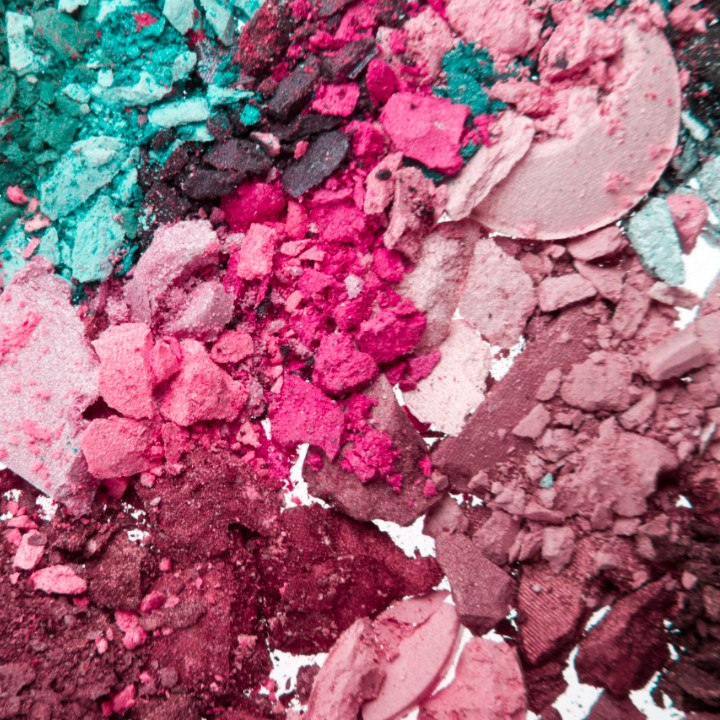
I honestly love so many products but I think the most important aspect of my kit is Vaseline. It can be used for so many things and is such a quick fix for dry lips, skin, and creating last-minute lipstick colors.
Day of the Dead, or Dia de Meurtos in Spanish, is a major Mexican holiday celebrated on November 1st and 2nd. It is a time when families honor and remember their loved ones who have passed away by leaving them food, flowers, and sugar skulls on homemade altars.
Cover those brows and prep the skin with the foundation of your choice. You can go a few shades lighter than your natural skin tone here if you like, just to give yourself that skeletal look. Try to create as flawless a finish as you can.
Map out your design with eyeliner by drawing large circles around the eyes (above the eyebrows). Depending on the overall look you’re trying to achieve, you can use whatever color you’d like. Black, purple, and blue are popular choices. Precision isn’t too important at this stage.
Prime the eyes inside your circle to make sure the pigment that you’re about to put on stays in place.
Taking a brightly pigmented powder, fill in the circle around the eyes. This is where you can start getting creative! Decorate the edges of the circles however you’d like, either by making a design with eyeliner (as seen above), or jewels. You can even add some eye glitter to the lid for an extra bit of sparkle.
Finish off your eyes with a thick liner on the upper and lower lashes (don’t forget the waterline!). If false lashes are your thing, feel free to use them here for a more dramatic look.
Buy or make some stencils for an extra bit of whimsy. You can use flowers, hearts, or just a fun design around your forehead, or on the chin. Fill them in with a bright pigment in the color of your choice.
Using a crème eyeliner and angled brush, outline the nose in black and fill it in. This will complete the skull look. You can add an extra bit of sparkle here too if you like.
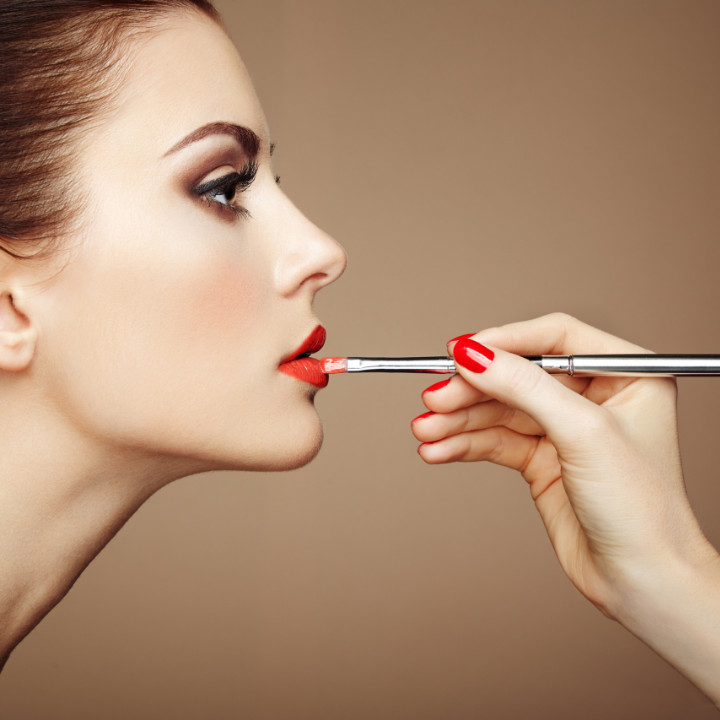
Paint the lips in the color of your choice. The above look went all white for an overall creepy effect, but you could also fill them with a bright red or coral for a more colorful, fun look. Extend the corners of the mouth and add “stitches” across the entire mouth using black eyeliner.
To really look like a skull, you’ll need some contouring! Take a dark gray and contour the cheekbones and jawline.
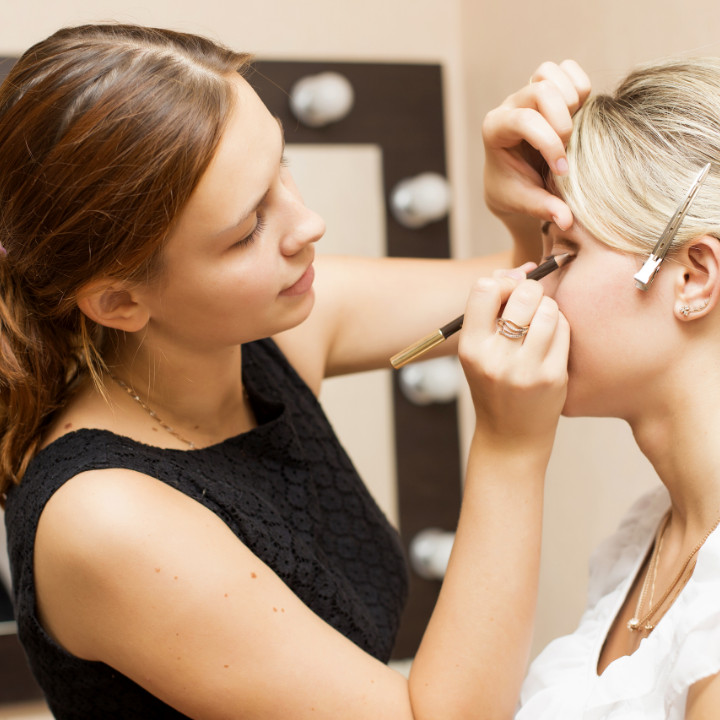
Find out the answer to an age old question: what is a career as a makeup artist really like?
Dark circles be gone! Banish your dark undereye circle for good with these awesome tips!
Wondering what kind of income being a makeup artist will generate?
![]()