Is an airbrush essential to your makeup arsenal? No, you can easily be successful in your career as a makeup artist without needing to use one. Many professionals are in committed relationships with traditional tools and techniques, and that’s absolutely okay!
That being said, there are some pretty cool makeup tricks you can pull with an airbrush. Learning airbrush makeup artistry allows you to keep up with (or get ahead of) your competition. If you’re thinking of branching out, read on!
We’ve rounded up some of the coolest tips and tricks for amping up your airbrush makeup skills. Applying a coating of camera-ready foundation is just the start!
1. Use your own foundation
You don’t need to be a makeup artist to know that makeup is pricey—especially when you have to start putting together a professional kit. Even if you’re a pro at getting makeup discounts, you might find the price of the supplies for a new technique is busting your budget. Especially when it comes to airbrushing.
Not only do you need the machine, but you need special airbrush makeup to go with it. When you’re trying to build a makeup kit that can accommodate any client, the idea of stocking a range of regular foundation and airbrush foundation can be daunting.
Luckily, you can make your traditional foundation do double duty. Traditional foundation is way too thick for an airbrush on its own. But you can mix some of your favorite foundation with an airbrush makeup thinner to use it with your airbrush machine.
Pro tip: This is pretty obvious, but make sure you read the instructions for your airbrush makeup thinner before using it! A specific foundation or airbrush makeup thinner may not be compatible with your airbrush, and this won’t be a budget-friendly option if you end up busting your machine!
2. Highlight your hair
Lots of people use their airbrush for highlighting and contouring on the face. But did you know you can use it to touch up roots or add temporary highlights to your hair as well?
You’ll need to buy a special product to use with your airbrush, which does make it tough to add to your professional makeup artistry kit in a range that will suit all your clients. As a makeup artist, chances are you won’t be responsible for your clients’ hair, unless you’ve also pursued courses in hairstyling.
Still, it’s a cool trick that might be fun to try out on yourself or your friends for a temporary taste of color or a short-term root fix—minus the salon price.
3. Airbrush those eyes…
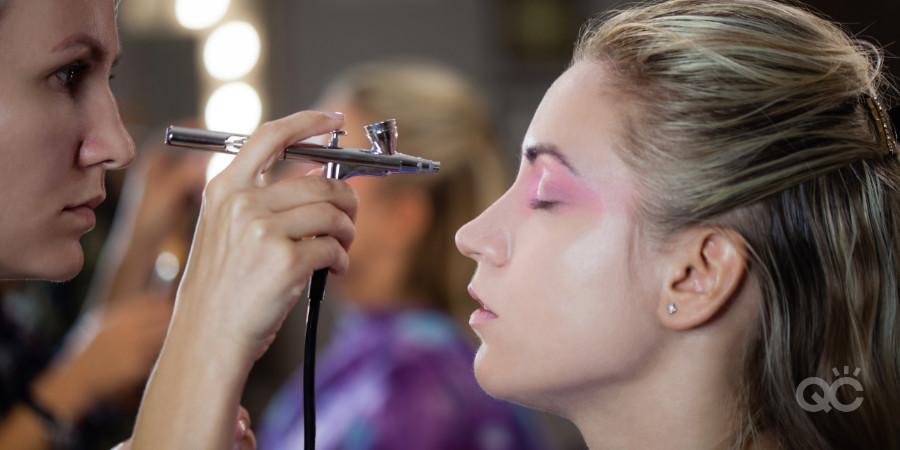
Foundation, highlighting, and contouring might be the go-to uses for airbrushing, but it doesn’t have to stop there. You can also use your airbrush to apply eyeshadow!
The advantage? Even, clean coverage with good lasting power. It’s also great for achieving flawless blending. To prevent overspray, try using an eyeshadow shield. If you’re still new to airbrushing, you may want to save this for later. Practice airbrushing eyes until you’ve mastered it before offering it to your clients!
Eyeshadow techniques tend to be a little more advanced. So if you’d rather stick to your brushes for applying eyeshadow, use an airbrush machine to create fantasy looks around the eyes instead. Stencils can help you create gorgeous and intricate swirls or leopard spots for character makeup.
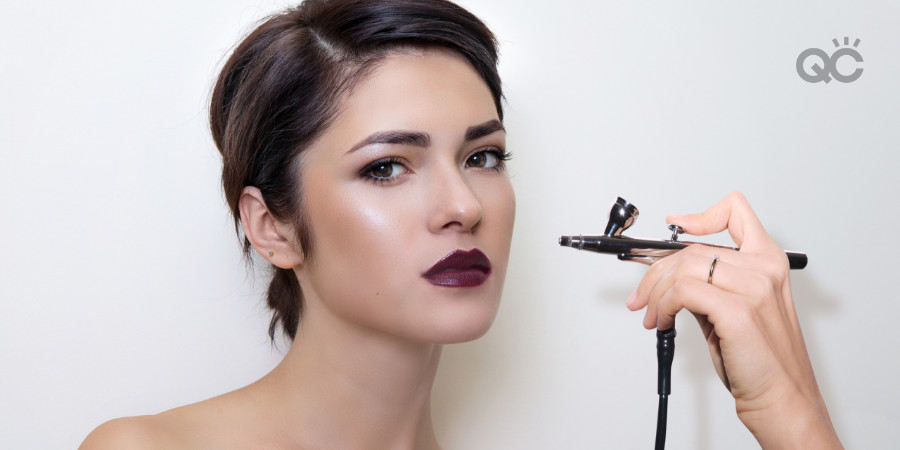
4. … or those lips!
That’s right, your airbrush can also be used to create the perfect pout!

If you’re looking to build your airbrush options while keeping your makeup kit on a budget, investing in some lip color might be a money-smart move. A lot of the time, airbrush shades for lips can also be used as blush colors—with a lighter application, of course!
Using a lip stencil can help you get a crisp, clean edge for your color that will really make your lips pop.
5. Cover up tattoos
Picture this: your bridal client’s wedding dress shows off her old tattoo… of her ex-boyfriend’s name. Uh oh.
There are lots of reasons you might want to cover up tattoos (and not all of them are embarrassing!), as well as birthmarks, scars, or other marks on the skin. The uniform coverage and lasting power an airbrush gives you makes disguising all of these super simple.
If this is something you’re doing a lot, you might want to invest in a specialty tattoo coverage product, like Dinair’s Colair Xtreme Tattoo Coverage. Otherwise you can just use foundation, though this will take some extra prep work.
6. Create temporary tattoos
While you might have bridal clients wanting their tattoos covered up for their big day, doing makeup for an out-there styled shoot, costume party, theater show, or movie is a totally different story. Instead of covering up a tattoo, your clients might be looking for you to help them get inked up—temporarily, that is!
Creating a tattoo is a little different from more traditional airbrush makeup techniques. Blending is essential for many of your makeup basics, but it’s a no-go for your standard tattoos. After all, tattoos aren’t supposed to look natural: you want that fancy, fire-breathing dragon wrapped around your forearm to stand out!
If you’re thinking of branching out into the world of temporary tattoos, you’ll probably need some new supplies:
- Stencils for creating complex, crisp-edged designs
- A wider range of colors designed to be long-lasting
Chances are, these aren’t available at your usual makeup retailer. Check out places that sell specialized supplies—airbrush tattooing is a whole industry on its own.
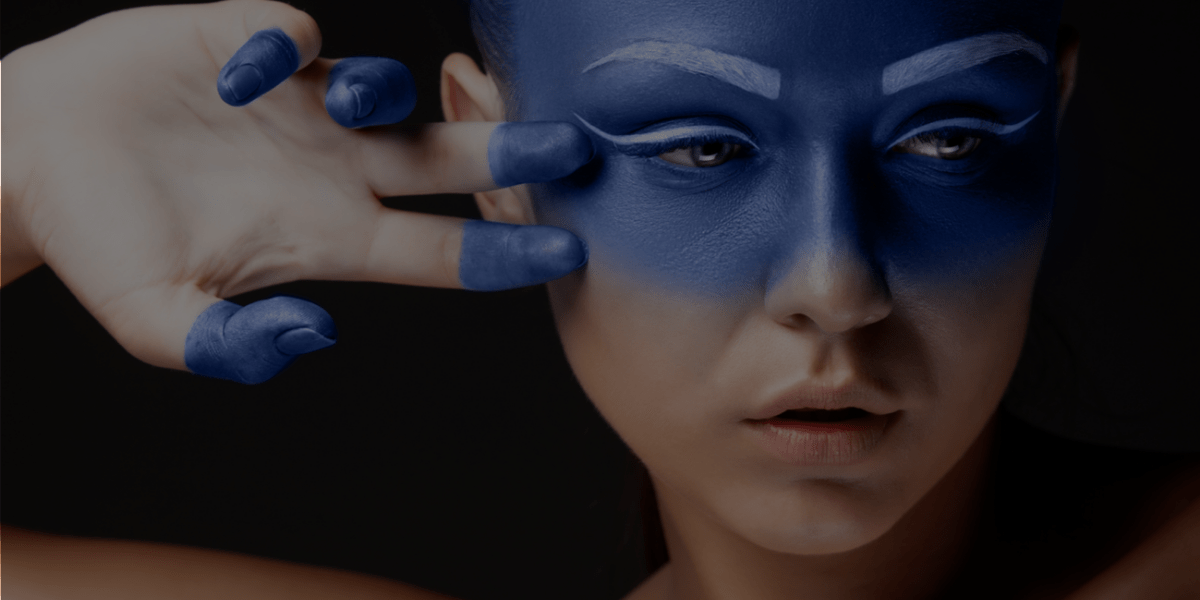
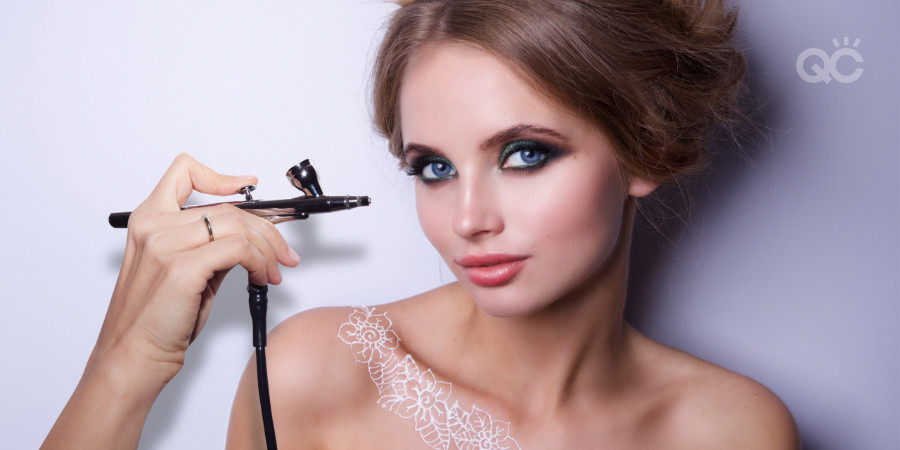
7. Body painting and special effects makeup
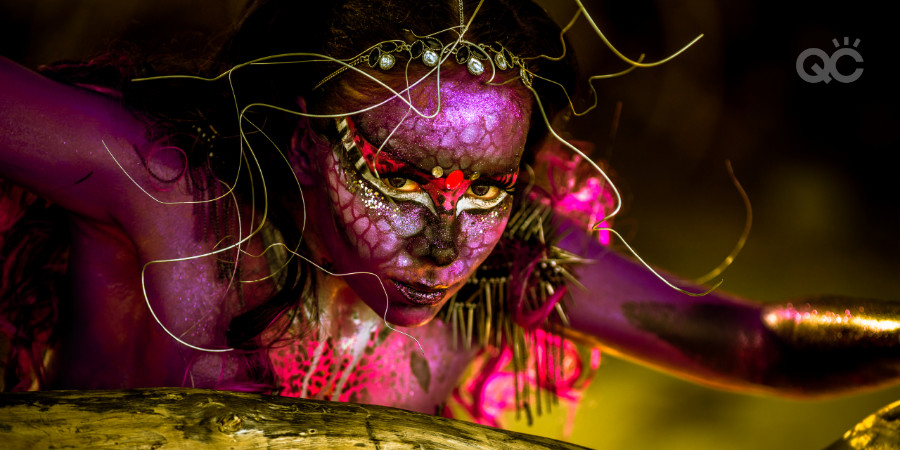
If tattooing is too tame for you (or your clients), try stepping up your airbrush art game by going for full-on body painting or crazy special effects.
The possibilities for body painting and special effects with your airbrush are pretty much endless. Just like for tattooing, you’ll probably need to branch out your makeup kit into exotic, brighter colors and elaborate stencils. But don’t let the stencils hold you back: the freehand designs can be stunning, or you could try a combination of freehand painting and stenciling for a look that provides sharp-edged patterns over blended color coverage.
Looking for ideas? Get inspired by these special effects makeup looks you can create with airbrushing!
- Go wild: Create animal stripes or reptilian scales.
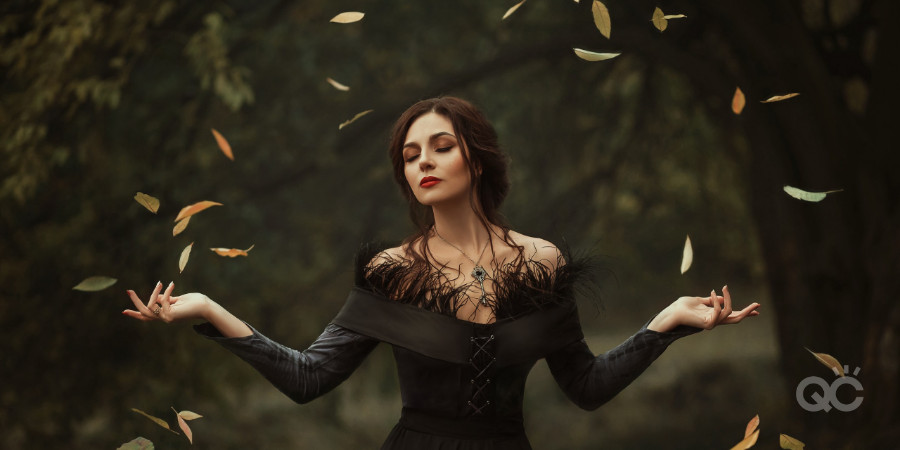
- Get artsy: Try painting beautiful abstract designs and patterns—or use your client or model as a canvas for replicating a famous work of art.
- Gory details: Turn your clients or models into victims of a horrific zombie apocalypse by painting on bruises, fake wounds, skeletal faces, stitches, exposed muscle or bone—you name it!
- Think outside the box: Airbrushing can create incredible results, but why stop there? Incorporate prosthetics, sequins, rhinestones, feathers, flowers, gold foil, contact lenses, fake hair, or more into your creations.
- Glow on: Special paint lets you airbrush on designs that will glow in the dark or under a black light.
Pro tip: There’s nothing worse than slaving away over a cool design for hours only to have it fade fast. The trick for preserving your airbrush designs as long as possible is to keep them dry. Starting with clean, dry skin is key, but you can also apply a translucent makeup powder after you’re done to help absorb some of the natural oils produced by our skin that can wear away the paint’s pigment.
ARGH!!! i cannot wait to get into my airbrush course, this looks awesome!!
Nice idea !! Thanks for sharing …
This just makes me super excited to finish my airbrush course! I am in love with anything special effects and I cannot wait to try It out With stencils and vibrant colours to make all sorts of creatures! Especially with prosthetics and bruises as that just sounds super fun. Adding a thinner to your foundation sounds a great way to save some money if you make sure it’s the right product as breaking a machine will be a lot more expensive. I also cannot wait to try adding shadow on to the lids and making it symmetrical
Before reading this article, I really didn’t much at all about airbrushing. Who knew that you could pretty much do an entire makeup application with just an airbrush tool? I definitely learned a lot about something new, and I’d be interested in perhaps trying to learn some airbrushing down the road!
It’s definitely surprising what airbrushing can do! We’re glad that this article inspired you! If you’re ever interested in adding airbrush makeup to your qualifications, feel free to learn more about QC’s Airbrush Makeup Workshop here: https://www.qcmakeupacademy.com/online-makeup-courses/airbrush-makeup-workshop/
Thanks for commenting! xx
All the best,
The QC Team
This is so wonderful post for me. I really love to reach your article which is become great and helpful for me to gain new tips about makeup. Thanks… It works really well for me.
Hi Riya,
Thanks so much for taking the time to read this and for commenting! 🙂 We’re so glad to hear that you enjoyed this article and learned many new things from it! If you’re interested in learning even more about airbrush makeup, feel free to check out our Airbrush Makeup Workshop: http://bit.ly/3hIzSHm
If you have any questions about this course, feel free to let us know! xx
All the best,
The QC Team
Hello this is great article … i am also a makeup artist i learn many things from your blog articles
Thank You
Hi Ritesh, that’s wonderful to hear – thank you so much for sharing these kind words! It always makes our day to know that our articles are so informative and beneficial to our readers. <3
All the best,
The QC Team
Hello,
I love to reach your blog. Very informative and helpful. Everything has represented in a pretty good way. This helped me to learn all the amazing tips about airbrush makeup. Thanks for sharing.. It works really well for me.
Hi Ashley,
Thanks so much for taking the time to read and comment. We appreciate the kind words, and we’re thrilled to hear that you found this article so informative and beneficial! <3 Which 'trick' listed here was your favorite? 🙂
All the best,
The QC Team
Hi, this is a fantastic article. I also work as a makeup artist, and your blog posts teach me a lot.
Many thanks