
When it comes to perfecting the art of eyeshadow application, there are 4 simple steps that will put you on the fast track to mastery:
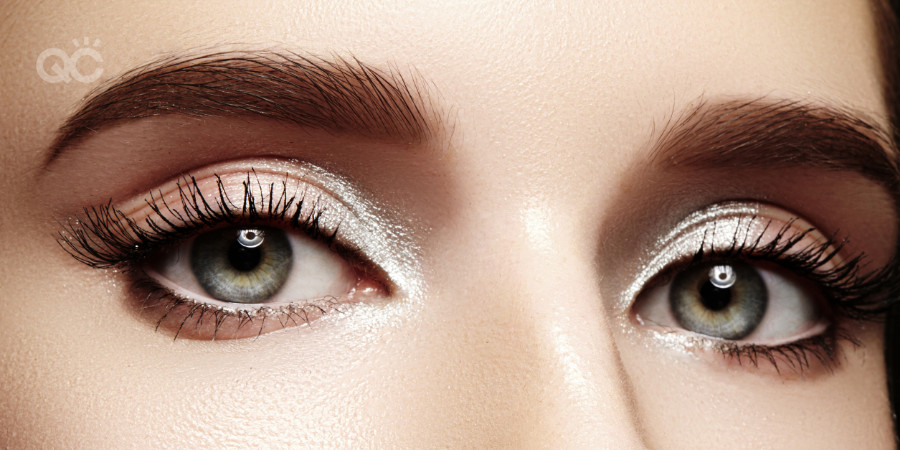 The highlight shade is always the lightest of shadow shades. Any place that you highlight (on the eyes or otherwise) will come forward, adding immediate dimension.
 The color should be darker than the highlight shade, but lighter than the contour color. Any point where darker shades are added will recede, so this step is very important to defining the eye. Applying this shade before your contour/crease color will facilitate blending and allow for a better build of color depth.
 This is most often the deepest of the shades. Because of its depth, this shade is most influential in defining and adding pop to the eye.
Primer/Base Shadow
This step has many valuable purposes. The primer will fight the heat of the eye, increasing the longevity of your eye shadow. It will also cancel out any lid discoloration and ensure flawless blending. After applying the primer, sweep a neutral shade of shadow or face powder onto the lid before beginning the application. Together, these two steps create the perfect base for application!To Apply
With a concealer brush, paint a light coat of primer over the lid from lash line to brow bone. Using a large brush, set the primer with a neutral shadow.Tips
- Applying a base will ensure that you get the truest read from your eyeshadow colors. For a bigger pop, choose a color one shade lighter than the skin tone.
- Primer will keep shadows from creasing.
- If you only want the look of a clean, open eye, this may be the only shadow you apply.
Highlight/Lid
The highlight shade is always the lightest of shadow shades. Any place that you highlight (on the eyes or otherwise) will come forward, adding immediate dimension.
To Apply:
With a shadow brush, apply the highlight shade to the area immediately below the brows arch, the eyelid, and the inside corner of the lower lash line.Tips
- The look of your lid will be more or less dramatic based on color choice. A matte finish will be subtler, whereas a shimmery/pearlized finish will be more dramatic.
- Applying a highlighter to the inside corner of the lower lash line will open the eye, making it look younger and more youthful. But don’t overdo it—too much looks funny.
- If someone has deep-set eyes, choose a shimmer/pearl shade because it will open the eye more than a matte shade will.
- For sultry depth, apply a deeper, darker shade to the lid.
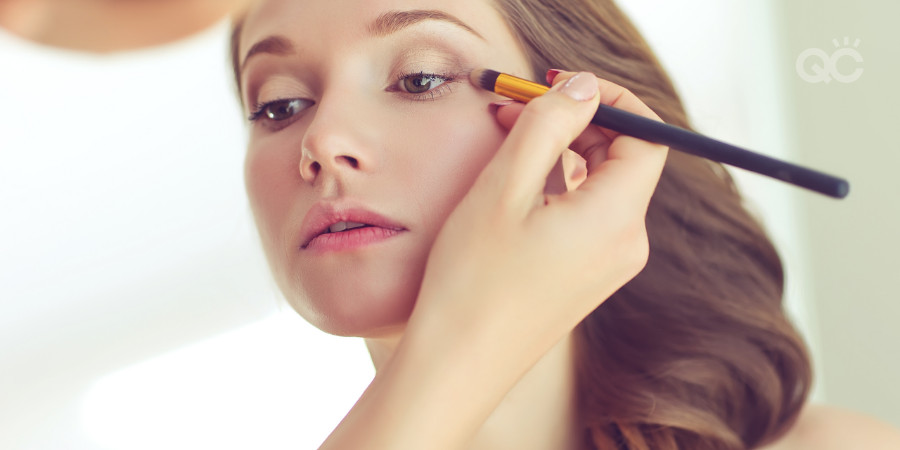
Mid-tone
The color should be darker than the highlight shade, but lighter than the contour color. Any point where darker shades are added will recede, so this step is very important to defining the eye. Applying this shade before your contour/crease color will facilitate blending and allow for a better build of color depth.
To Apply:
Using a blender brush, start at the outside corner of the eyelid and gently move the brush along the crease of the eyelid. Pull the color all the way from the outside corner to the inside corner.Tips
- Where the brush touches first is where it will lay the most color, that is why it is best to start the stroke at the outside corner of the eye.
- For a highly defined crease, apply a few more layers of the midtone shade.
- Blend it into the highlight shade, hard lines of color are distracting and unflattering.
- If you want subtle and natural definition, choose a matte color that is close to or slightly darker than your own skin tone.
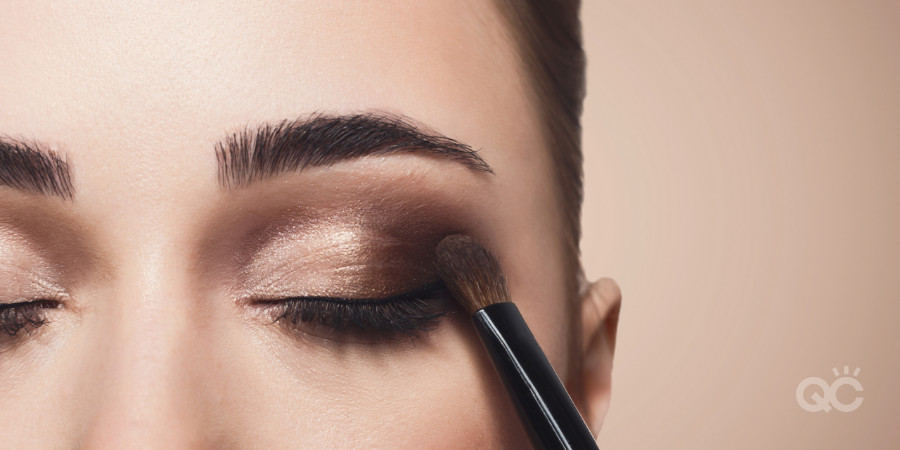
Contour/Crease
This is most often the deepest of the shades. Because of its depth, this shade is most influential in defining and adding pop to the eye.
To Apply:
With a definer brush, apply the shadow from the outer corner of the top lash line to about one third of the way across the lid. Once the desired depth is reached, soften and blend with the blender brush.Tips
- Changing this shade will dramatically affect the look.
- Brushing the color along the lash line will help to blend and smooth the eyeliner for a more flattering and youthful look. Adding it to the lower lash line will add more depth and drama.
- The color does not have to be super dark, it can be flirty and fun. It should just be deeper than the other shades (unless you are going for the sultry, dark lid).
- For more drama, apply layers of color. Be sure to build the color slowly. You can always add more, but once it is on it is very difficult to remove.
- To soften an application, load a clean brush with face powder or a lighter shadow and blend it over what you applied.