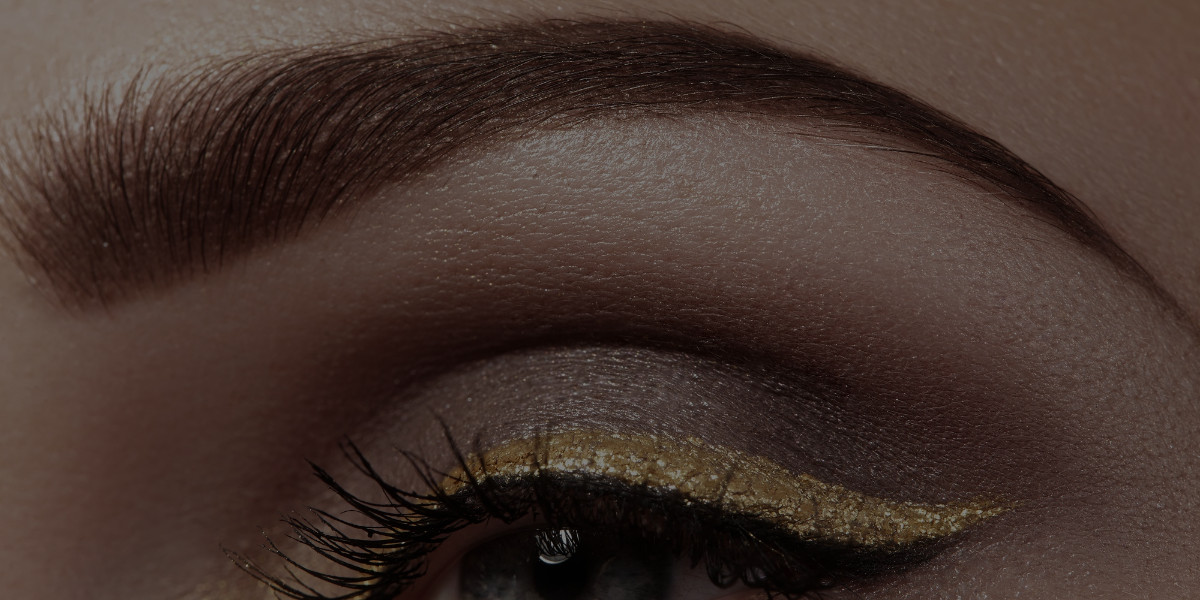
One of the biggest statements a girl can make with her makeup? Bold brows. A full, complete brow look makes you feel headstrong and powerful. There’s no doubt that we’ve witnessed some badly plucked and drawn-in brows recently. With the rise of a good trend, there’s bound to be horror stories—like the over-plucked ‘90s look (sorry Drew Barrymore). But with a few quick tips from practicing MUA’s, you can achieve a flawless eyebrow look that shapes your face and makes you the center of attention.
This week, QC Master Makeup student and makeup artist Stephanie Wyatt gives us a tutorial worthy of a style award. She’s single-handedly saving our brows with the easiest techniques to fill in your brows and keep them in place all day long! Don’t overlook this lasting makeup trend—every celeb and supermodel alike is rocking a bold brow.
So fill in those brows to get a complete pulled together look in a few short minutes!
Products used:
Stephanie uses the eyebrow products from Benefit Cosmetics, including:
- Gimme Brow Volumizing Fibre Gel
- Ka-BROW! Cream-Gel Eyebrow Color
- Ready, Set, Brow! 24-Hour Setting Gel
- High Brow Highlight & Lift Pencil
Step 1:
Prep your brows by coming through in the direction of the hair growth. Apply a tinted brow mascara to set your brows and keep them in place. A tinted mascara will darken the hairs, making your brows look fuller.
Pro Tip: Stephanie brushes her brows backwards with her tinted mascara to coat every hair. If you have lighter or thinner brows, this technique will give them a more complete look.
Step 2:
Use a thin angled brush and a cream brow product to fill in and shape your brows. For beginners, start by lining the shape of your brows on the top and bottom. Once you’ve created your shape, fill in your brows with quick upward and outward motions. Take care to use a light hand and focus on any sparse areas.
Creating an arch is challenging—start small and work your way out if you want your arch to be more dramatic. Tail off the end of your brows with a thin shape.
Remember to carefully apply the product to the inside of your brows so you don’t create a blocked off shape. Don’t worry—you can lighten up the inner brow by combing through with a spool if you make them too dark!
Step 3:
Comb through your brows with a spool, brushing up and out. This technique can lighten the look of your brows by dispersing product, so use a light motion until you get your desired look.
Step 4:
Use a brow highlighter or concealer pencil to line underneath the brow. This gives your brows a clean edge, and also highlights the brow bone.
