Having Insta-worthy pictures of your kit is a great way to show off your extensive makeup collection. It shows potential clients that you have an array of makeup to work with and makes great eye candy for other makeup lovers! Here is an easy, step-by-step guide on how you can show off your professional makeup kit in its best light!
Step one: Choose the makeup you’d like to display
You don’t want to choose too many or too little products, so pick wisely! If you choose too many, your photos will look cluttered and won’t be as visually appealing. If you choose too little, it may not grab the attention of your followers. Therefore, we suggest only showing the items that are your absolute favs! A good benchmark would be to use 8 to 12 different makeup products.
And remember, you can post as many photos as you’d like, so don’t feel pressured to get everything into one photo!
Step two: Choose your camera
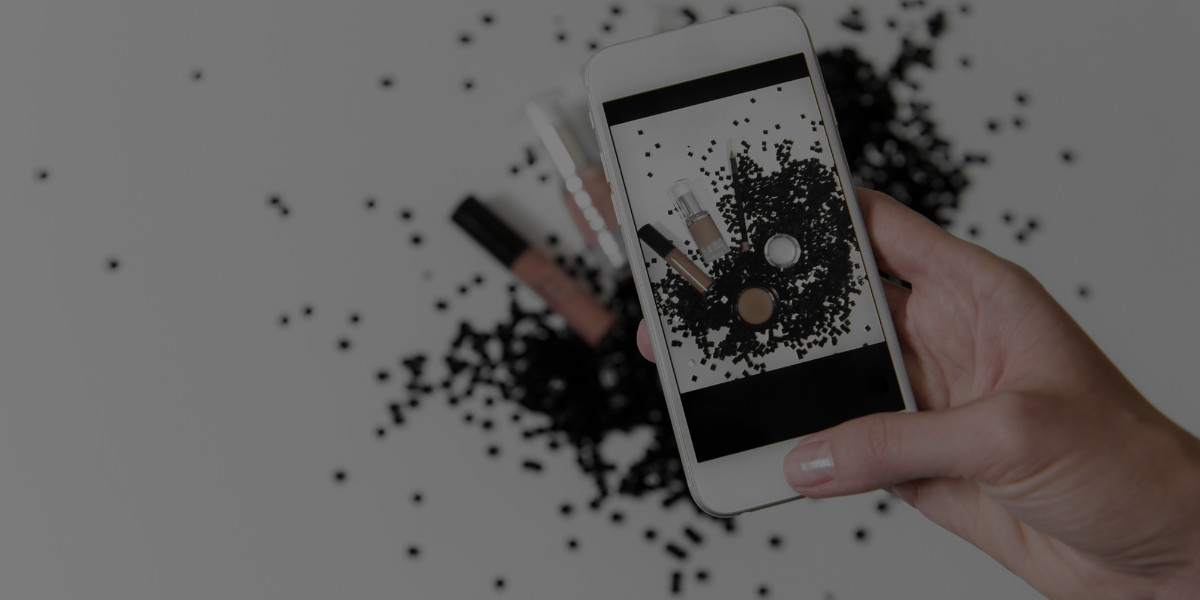
If the camera on your phone is pretty good (most are these days), then perfect! If not, then use a digital camera. Unless you have some photography education under your belt, stick with using automatic settings. For example, if you’re outside, use the outdoor setting. Some camera phones even have a “square” setting which pre-crops the image for you…voila!
Step three: Use natural light
If you’re not a professional photographer, then you may want to opt for taking your photos outside. Alternatively, you could do your photoshoot beside a big window that lets in a lot of natural light. Since you want even lighting in your photos, shoot your photos in the shade if it is sunny outside. If it’s overcast, that’s perfect! The clouds essentially act as a giant light diffuser, allowing you to set up anywhere you’d like outside! The goal is to avoid taking photos with flash and to avoid photos that come out grainy, have harsh shadows, and/ or are too dark.
Step four: Pick your backdrop
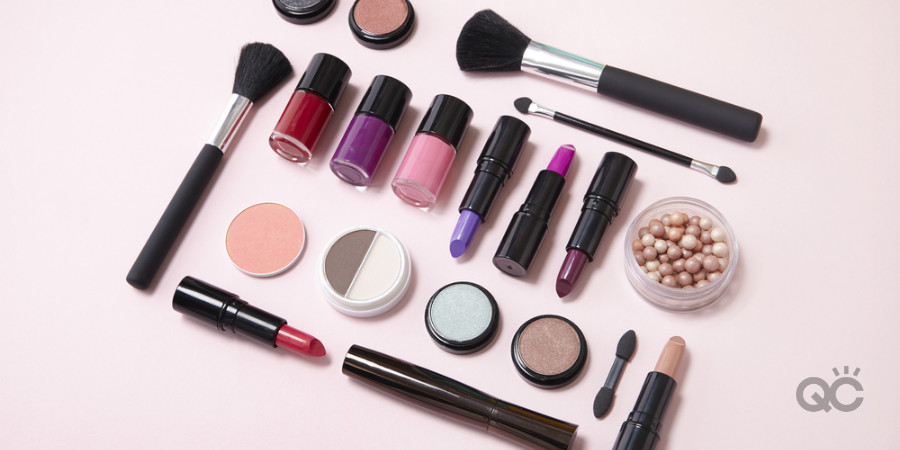
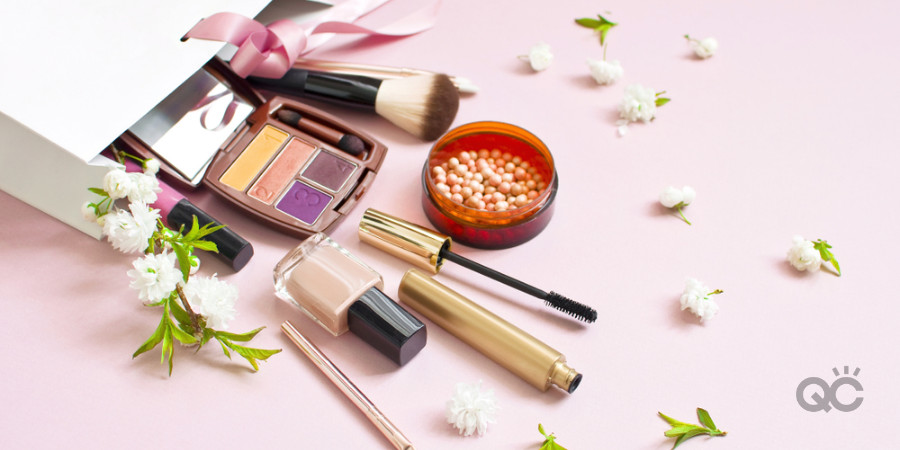
Since you’re using makeup products in a variety of shapes, sizes and colors, we suggest using a backdrop that is clean and neutral but still photo-worthy! For example, you can use one of those small, white furry area rugs. They can look fancy-schmancy, and they’re portable! Or, if you have a white painted deck or marble countertop, those are on-trend options as well.

Step five: Front view vs. aerial view
Pay attention to the images that you like on Instagram. How are they arranged and what angle is the photo being taken from? When a photo contains a lot of items – think infamous Instagram food photos – they tend to look pretty great when taken from high above (aerial view). This way, you can see everything in one shot. To get those aerial shots, it may be time to get out that handy-dandy step stool (but please be careful, and don’t wear heels!).
If you take the photo from the front, then items in the back may not get as much visual attention. This angle would be perfect for when you are trying to highlight one or two items out of your entire makeup kit!
Step six: Composition
This is the fun part! Have you ever come across a photo on Instagram and just thought to yourself, “Wow!”? There are many elements to creating an “Insta-worthy” photo. A big player in this is good composition. You may end up arranging and re-arranging your makeup kit a lot, but that’s totally okay! Play with the composition until you are happy.
Step seven: Most importantly, have fun!
While these are just some simple tips that can help you take some great makeup photos, it’s important to note that there isn’t just one way to get “Instagram-worthy” pictures. So get going, get creative, and shoot some amazing pictures!
And remember to share your gorgeous photos with us! You can find us on Instagram here.