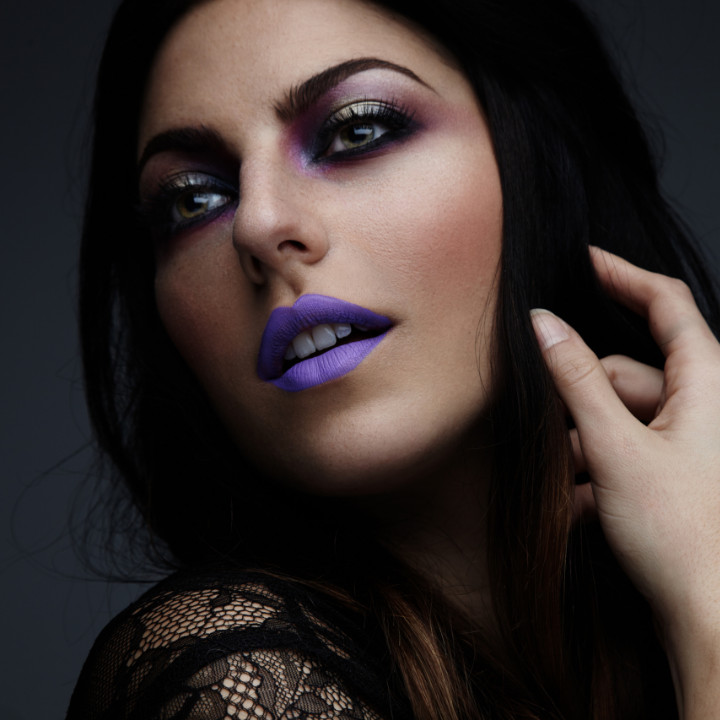
Spring is fast approaching, so in the meantime get sultry with this super dramatic purple smokey eye! Read on for a step-by-step tutorial.
Spring is fast approaching, so in the meantime get sultry with this super dramatic purple smokey eye! Read on for a step-by-step tutorial.

Follow along with this Valentine’s makeup tutorial from our YouTube Correspondent Jess, and get ready to look absolutely ravishing on February 14th!

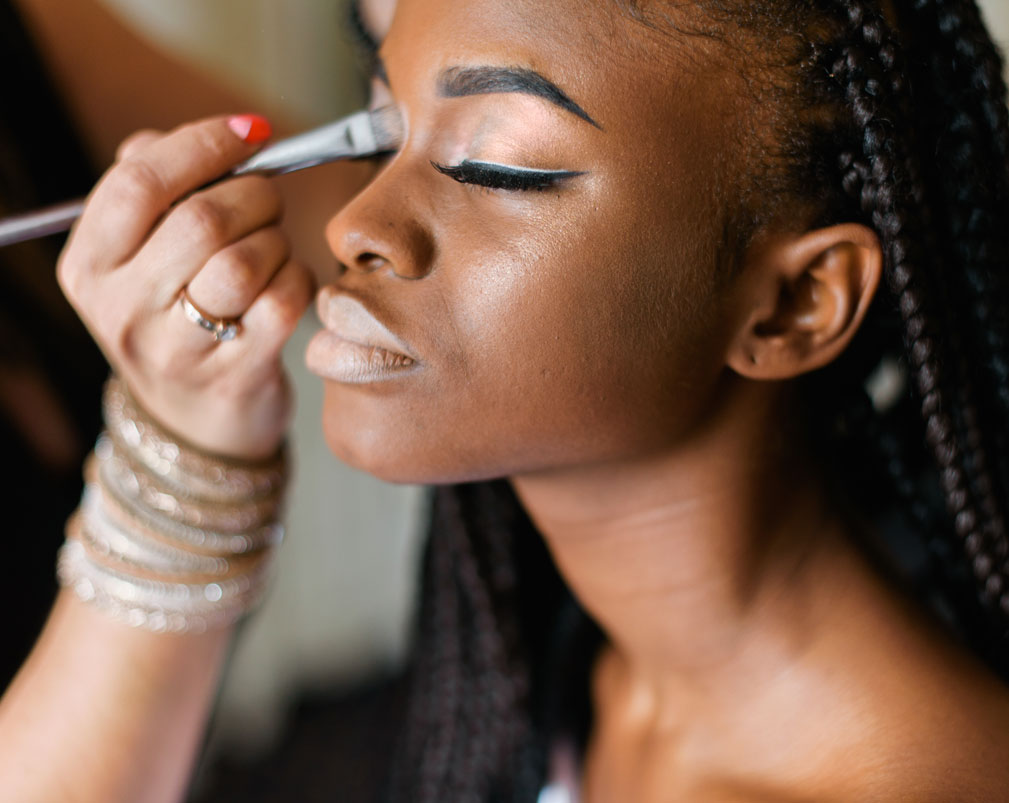
Creating a cut crease is an essential eye makeup technique for MUA’s. Learn the best technique for creating a trendy eye makeup look!
As promised, here’s the second cat-eye look you guys loved from the Facebook page! This look would be perfect for holiday parties, especially New Year’s Eve. It’s super smoky and sultry, but it’s still a cat-eye. What makes it different from yesterday’s look is that it’s not all about definition. It features a smoldering sexy eye and a pale nude lip.
As always, start with a clean, primed eyelid.
Start building your smoky winged look by packing on a black shadow and blending it into a cat-eye shape.
Soften the edges of the look with a blending brush and a little bit of light grey shadow.
Apply a brow highlight (I used a matte cream-colored shadow). Blend it down into the light grey blending shadow.
Apply a liquid liner with a wing matching the same shape as the shadow. This step is not necessary but I find it adds a little definition to the look.
Apply a very thick full set of lashes.
Apply multiple coats of mascara on the bottom lashes. Don’t be afraid to create a somewhat clumpy look—it works well with this look!
Apply a nude lip liner all over the lip to neutralize any natural redness in the lip. Then apply a pale pink lipstick on top. I used Creme Cup by MAC.
Recently, the nine looks below were posted on the QC Facebook page. Everyone seemed to absolutely love look #5 so I decided to recreate it for you! As the lower lashes aren’t quite visible in the photo, I decided to create what I think works well with this look.
Start with some creamy neutrals as your base. Use cream or white on the lid and brow to highlight, and a soft pink or brown in the crease.
Apply a liquid liner across the lid at your desired thickness.
Create an extension of your lower lash line into the beginnings of your winged liner.
Connect the tip of the wing to the top of the line you have created on your upper lash line.
Fill in the gap and apply mascara and false lashes.
Apply a white liner on the lower waterline. Be sure to avoid smudging it onto your lashes as we want to apply a clean line along them afterward.
Use a flat, thin liner brush to apply a brown eyeshadow along the root of the lower lash line. This will give the illusion of bigger eyes!
Apply a light coat of mascara along the lower lashes, keeping it clump-free and clean-looking.
Apply a red lip and away you go! This is a great look for this time of year, whether it be for a Christmas party or a night out with the girls!
Start with a clean, primed eyelid. Apply your primer from the root of your lash line all the way up to the brow.
Take your desired green shade (I mixed the dark and light green you saw above) and apply it to the center of the lid. You’re applying at the roundest part, or the “peak”, of the lid.
Apply a bronzy gold into the inner corner of the lid and along the top of the green. Blend it into the first half of the crease.
Pick up the cranberry color on a blending brush and apply it to the outer corner of the crease, blending into the green and bronzy hues.
Apply a brow highlight underneath the brow and into the inner tear duct. This will add a little pop!
Add liquid liner and lashes.
Smudge the cranberry shade along the outer lower lash line.
Smudge the bronzy shade along the inner lower lash line.
Day of the Dead, or Dia de Meurtos in Spanish, is a major Mexican holiday celebrated on November 1st and 2nd. It is a time when families honor and remember their loved ones who have passed away by leaving them food, flowers, and sugar skulls on homemade altars.
Cover those brows and prep the skin with the foundation of your choice. You can go a few shades lighter than your natural skin tone here if you like, just to give yourself that skeletal look. Try to create as flawless a finish as you can.
Map out your design with eyeliner by drawing large circles around the eyes (above the eyebrows). Depending on the overall look you’re trying to achieve, you can use whatever color you’d like. Black, purple, and blue are popular choices. Precision isn’t too important at this stage.
Prime the eyes inside your circle to make sure the pigment that you’re about to put on stays in place.
Taking a brightly pigmented powder, fill in the circle around the eyes. This is where you can start getting creative! Decorate the edges of the circles however you’d like, either by making a design with eyeliner (as seen above), or jewels. You can even add some eye glitter to the lid for an extra bit of sparkle.
Finish off your eyes with a thick liner on the upper and lower lashes (don’t forget the waterline!). If false lashes are your thing, feel free to use them here for a more dramatic look.
Buy or make some stencils for an extra bit of whimsy. You can use flowers, hearts, or just a fun design around your forehead, or on the chin. Fill them in with a bright pigment in the color of your choice.
Using a crème eyeliner and angled brush, outline the nose in black and fill it in. This will complete the skull look. You can add an extra bit of sparkle here too if you like.
Paint the lips in the color of your choice. The above look went all white for an overall creepy effect, but you could also fill them with a bright red or coral for a more colorful, fun look. Extend the corners of the mouth and add “stitches” across the entire mouth using black eyeliner.
To really look like a skull, you’ll need some contouring! Take a dark gray and contour the cheekbones and jawline.
Learn how to master your bold eye makeup with Celebrity Makeup Artist Nathan Johnson!
Here are the top tips to making the best everyday smokey eye makeup look for you and your clients!
Learn the easiest way to get ready for the day with Nathan Johnson’s five-minute makeup routine!
![]()