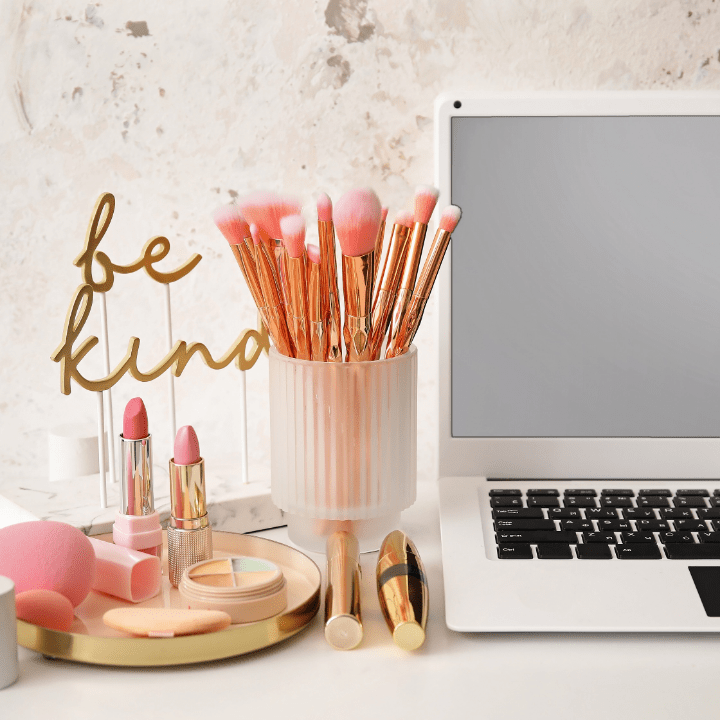
Tell us a little bit about yourself!
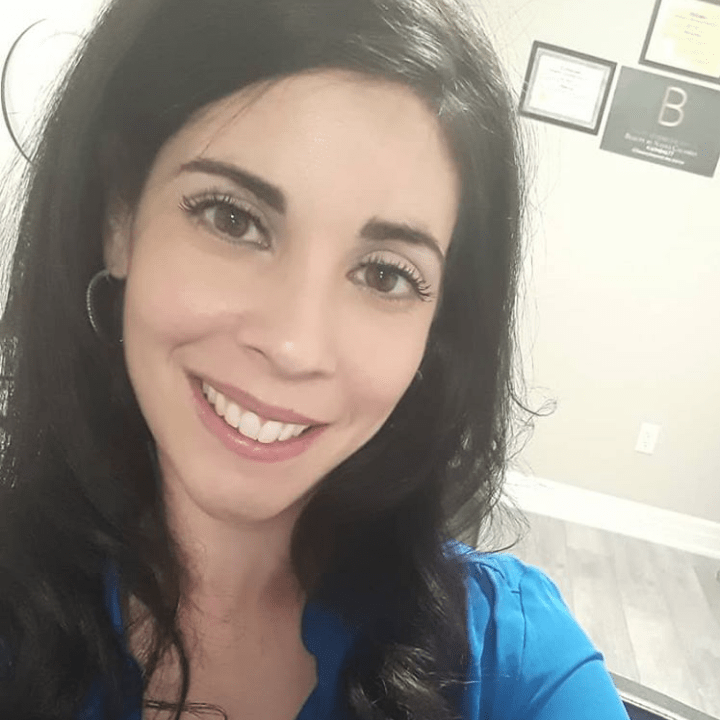
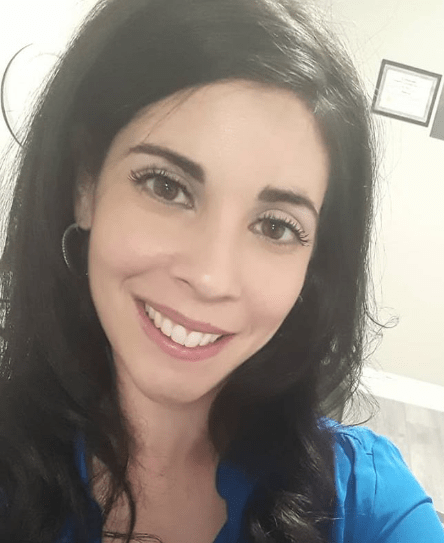
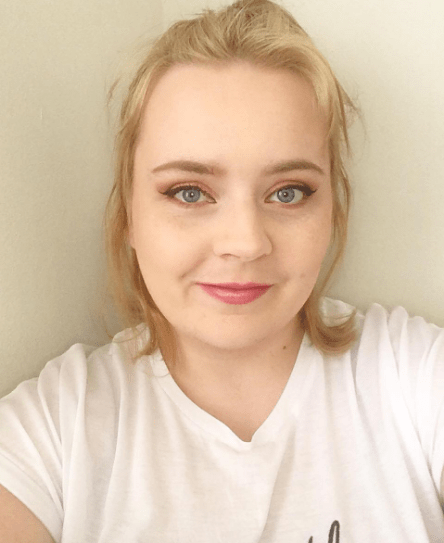
I’m Gemma! I’m 28 and married, with 2 beautiful boys. I have my own beauty
room at my house, which is perfect because it allows me to work from home whilst still being a mum.
I am also trained in lash extensions, lash lift and tint, henna brows, massages, and a lot more!
Why did you decide to get your makeup training and become a professional MUA?
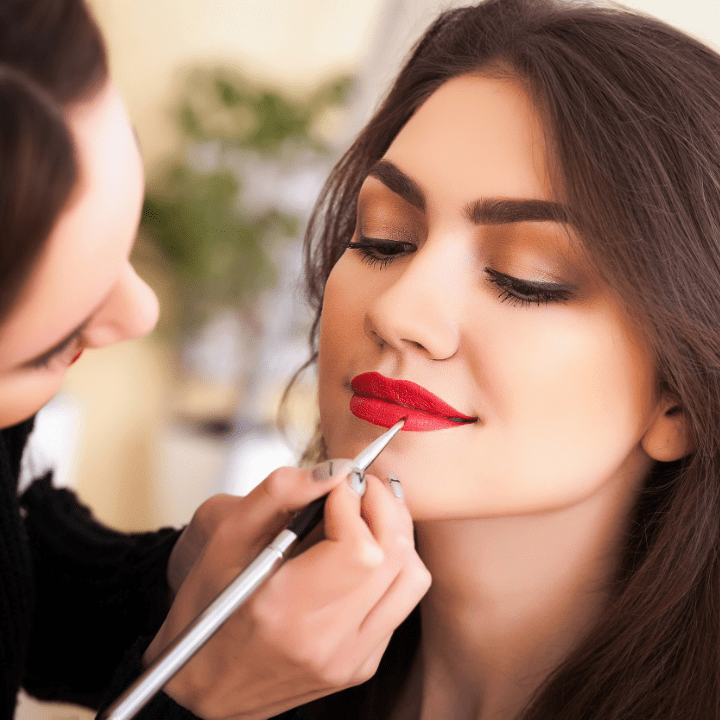
I love being creative! I always used to draw when I was a kid, and loved expressing myself through art. As I got older, I found makeup, and my passion grew!
Eventually, I knew I really wanted to do this as a job. It took me a while to get the confidence, and to find QC Makeup Academy, but I am very glad I did. It’s been an amazing journey!
You’ve been getting straight A’s in QC’s Pro Makeup Workshop, Master Makeup Artistry Course, Airbrush Makeup, Hair Styling Essentials, Special FX Makeup, AND Skincare – congrats! Tell us a little about your instructors, and what you’ve learned under their instruction.
Oh my goodness, my instructor is literally the best! I had Nathan Johnson as my tutor for all the courses that I’ve graduated from. As it so happens, I also have him as my tutor for the classes I’m currently taking!
I honestly cannot thank him enough for all the knowledge he’s given me in, every aspect of makeup and skincare. I’ve not only learned classic techniques; I’ve learned how to use them on everybody, and not just to copy someone from Instagram or YouTube.
It’s important to remember, after all, that not everyone has the same eyes or face shape!
Another major point I’ve learned from my makeup training with Nathan is symmetry! It’s critical for every single job, and it’s something I never even considered before enrolling in my QC courses.
Tell us all about some of your greatest accomplishments to date.
In my day-to-day life, I would have to say my children. I am so incredibly proud of them both!
In terms of my career, however, I’d definitely say my greatest accomplishment so far is how how I’ve been expanding my business, and building up an amazing clientele. Many of my clients have become close friends!
What’s been the most gratifying moment in your career so far?
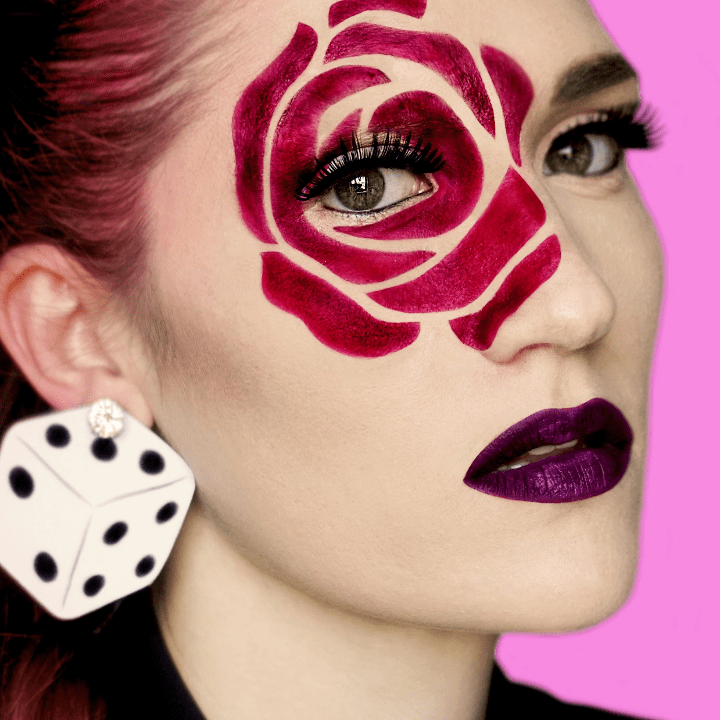
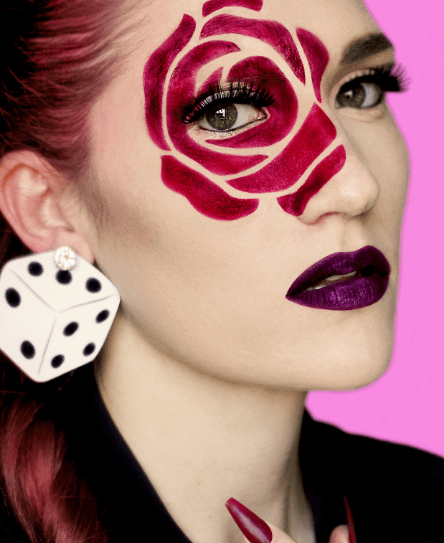
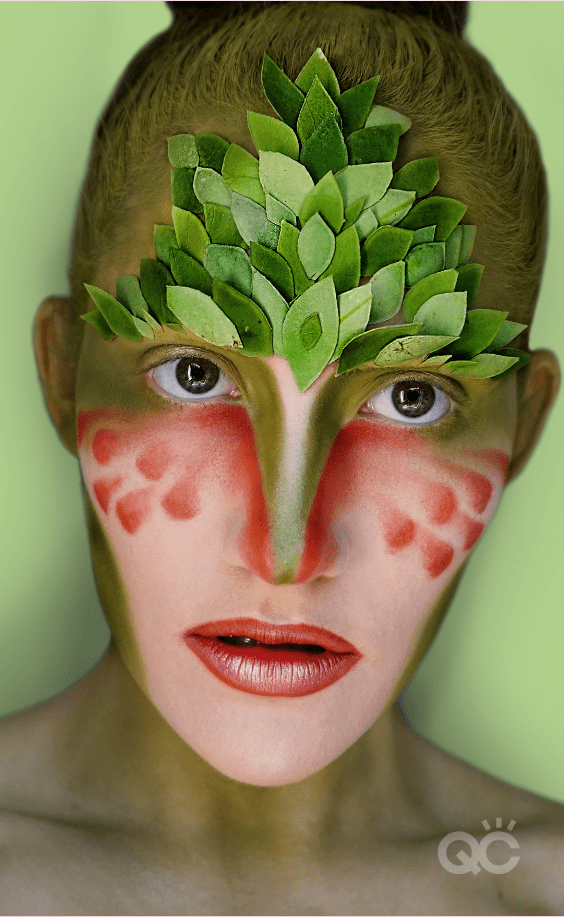
I’m actually the special effects makeup artist for a local film company! We haven’t done a lot to date yet, due to recent events, but we’re hoping to do a lot more in the future!
Is there a technique you are currently working on mastering?
Eyeliner! It’s something I have struggled with since day one. But I’ve been practicing on the face charts that Nathan recently gave out during a webinar. Since then, I’ve been seeing a great difference in my work!
I’m also working to improve my bruising techniques. Specifically, I’m trying to work on difference stages of bruises, such as how they look after a few days.
What advice would you give for an aspiring MUA who’s also interested in getting makeup training and starting their own business?
You just need to go for it! Really understand your products, and how to apply makeup the right way. Then you can always fall back on your knowledge of classic techniques.
Ask friends to be models, until your confidence is up. Ask them for honest, constructive feedback for how you can better yourself. It’s the best way to grow as an artist!
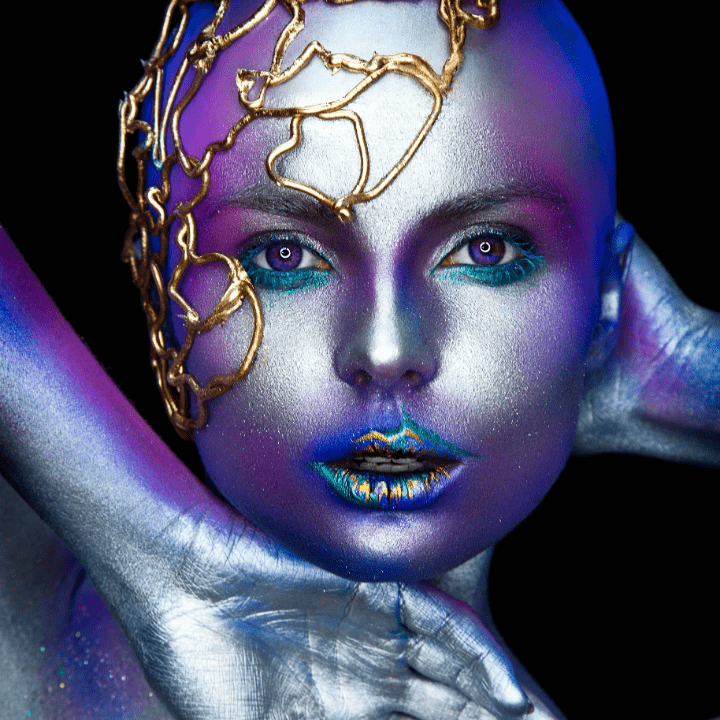
How would you describe your makeup style?
Creative.
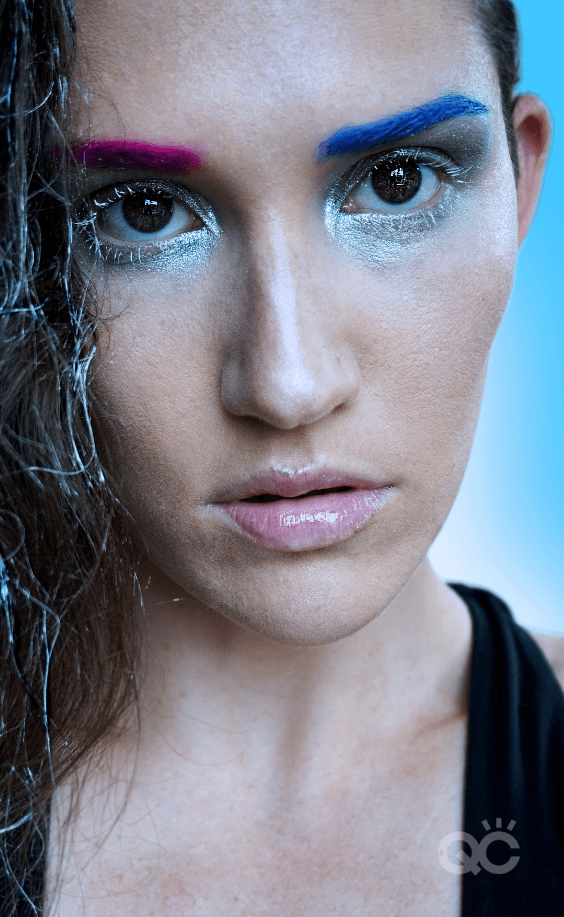
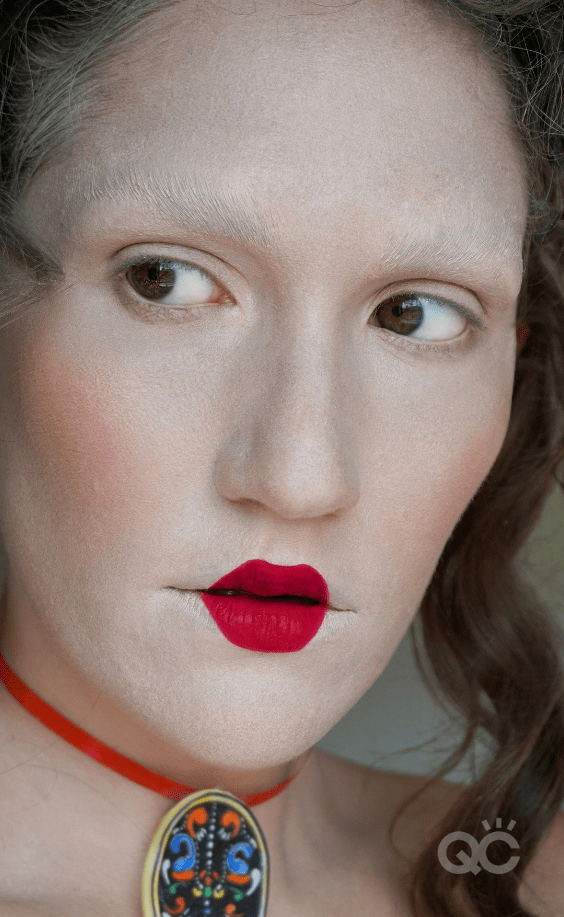
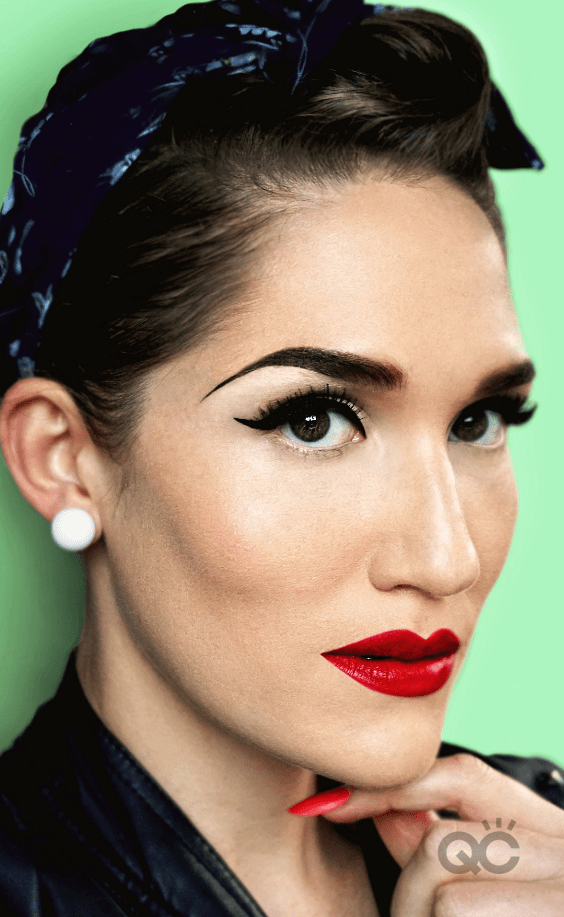
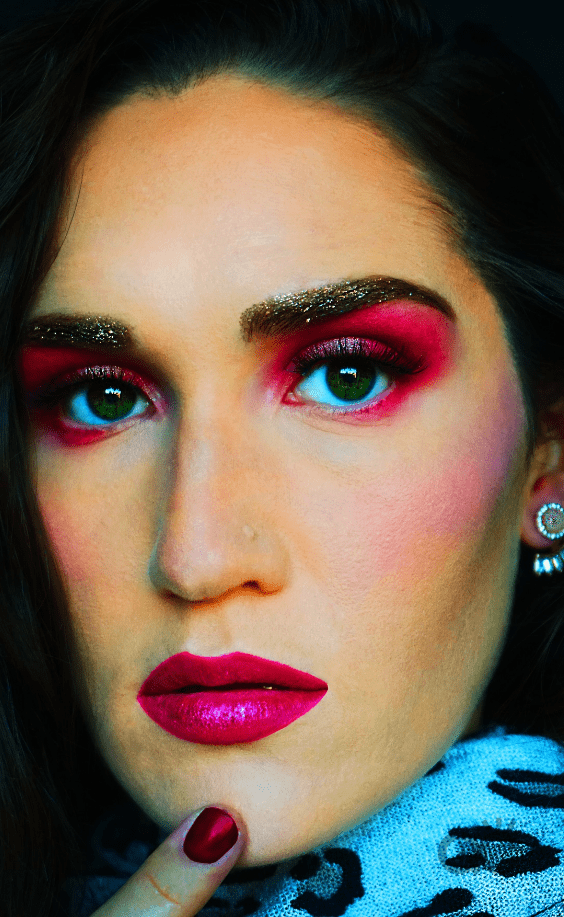
I love doing natural looks, but I’m also really loving the bold, out-there looks!
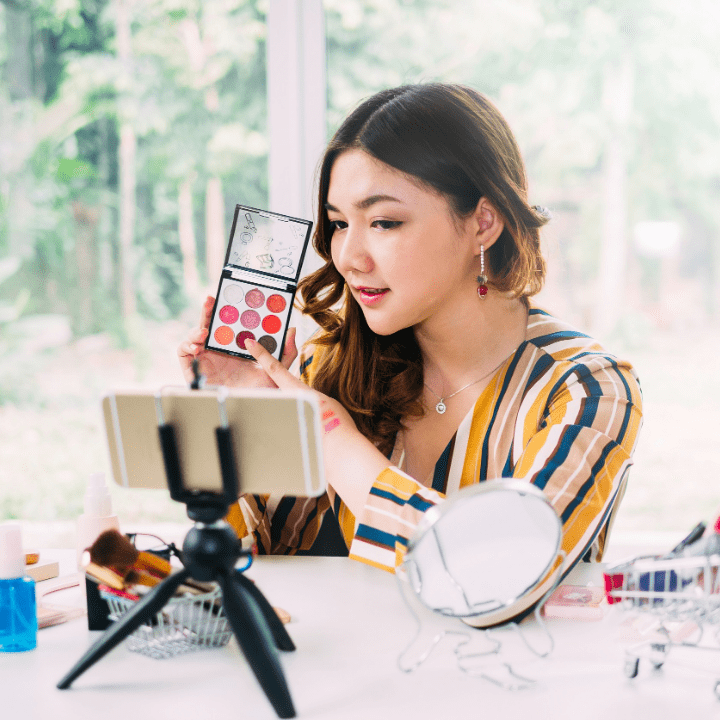
Why did you enroll in online makeup training, instead of getting your education from a brick-and-mortar school?
Being a full-time, stay-at-home mother, I don’t have the option to go to a physical college for makeup. I found QC Makeup Academy, and instantly enrolled after reading the amazing reviews!
It also helped that I would be working with an actual, professional celebrity makeup artist. That really sold me! I knew they would be the best of the best. I could trust my QC tutors to be honest, and help me achieve my dreams.
Name your Holy Grail product that ALL makeup artists should have (and why)!
NARS’s Bali eyeshadow! Nathan recommended it. It’s literally the perfect mid-brown shade. It works on literally anybody, for any sort of eye makeup.
Also, I really love the Anastasia Beverly Hills lip palette. You can create any shade you need from just one palette, which is perfect for any
makeup artist out there!