
Have you ever seen a fantasy makeup photo shoot where the model had a smoothly scaled forehead instead of eyebrows? Or just about every movie where an actor’s brows were different from their own? Dedicated actors might cut off their hair, but not often their eyebrows! So where do their brows go?
The secret is makeup, of course! But simply using makeup won’t work. Your brows would still show through, except with an uneven layer of flesh-toned product. Foundation alone won’t get you the smooth, disappeared look you had in mind.
The technique that professional makeup artists use to cover their eyebrows is called brow blocking. Brow blocking uses glue to stick down and smooth the brow hairs. Afterwards, a combination of makeup products is applied to hide their color. Once the brows are blocked, you can smoothly apply foundation and complete your look!
Who uses brow blocking?
Brow blocking is a useful skill for any makeup artist. But it’s absolutely indispensable for special effects makeup artists and theatrical makeup artists.
Brow blocking is useful for:
- Creating looks with no eyebrows at all
- Redrawing the eyebrows in a different shape or color than the natural brows
- Changing the position or placement of the brows to influence the appearance of the eyes
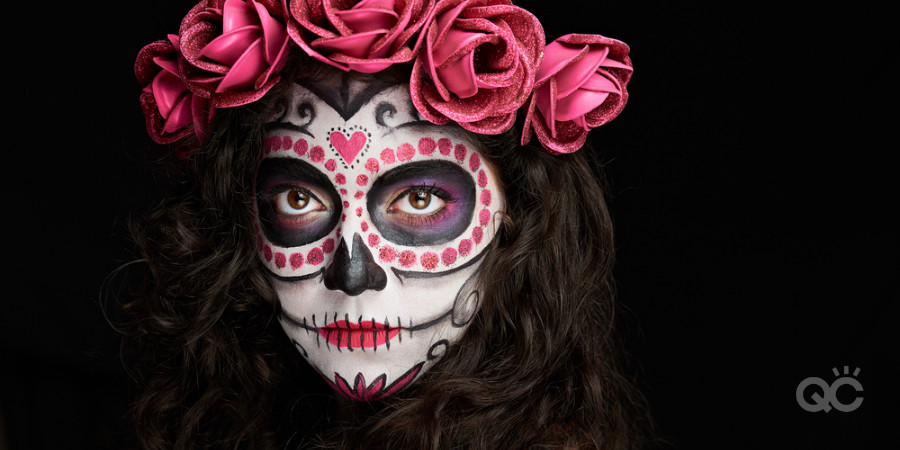
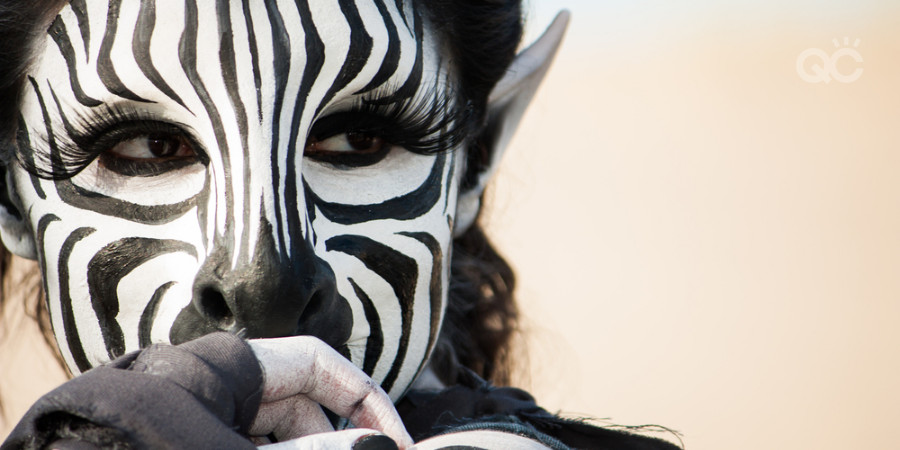
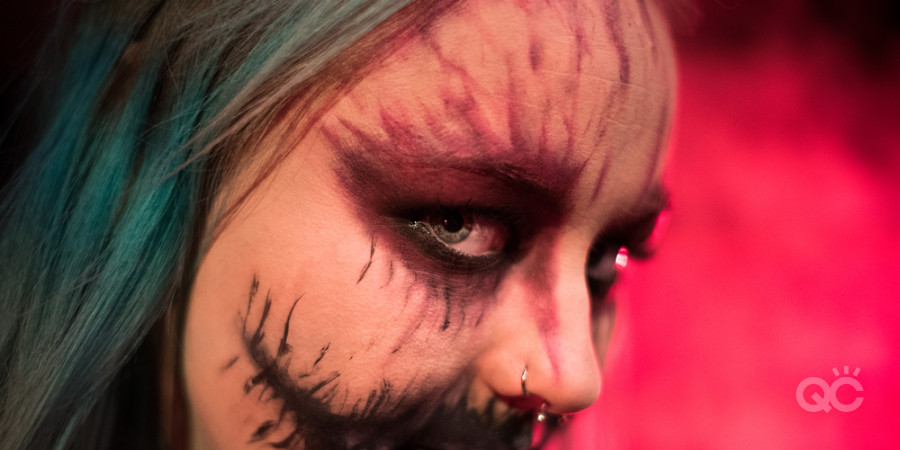
Would the evil villain in the superhero movie look more menacing with thin, fiery red eyebrows arching as high as his hairline? Would the rag doll in the musical look more doll-like if you raised her brows higher to enlarge her eyes? Does the serious TV drama you’re working on call for a chemotherapy patient makeover? You’ll likely encounter brow-blocking work in your career—whether it’s for theater, cosplay, or special FX gigs!
What you’ll need
It takes more than a bit of foundation to properly cover eyebrows—particularly dark, thick ones! Here’s what you’ll need:
- Glue (we’ll get into more detail about the kind of glue you’ll need in a moment!)
- A palette knife
- Translucent powder
- Face powder in your client’s skin tone (or slightly lighter)
- Cream concealer in your client’s skin tone (or slightly lighter)
- Foundation in your client’s skin tone (an accurate color match)
- A small to medium sized fluffy brush
- A blending sponge
- A spoolie
Our guide to glues
Believe it or not, most brow blocking is done with a regular Elmer’s glue stick! Try not to buy the poor quality discount brands that stay sticky and have a grainy texture. You want the glue to go on smoothly and dry well. The best glue sticks for brow blocking are purple because they dry clear.
On professional movie sets where an actor might be under very hot lights for hours at a time, you’ll need something stronger than school glue. Instead, professionals might use medical grade adhesives like Pros-aide or liquid latex. These block the eyebrows better than school glue, but they must be taken off with an adhesive remover. If you pull Pros-aide or liquid latex (which dries into flexible plastic) off once they’ve dried, you’ll pull your clients eyebrows right out! Stick to a glue stick while you’re still learning to avoid some scary mishaps.
Brow blocking, step by step
Try out this brow blocking technique using your handy stick of school glue!
- Use your spoolie to back-brush the brows so the hairs stand up and separate.
- Apply glue liberally against the growth pattern of the eyebrows until you see the purple color! Avoid the skin around the brows for smooth makeup application later on.
- Before the glue dries, use your spoolie to comb through the brows. Comb against the grain of the hairs and upwards to work the glue between the hairs.
- Apply more glue and then comb the hairs down smooth along their natural growth direction.
- Apply another layer of glue over the entire surface of the brow, following the direction of hair growth to seal the hairs in place.
- Let the glue dry.
- For the final layer, use your palette knife to apply more glue and smooth it over the surface of the entire brow, following the grain of the hair. Minimize the textures of the hairs as best you can.
- After the glue dies, set the glue with translucent powder.
- Cover the eyebrow with concealer and carefully blend it with your sponge.
- Set the concealer with powder in the same flesh-toned shade.
- Repeat the concealer and powder layers until you can’t see the natural brow color.
- Blend the edges around the brows. Don’t be too harsh or so vigorous that you move the layers of makeup underneath.
- Apply foundation over the entire face, covering and blending the brow area.
- Continue with the rest of the look!
Brow blocking takes practice! When it’s done very well, neither the color of the brows nor the texture of the hairs will be noticeable. If it doesn’t matter how smooth the brows are, you disguise it during the rest of your application. But if you’re working with HD cameras on set, keep practicing to cover eyebrows as smoothly as possible!
Have you ever tried brow blocking?
Absolutely amazIng! This is really cool and something I definitly need to try out next time I am doing something wicked! Rhanks for rhe tios and keep up the great content!
Hi Yesenia! We’re so glad you liked the content! We always love getting feedback here at QC 🙂